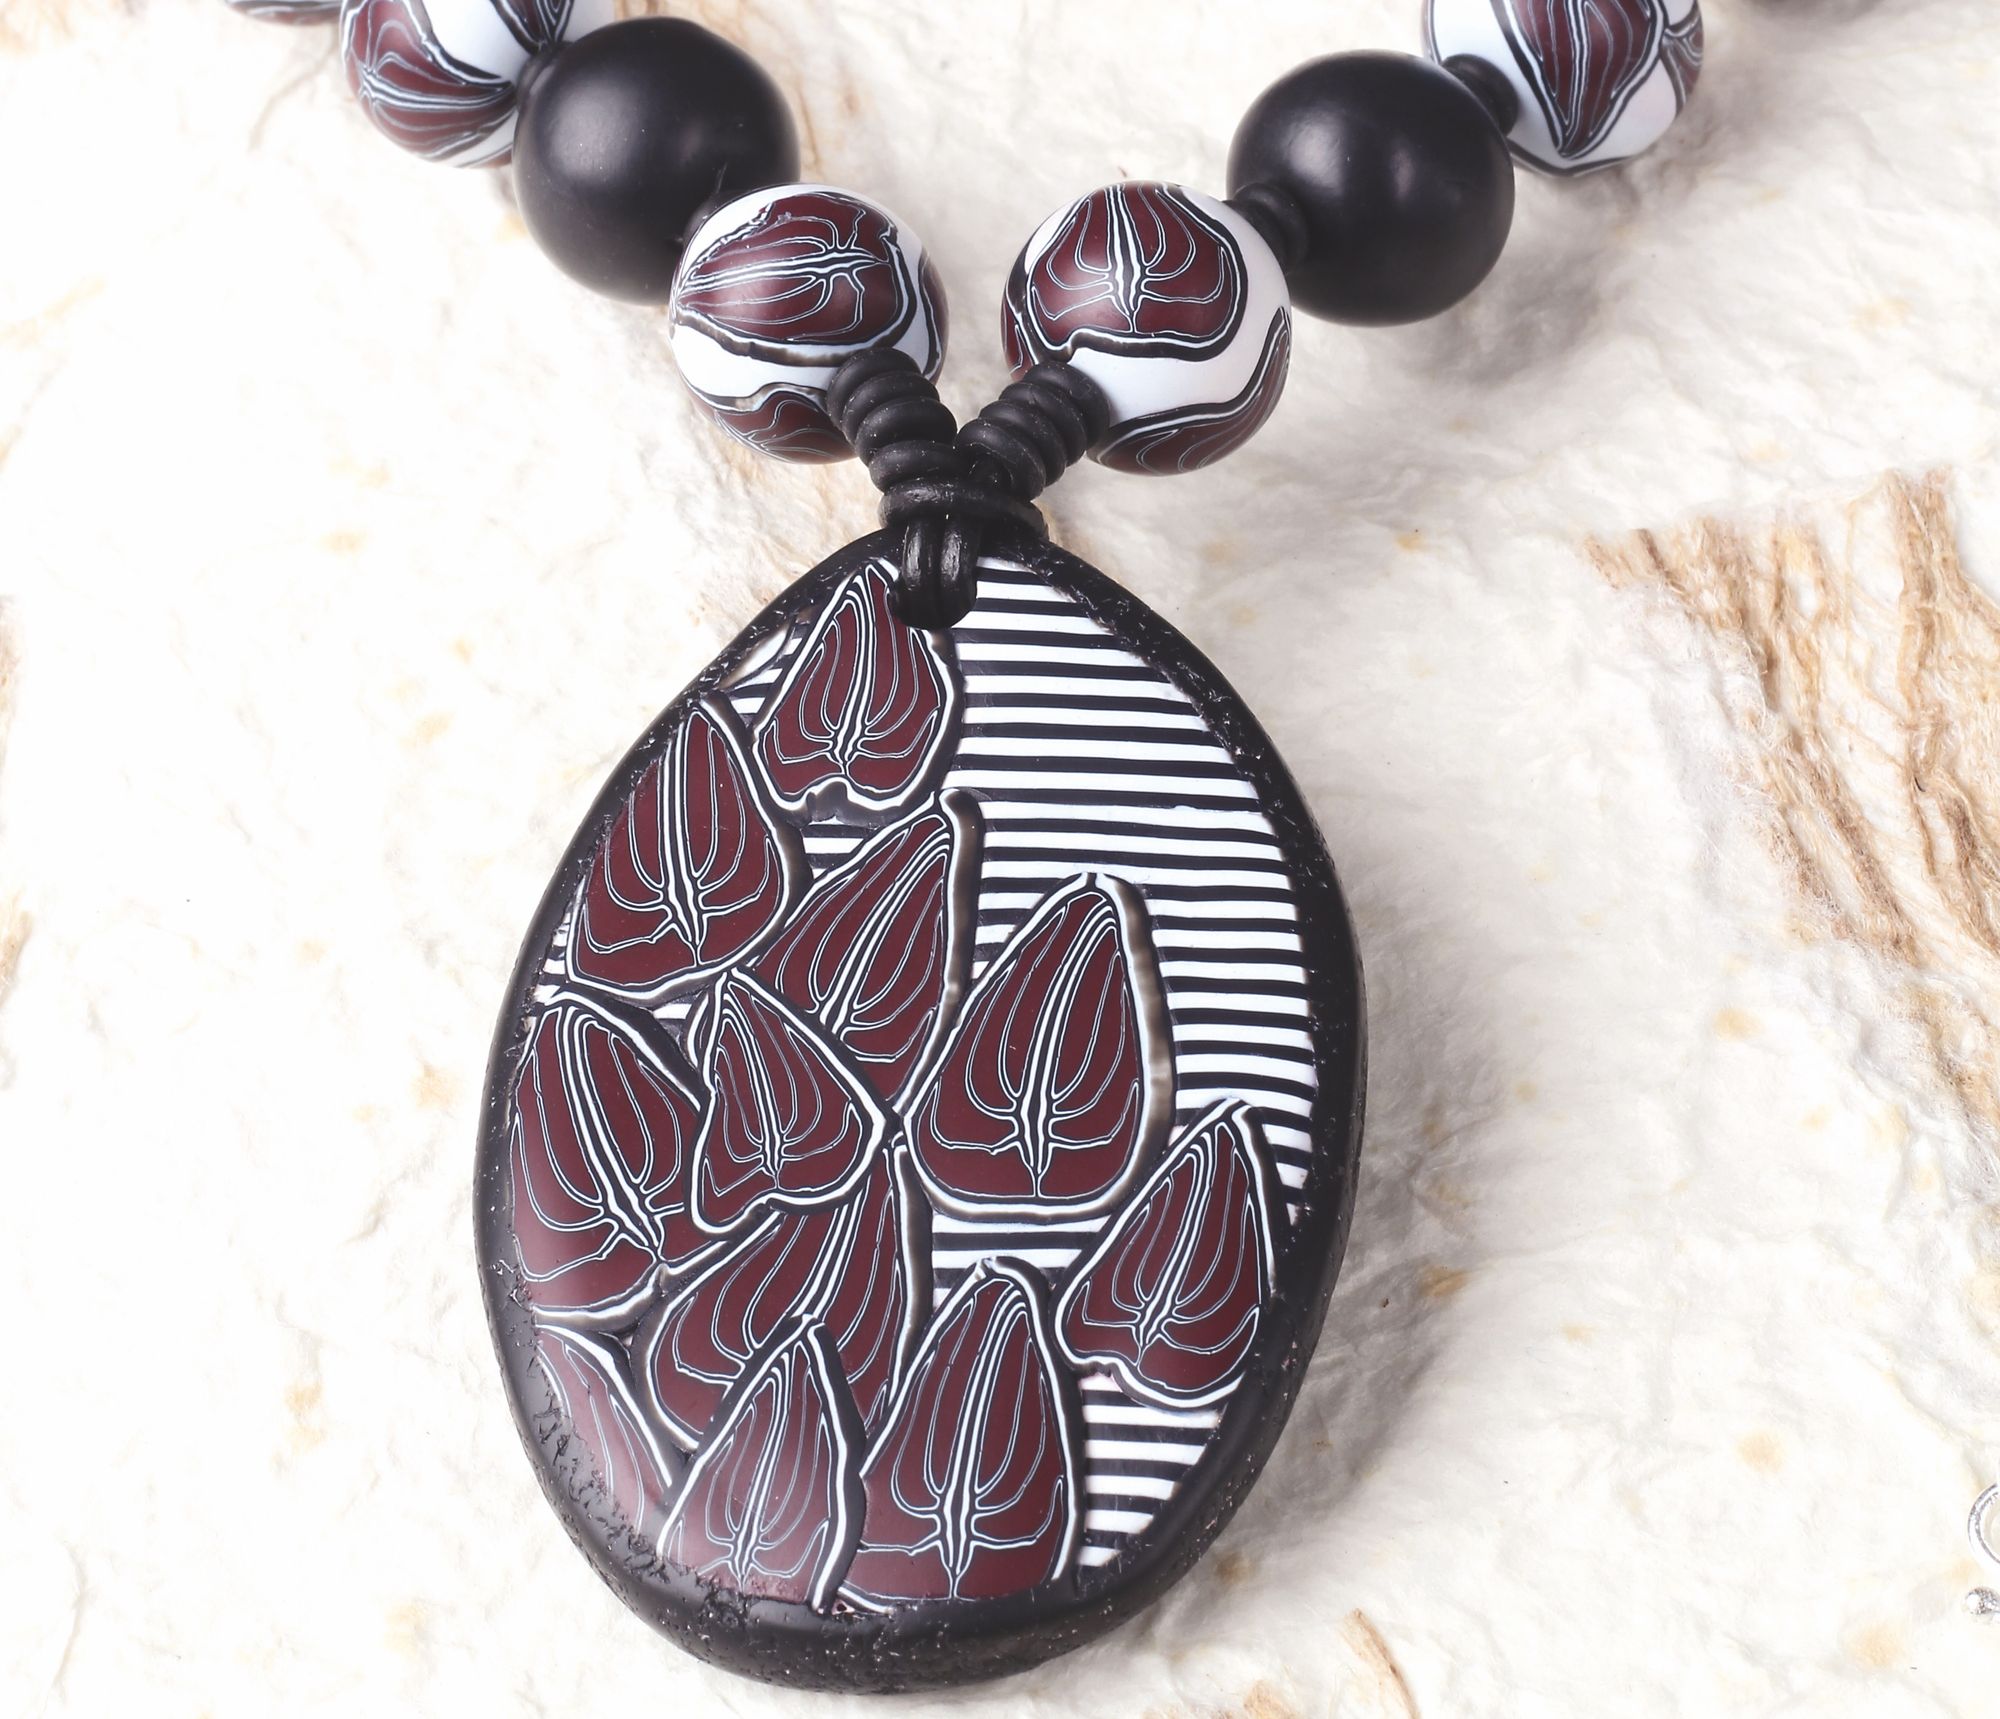
A polymer clay cane is a cylinder of polymer clay, assembled with a design that goes through its entire length. This cylinder, or similar shape, can be sliced to reveal an identical design throughout the cane. The size of this polymer clay cane can be reduced by compressing, stretching and shaping.
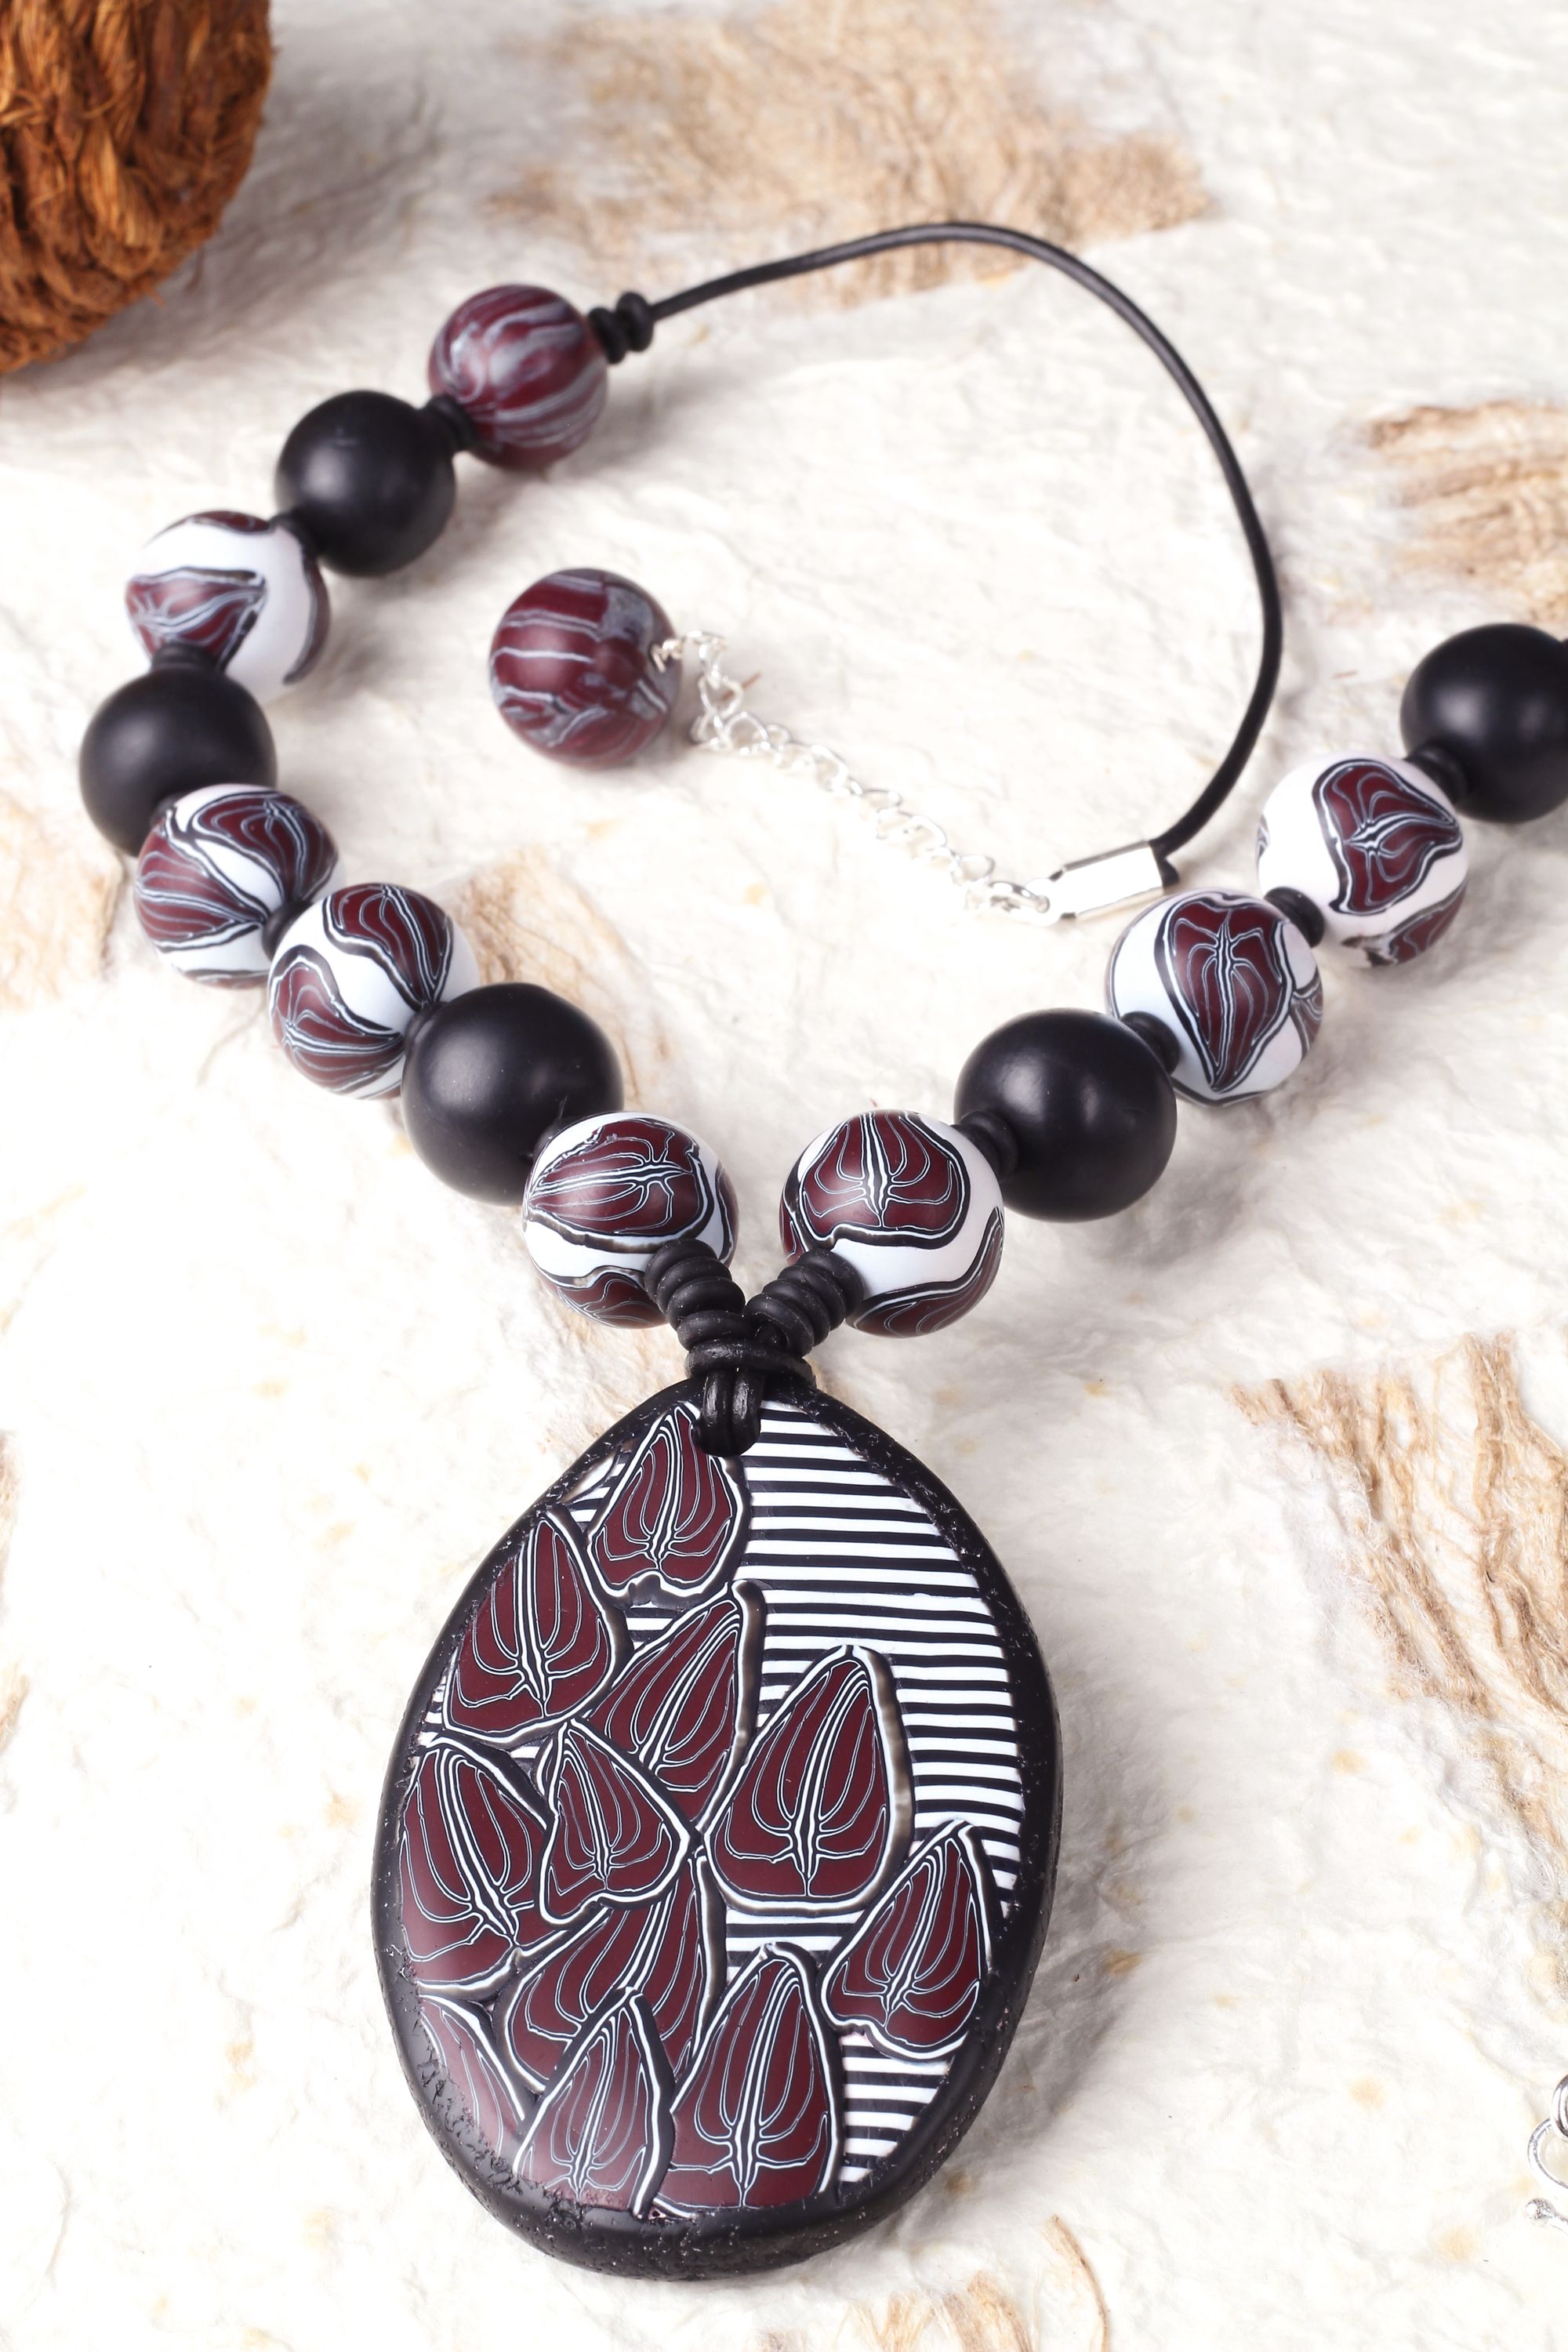
For this design, we will be making two canes. One stackable striped cane and one leaf cane. Use the suggested colourway to get the autumn version of this necklace, or make your own choice of colours to get the desired result you’re looking for. Make in around three hours for the full project, plus baking times. This project costs roughly £10.00 to £12.00 to make the pendant and beads.
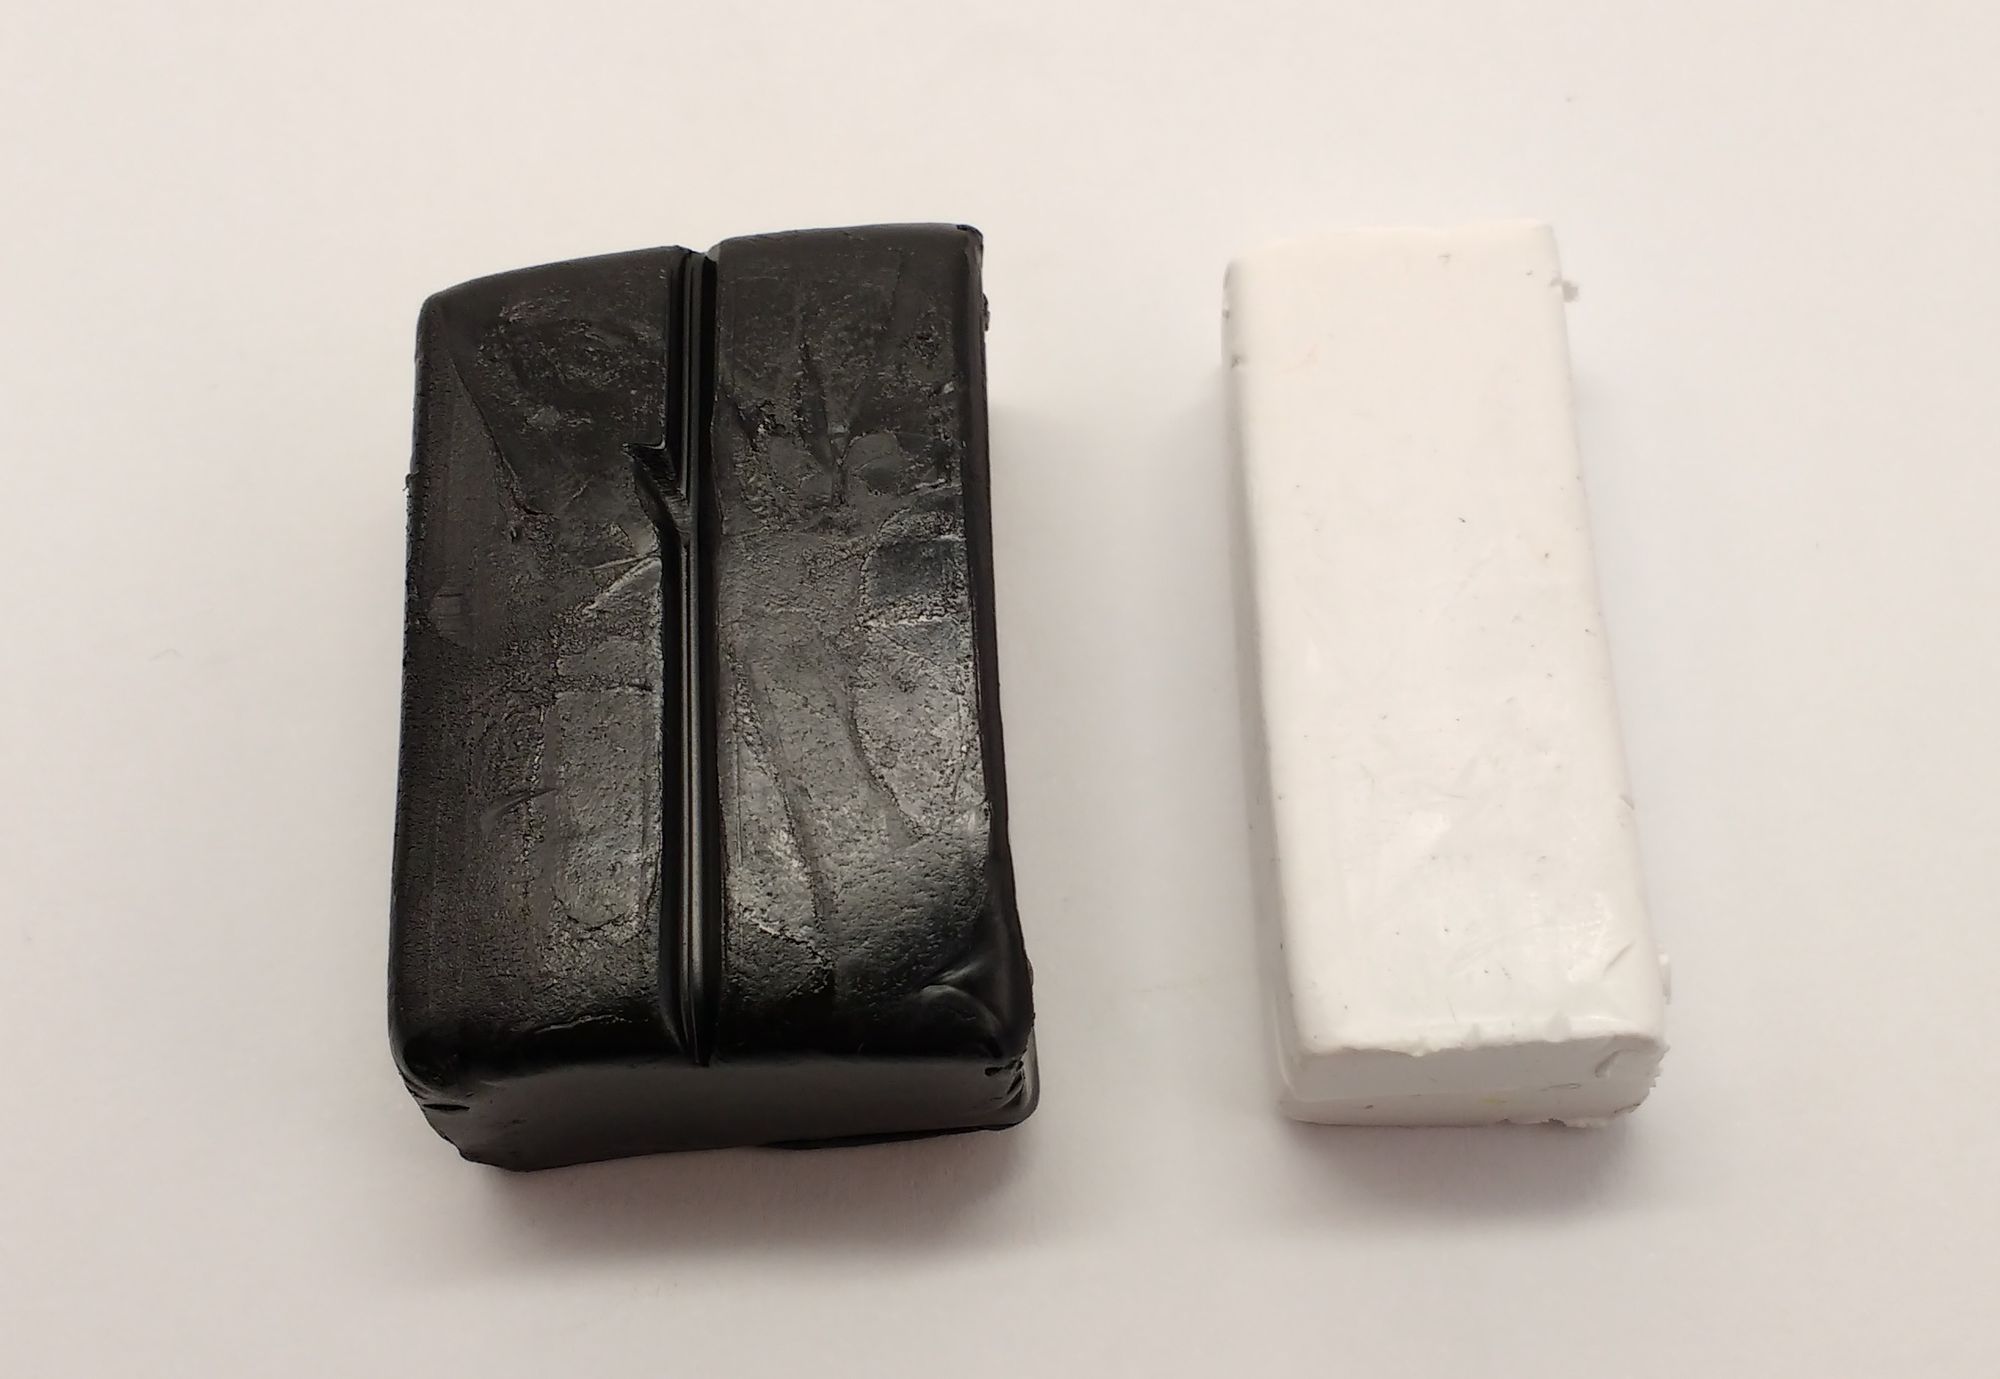
- For the striped stackable cane use half a packet of white and half a packet of black clay.
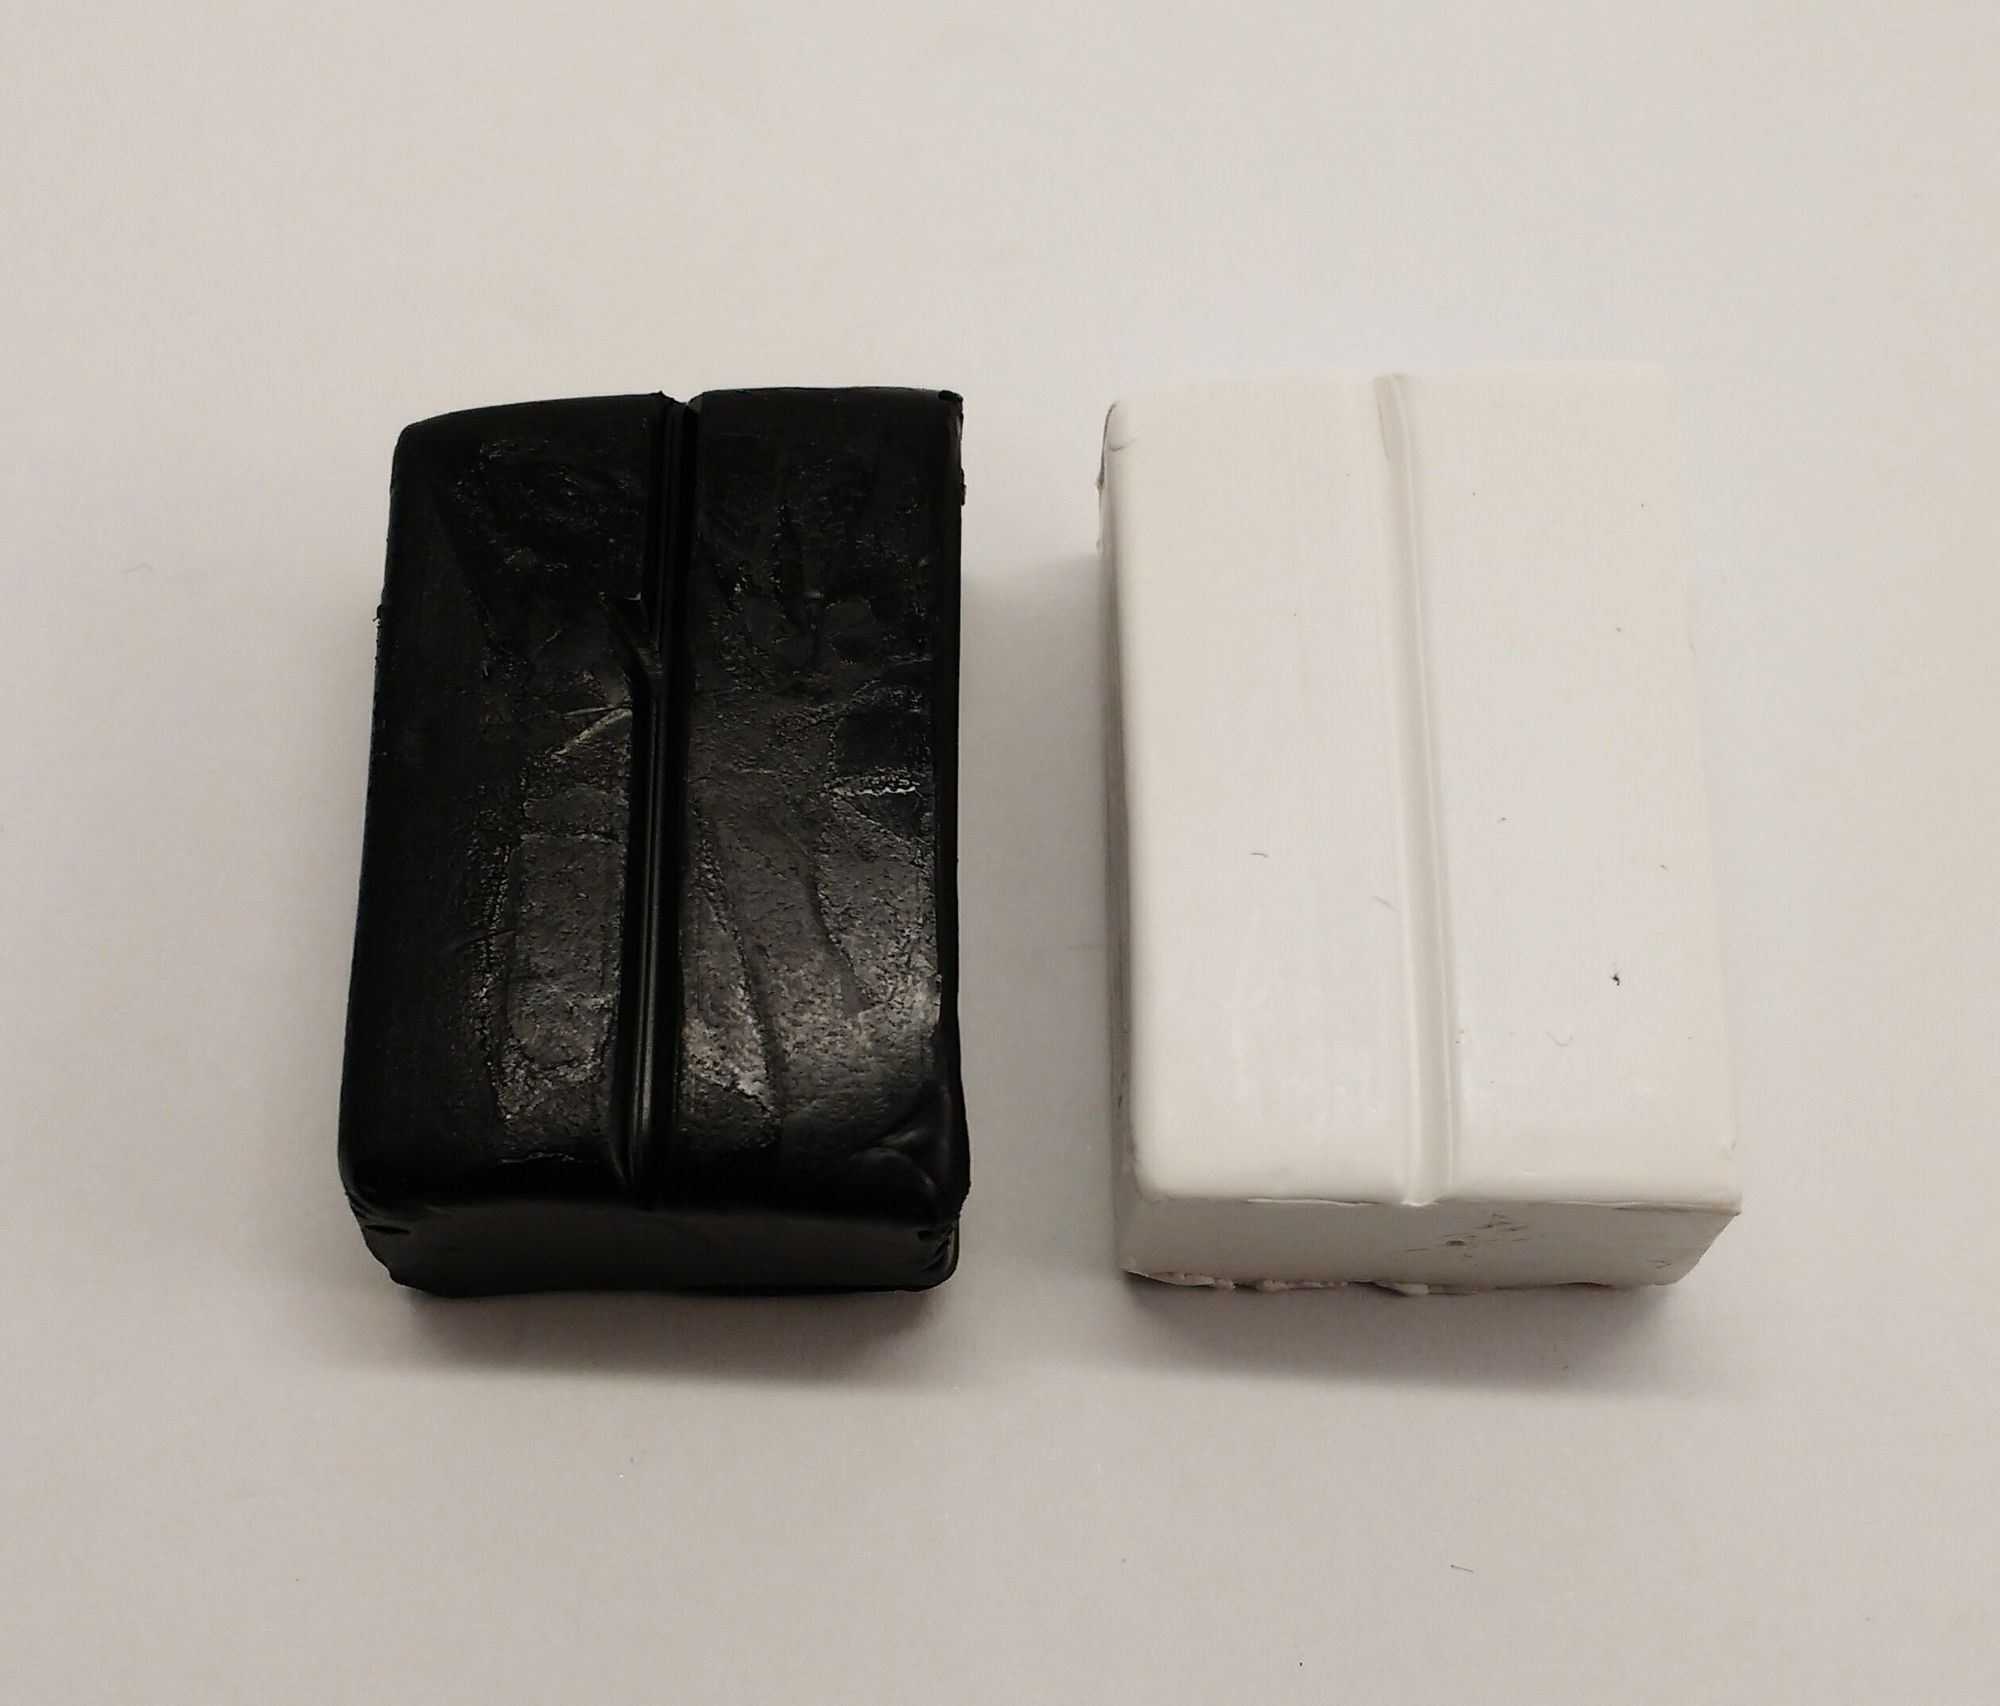
2. To condition your clay, you can massage and warm it between your hands or use a pasta machine.
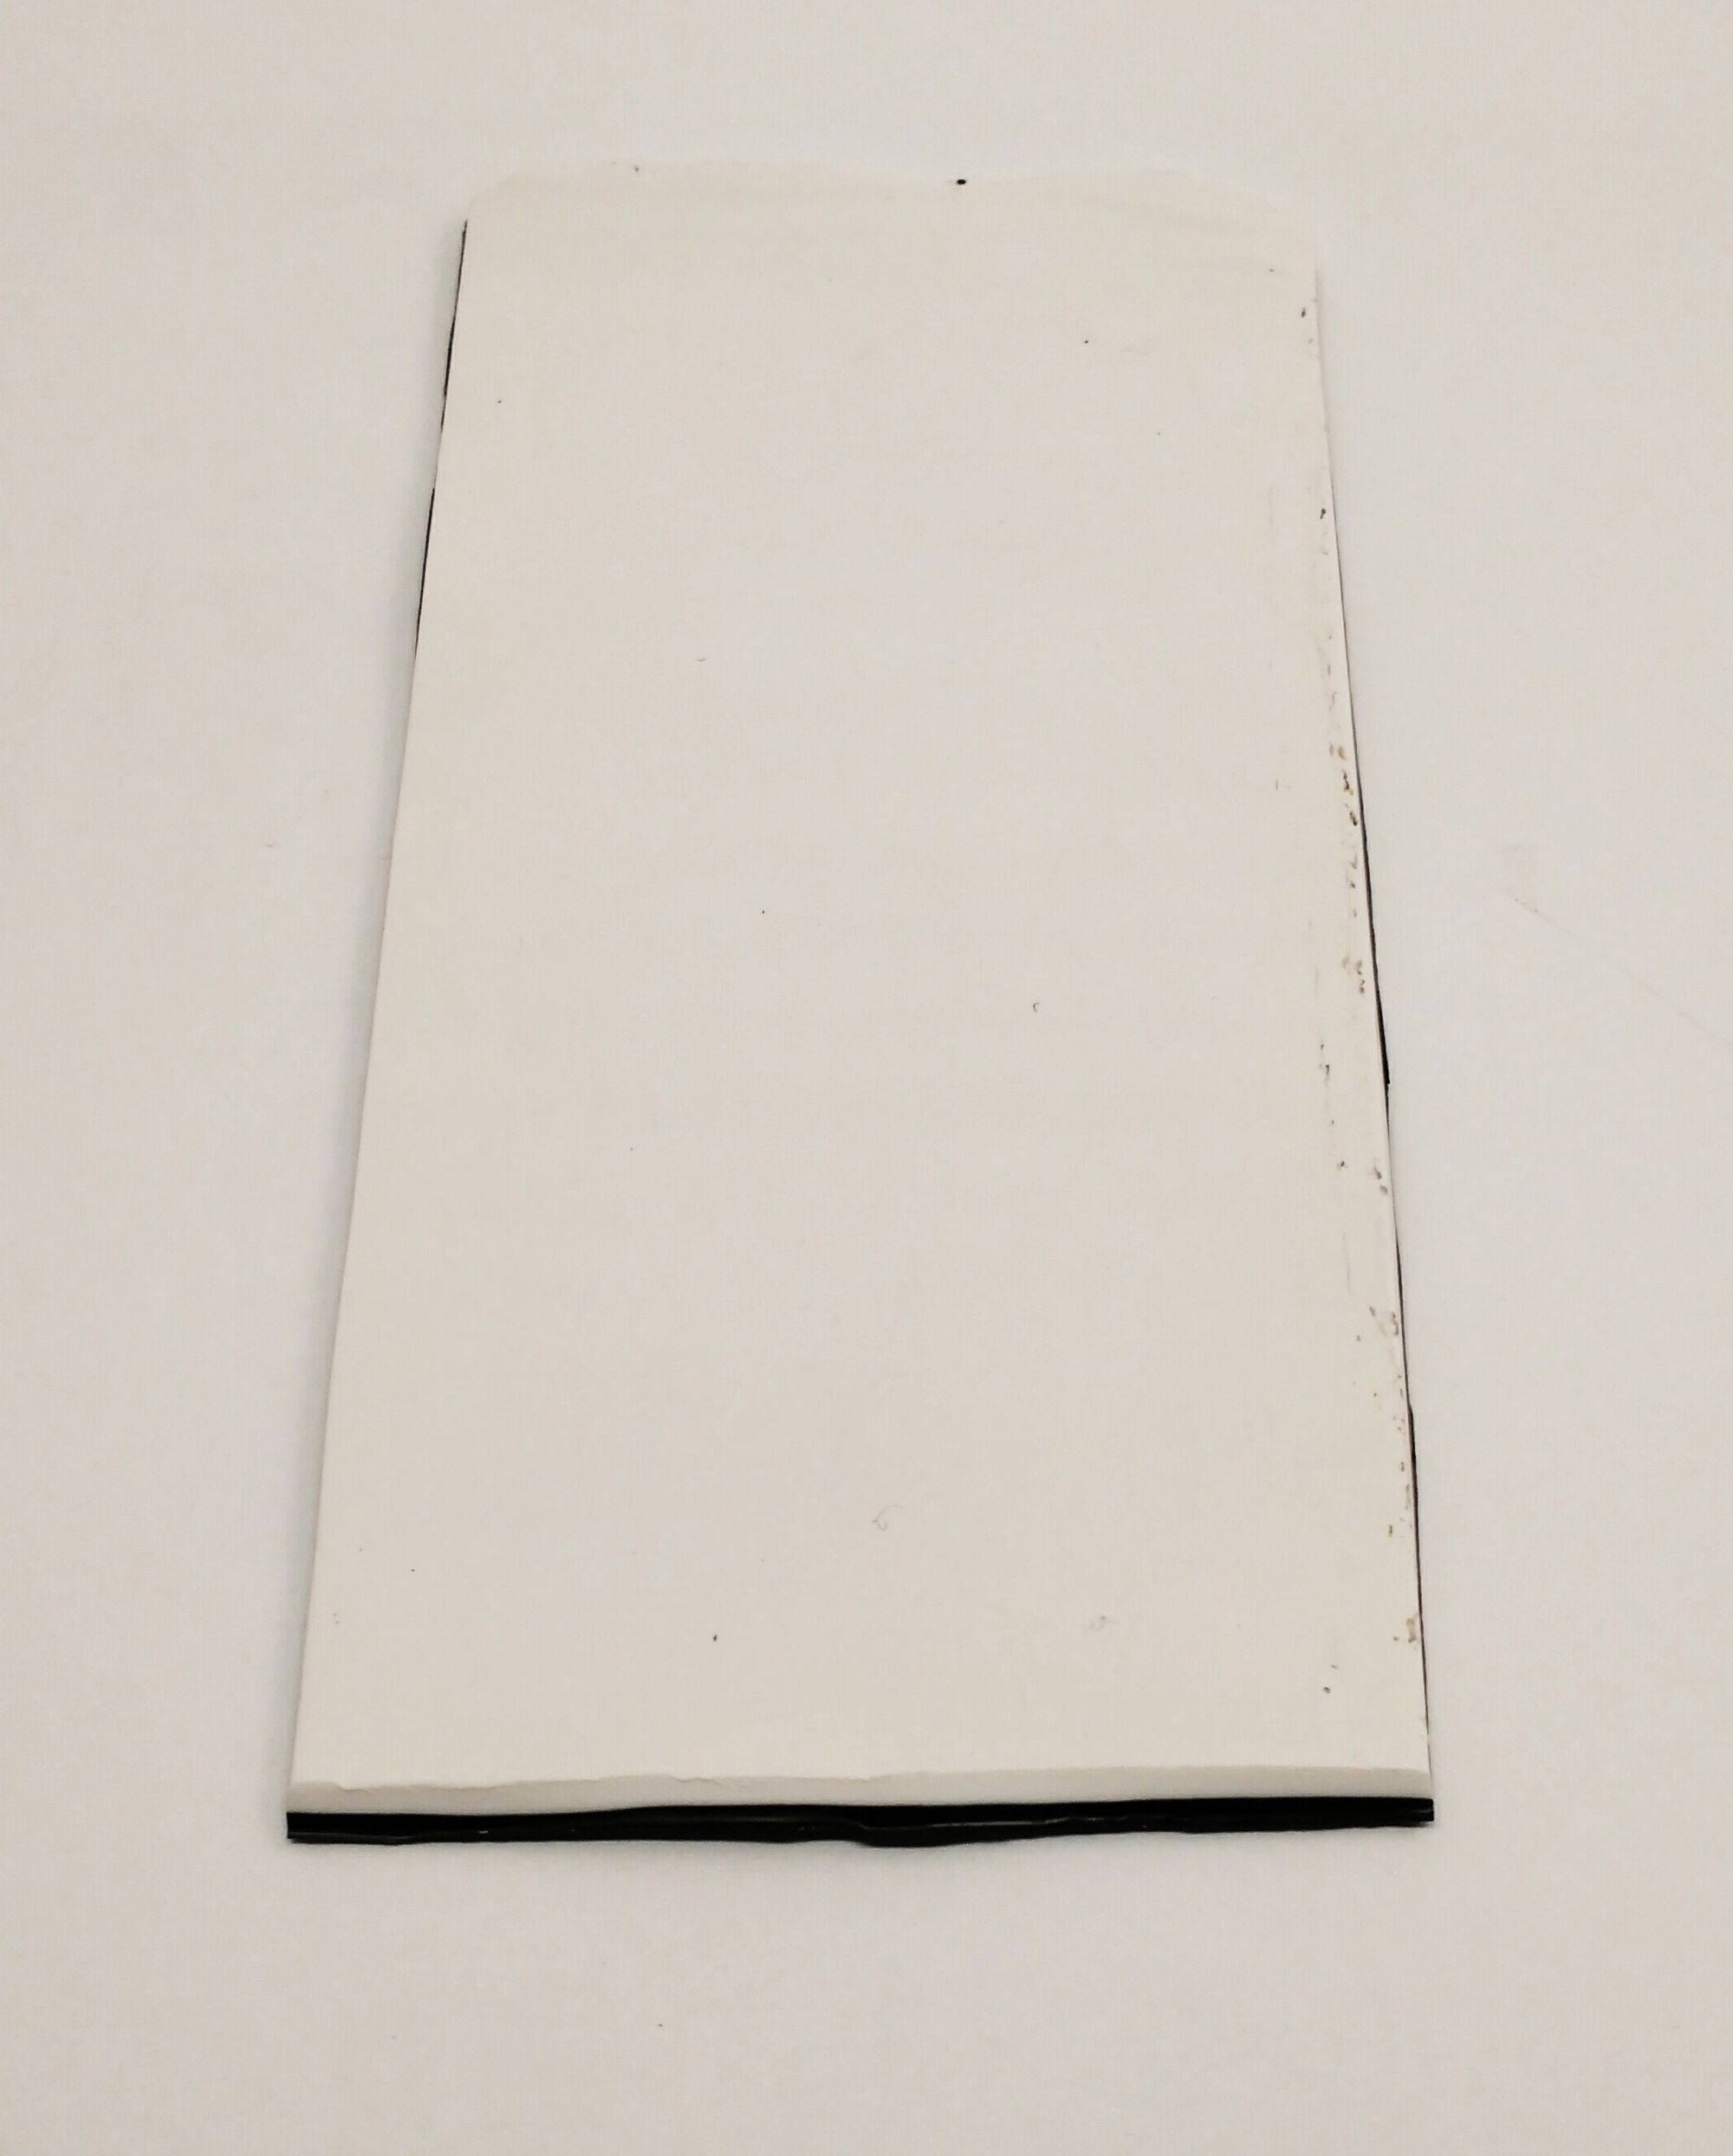
Roll the clay on the thickest setting of the pasta machine, making a long rectangle of each colour. Stack one sheet on top of the other and roll the stack on the same setting creating a long thinner rectangle. Trim the edges.
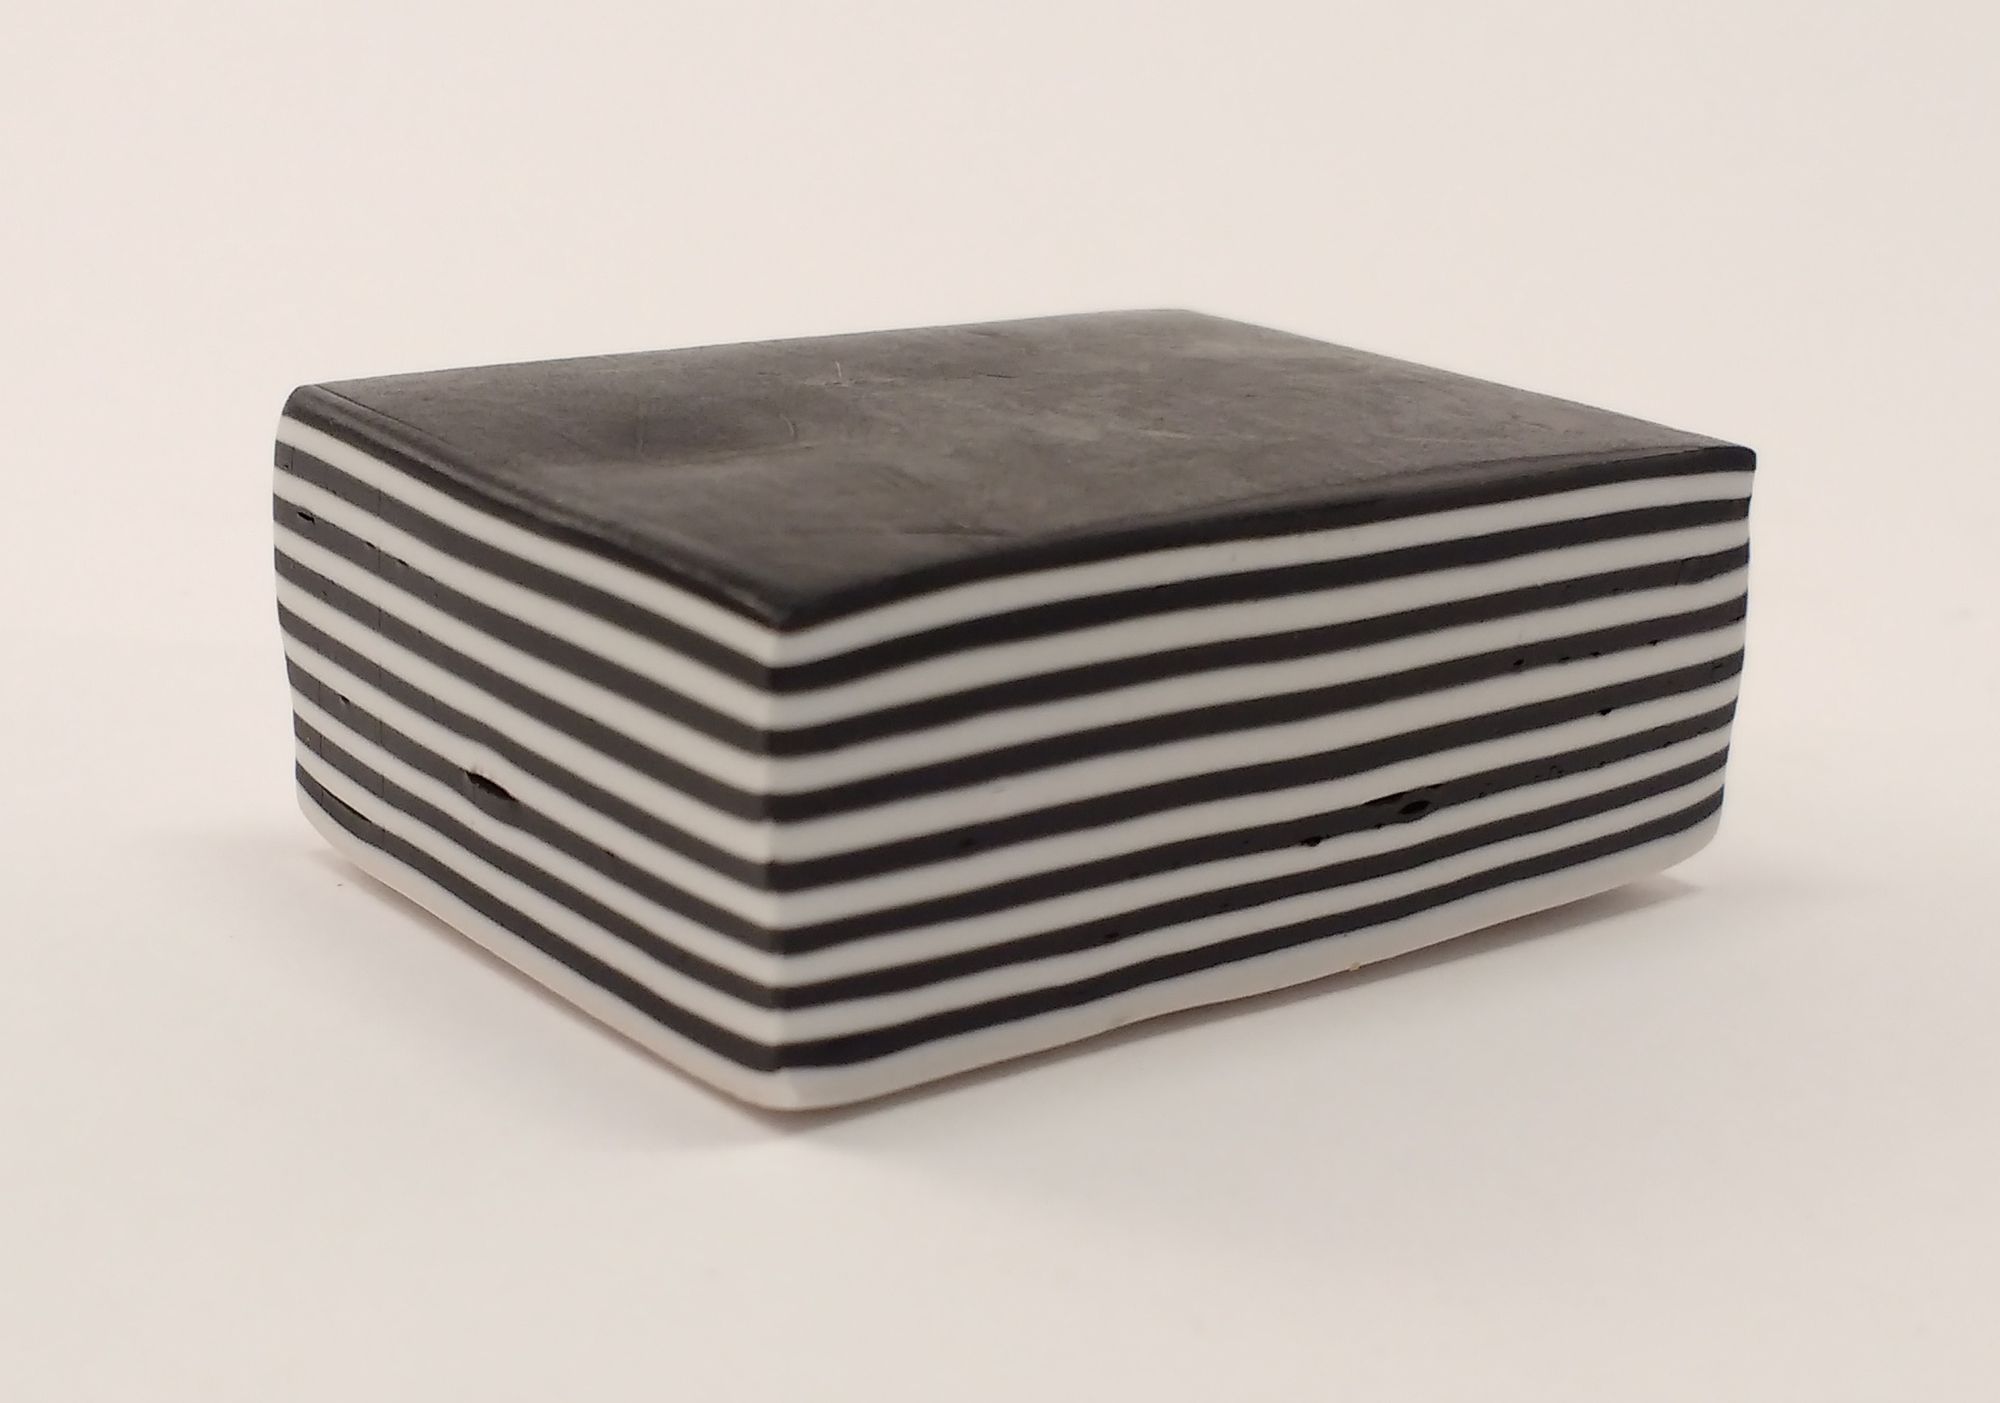
3. Cut the long strip in five equal parts and stack each one of top of the other, making sure that the colours are alternated. When this is done, set aside in a cool place.
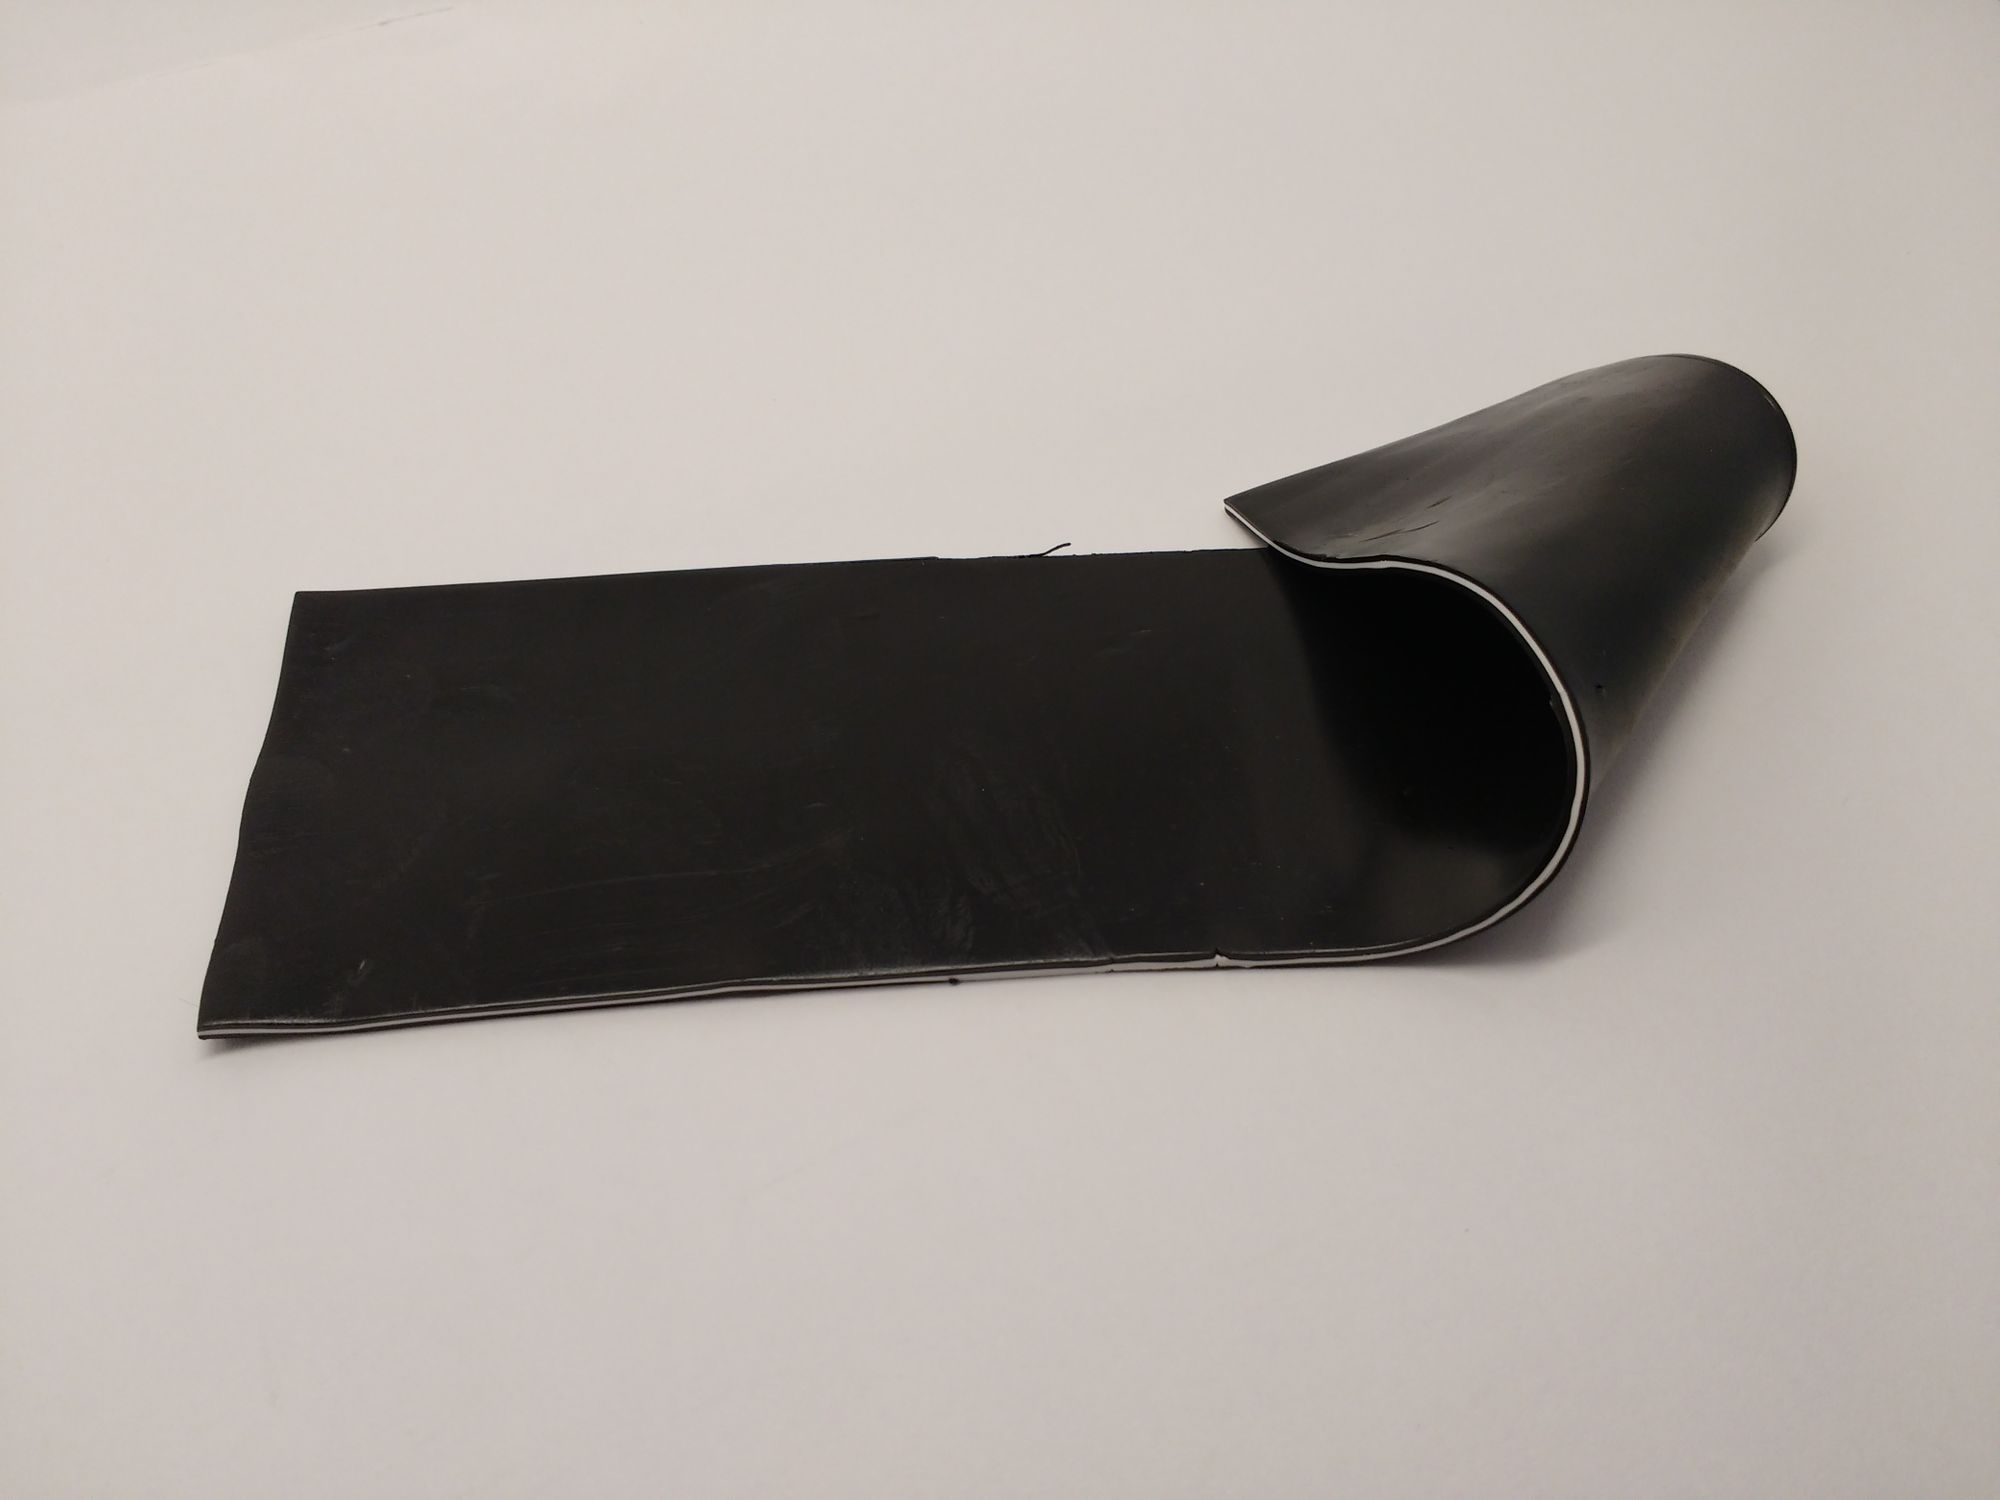
Leaf cane: To create the leaf vein, condition half the block of the black clay on the second thickest setting and divide into two equal size rectangles. Next, roll one-quarter block of the white clay on the same setting and trim to the same size as the black rectangles.
5. Stack the three rectangles with the white clay in the middle.
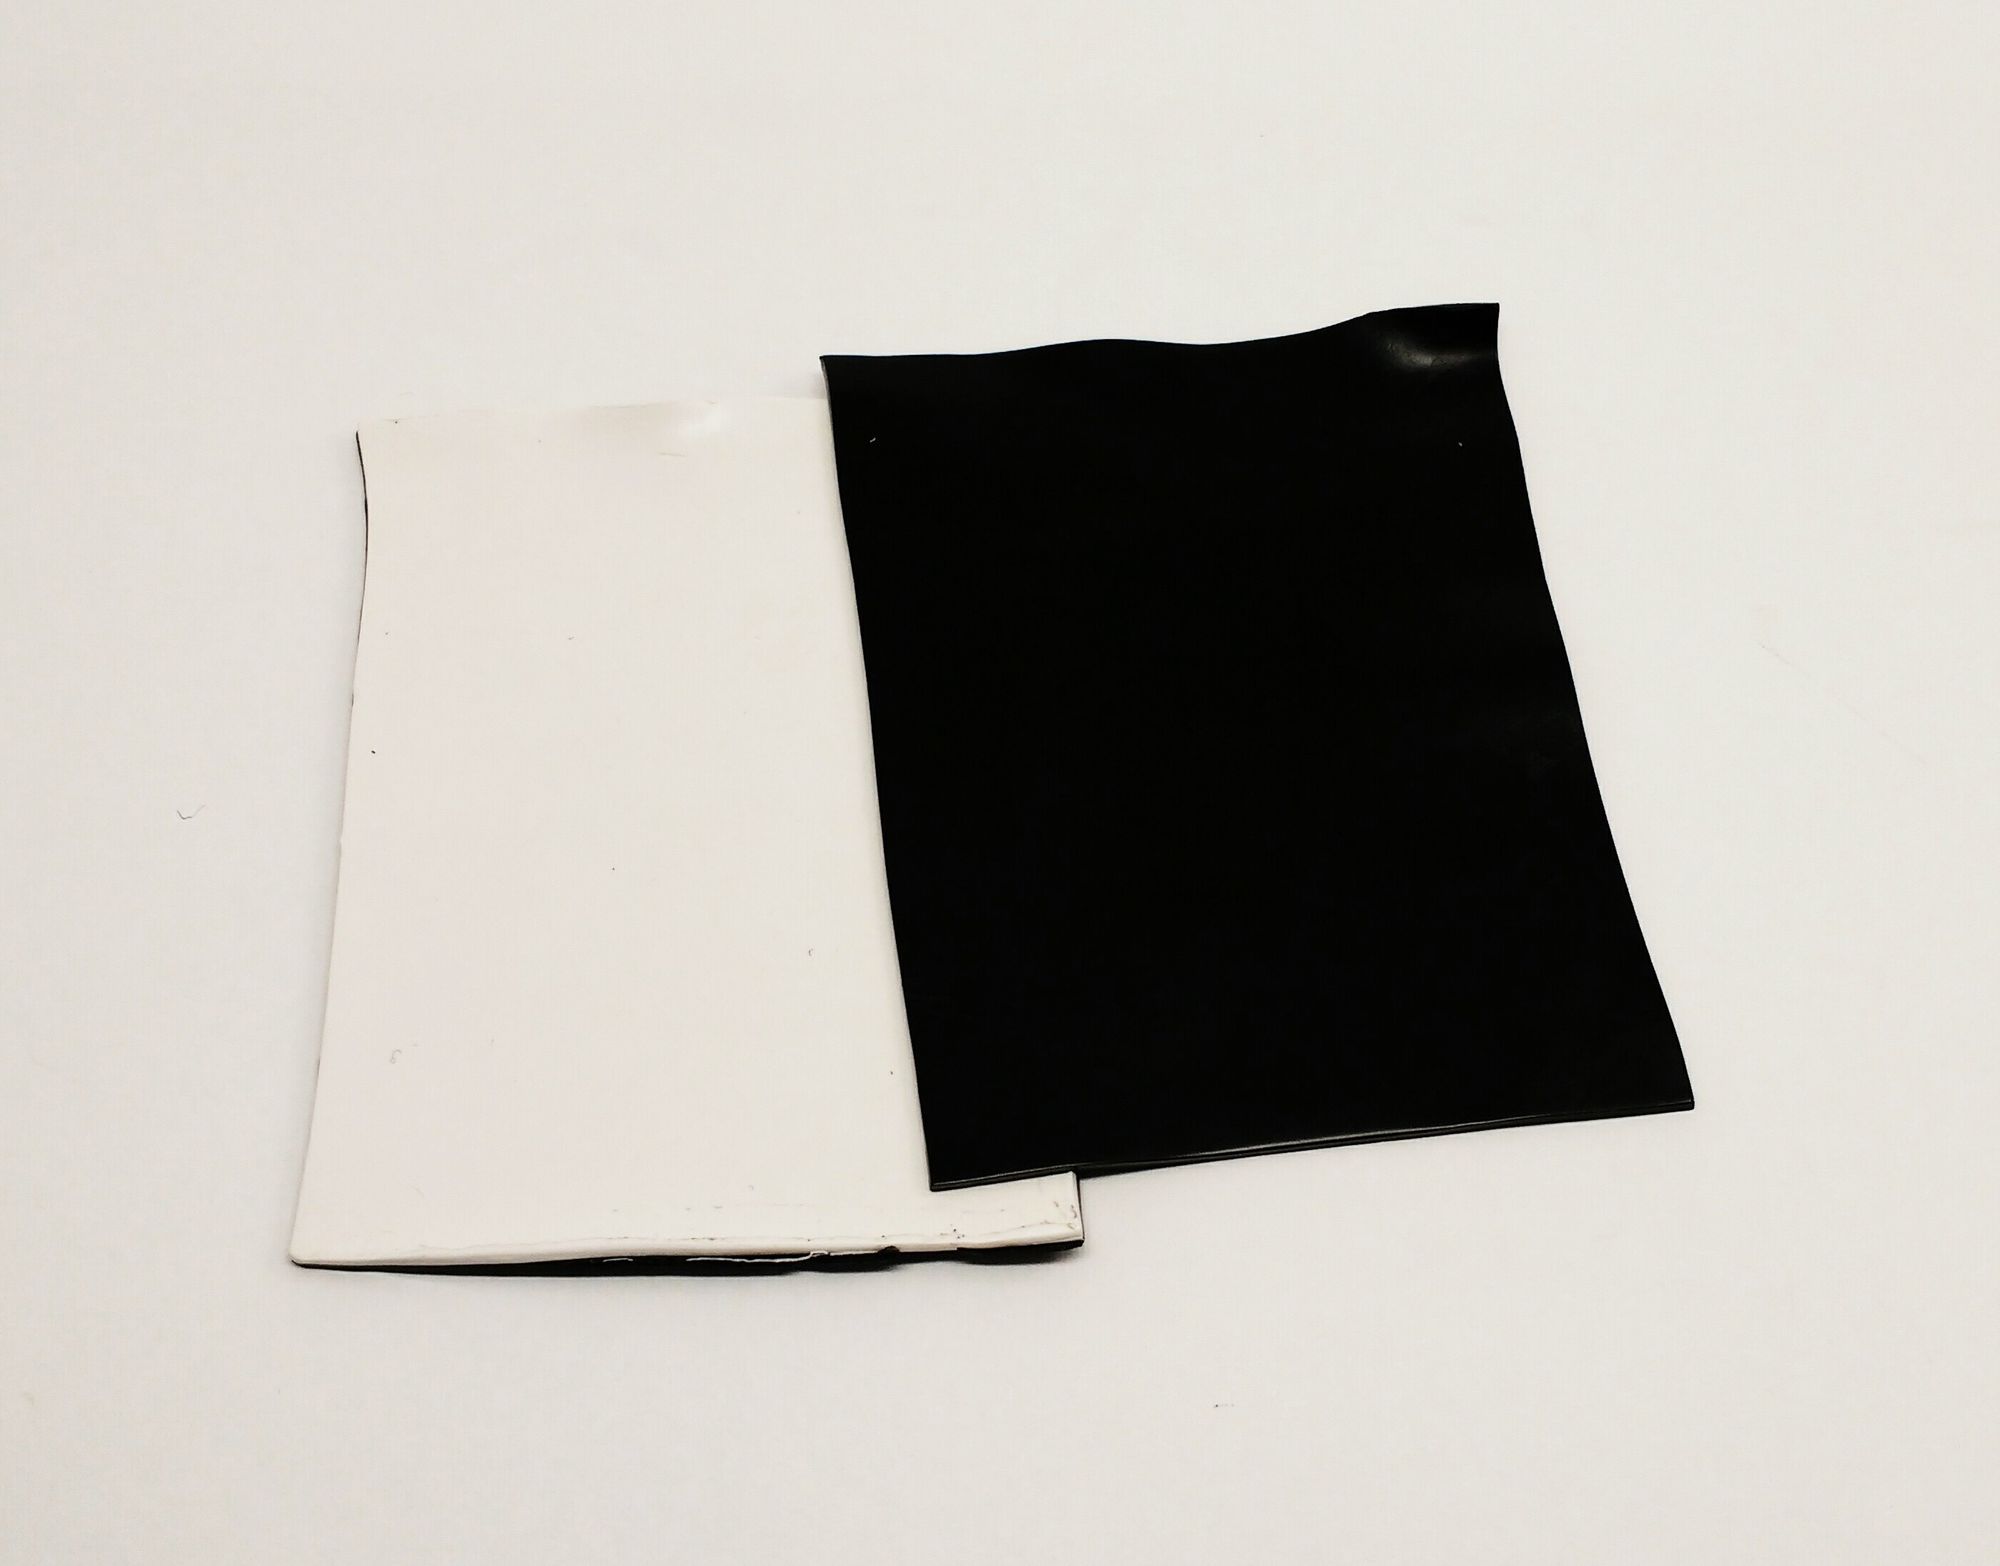
6. Roll the new stack very gently using the thickest setting of the pasta machine. This will create a longer and thinner rectangle.
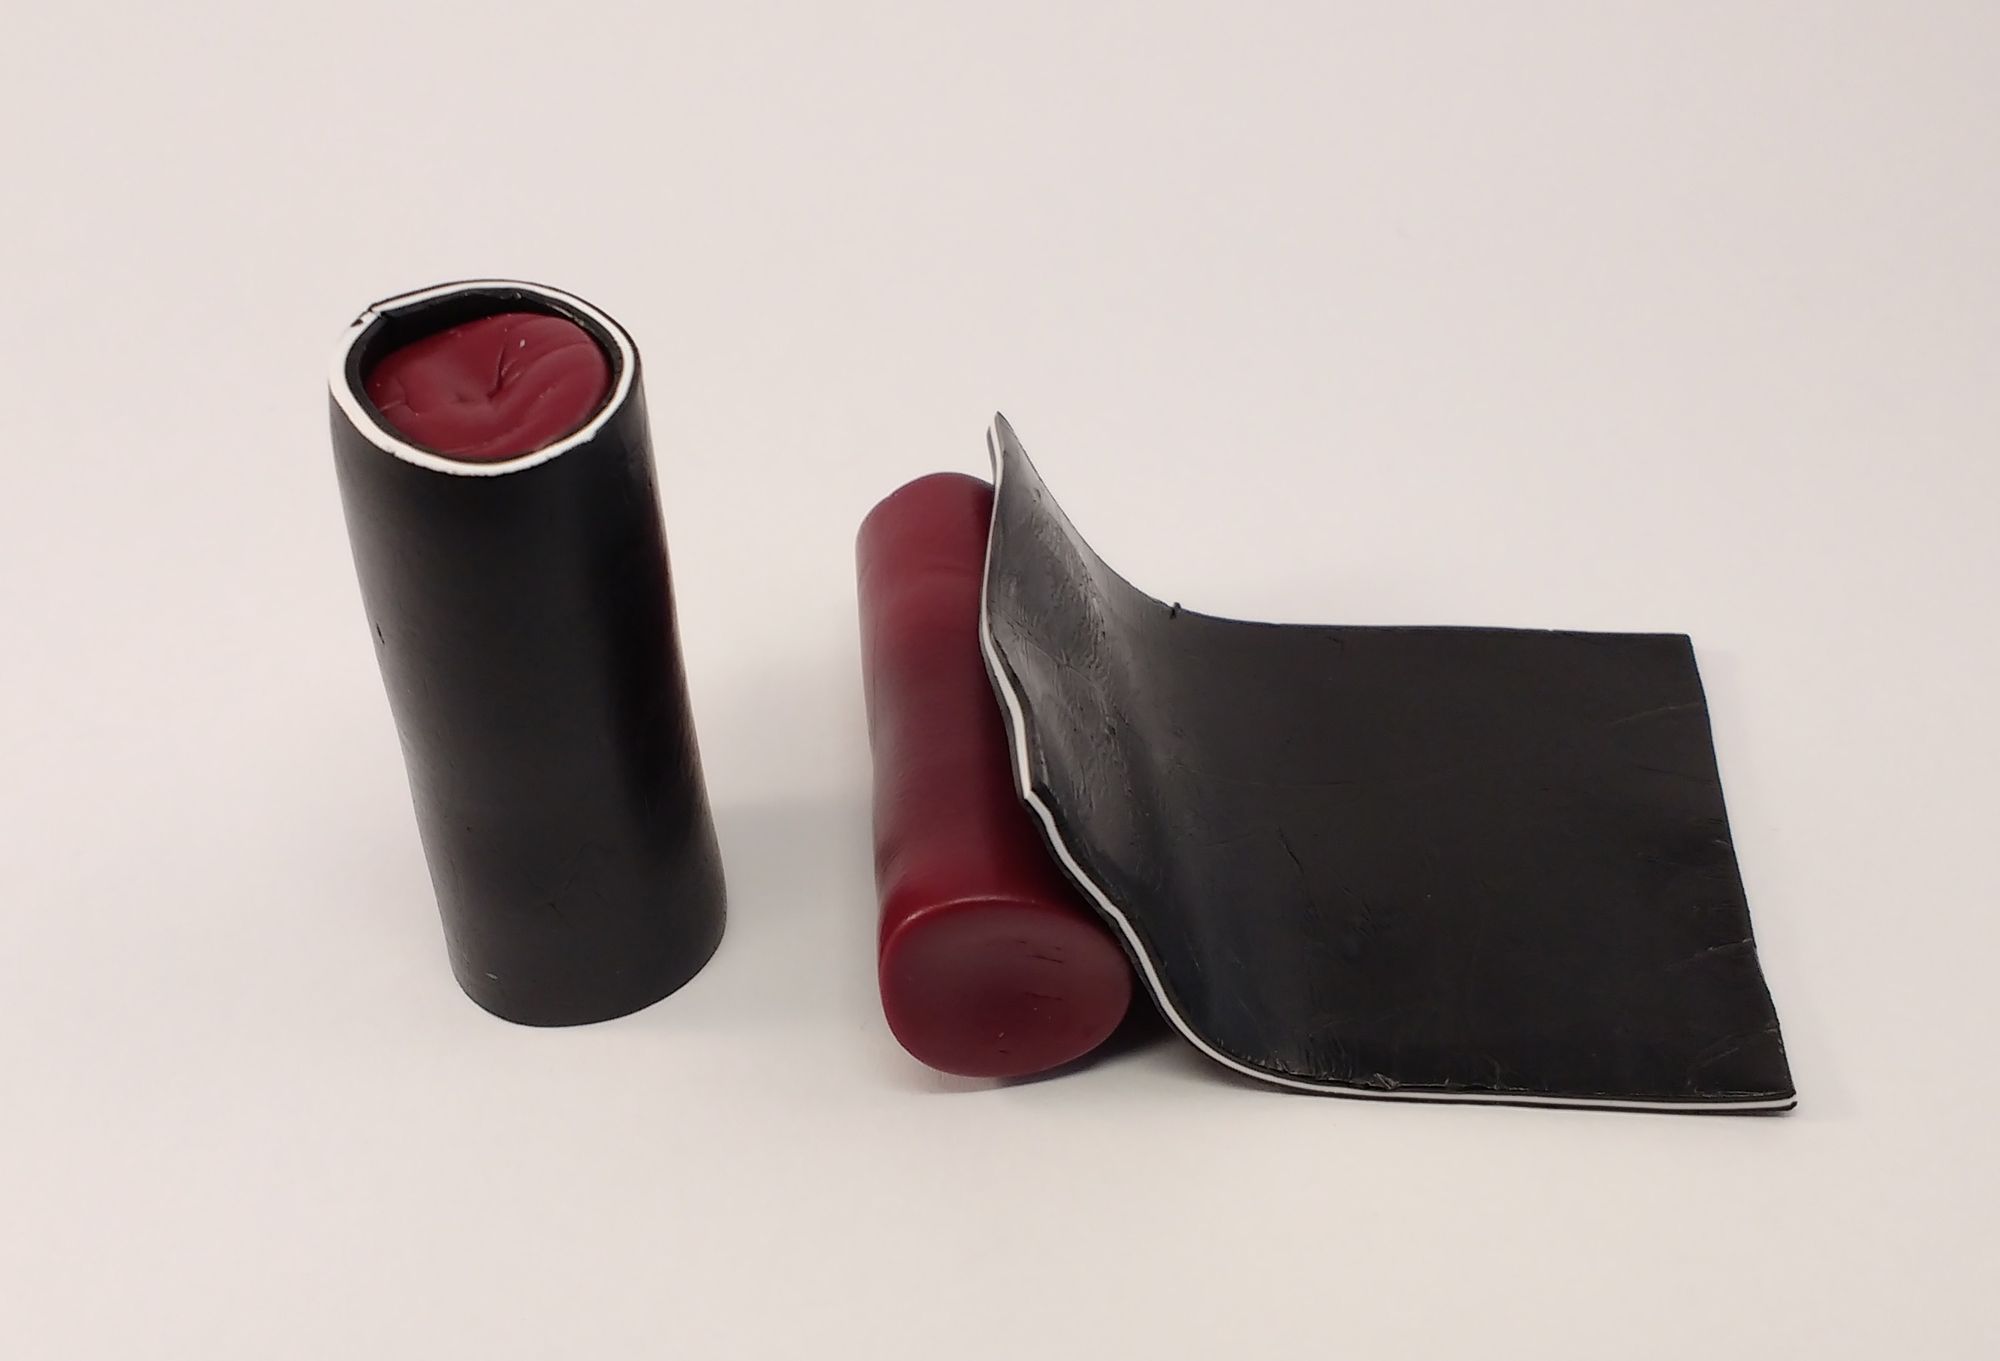
Condition three-quarters of the Alizarin Crimson Hue as the main colour of the leaf and with your hands shape into a cylinder. Wrap this cylinder with the thinner long strip of the black and white cane, making sure the edges meet neatly without overlapping.
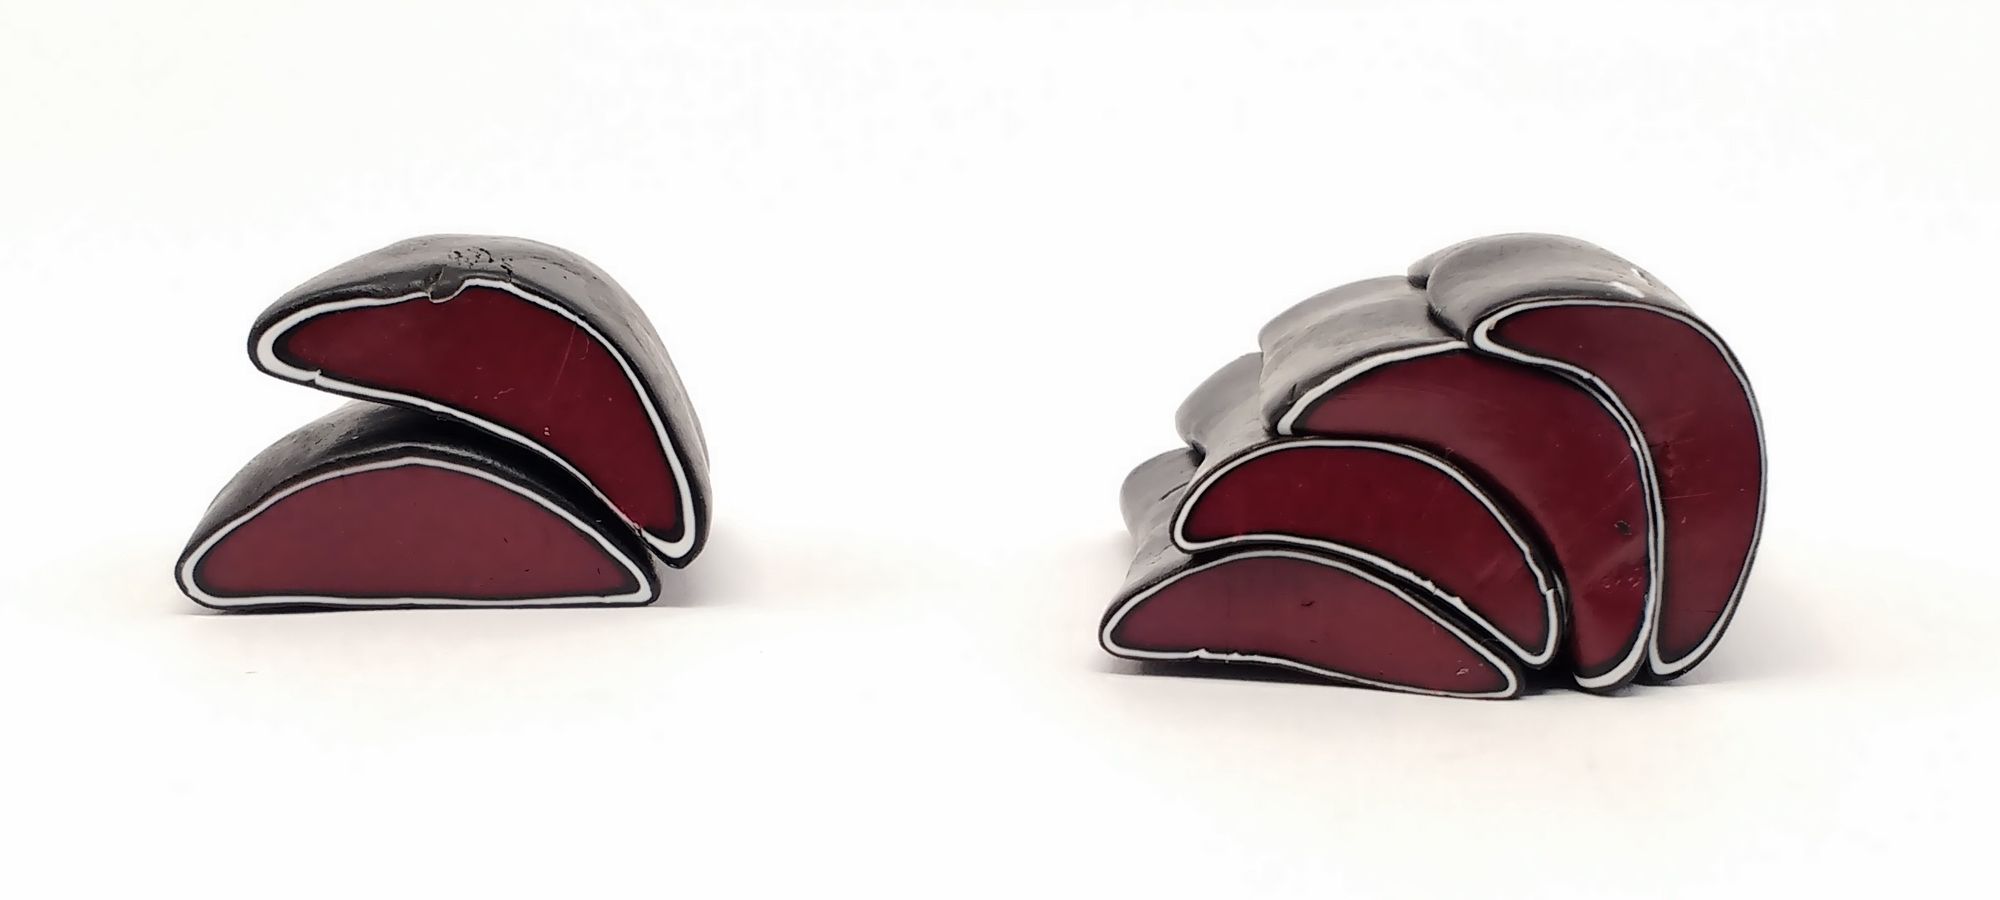
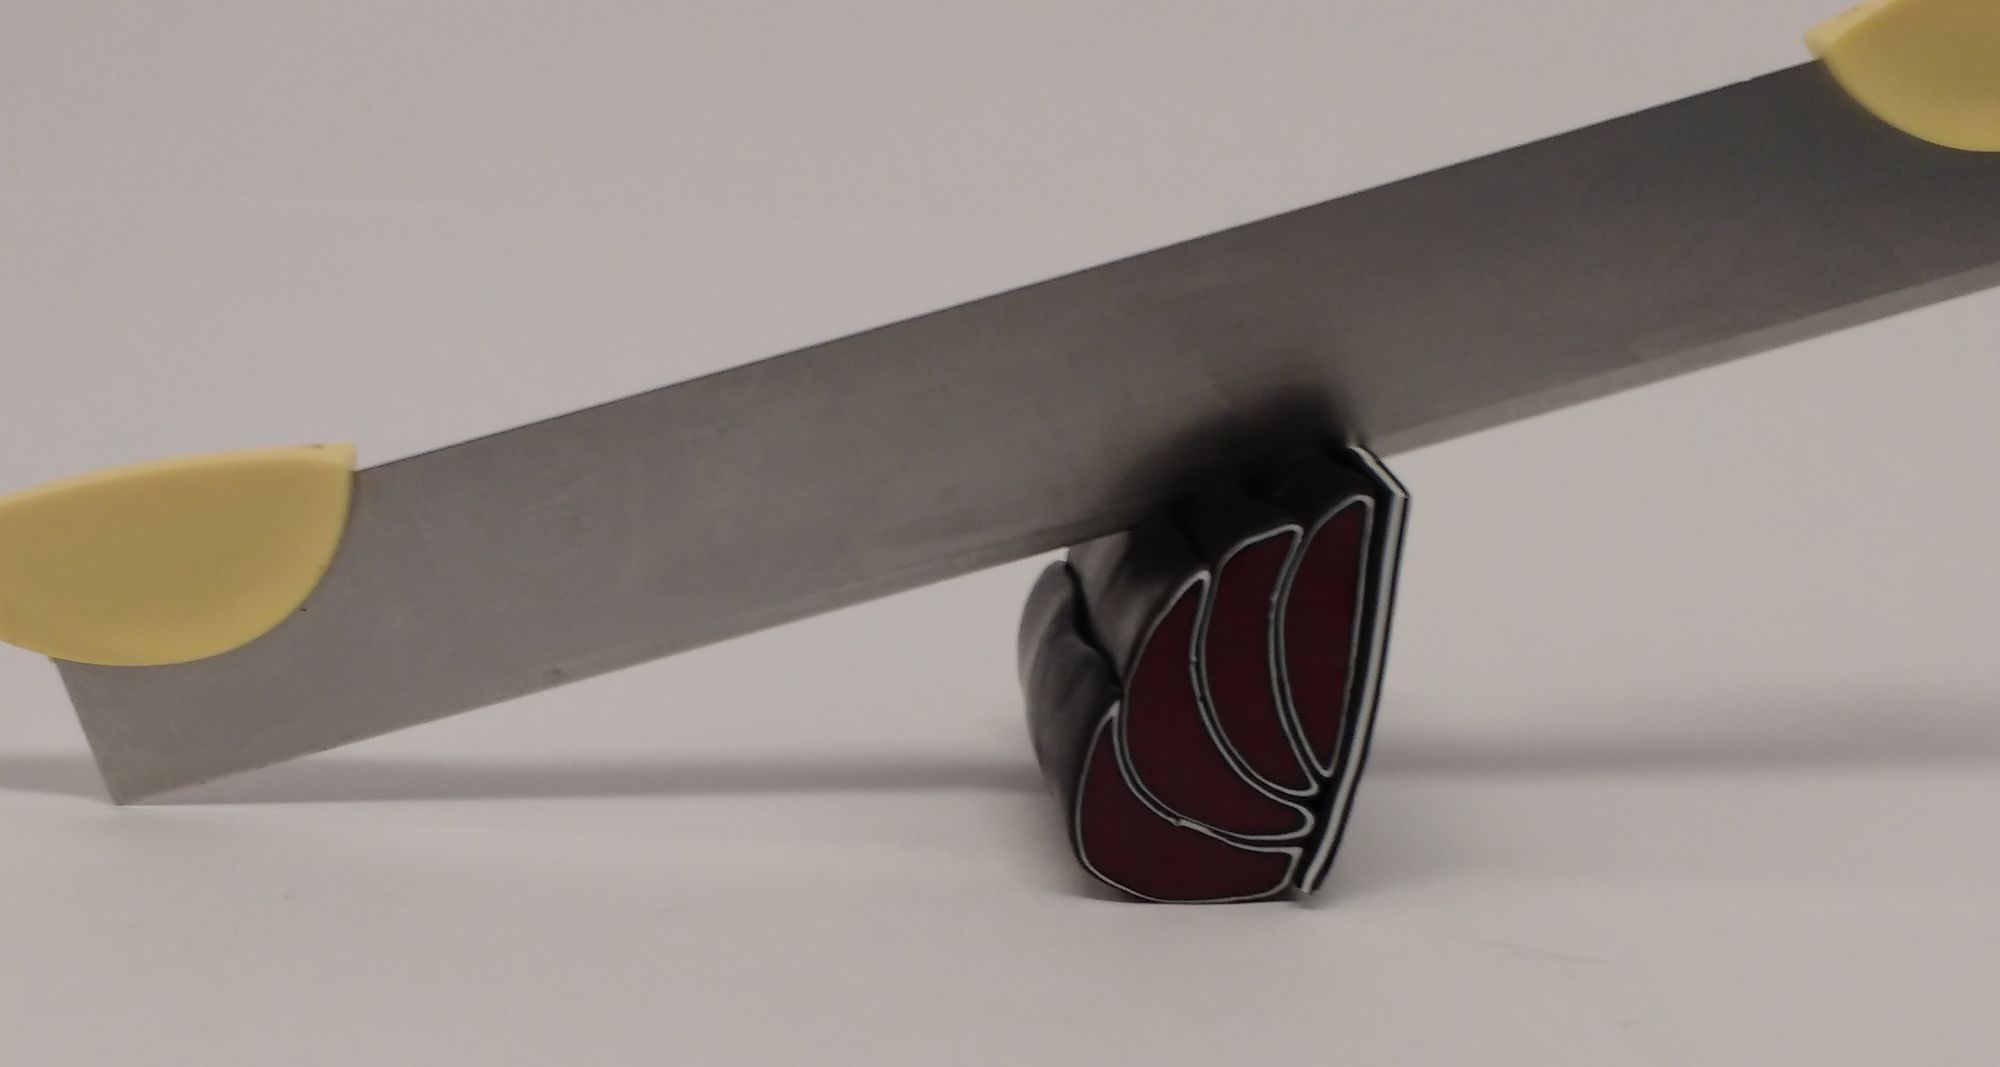
8. Reduce this cylinder until it has a 2.5cm diameter. Press the side gently to create a bean shape and cut in four equal parts. Stack them as in the photograph.
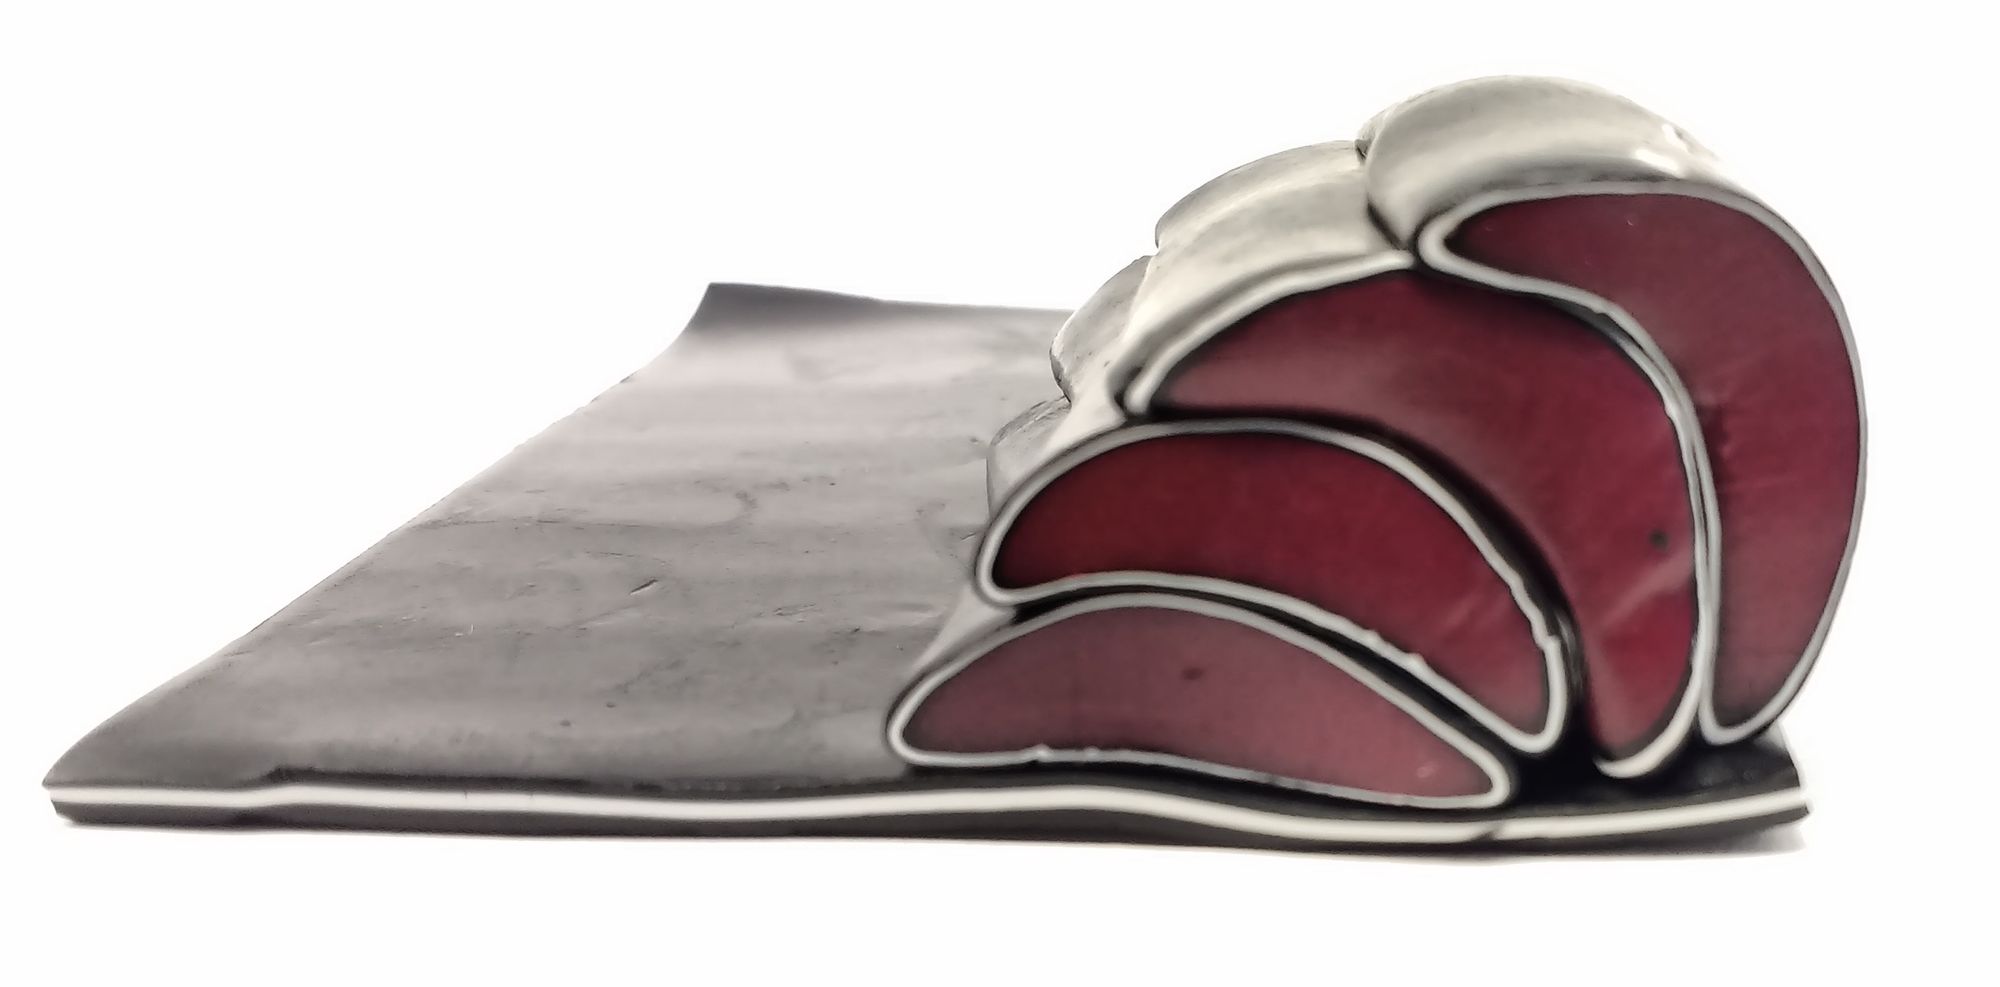
9. Put this new stack on top of the thin black and white strip of clay to create the main vein and then trim the sides neatly.
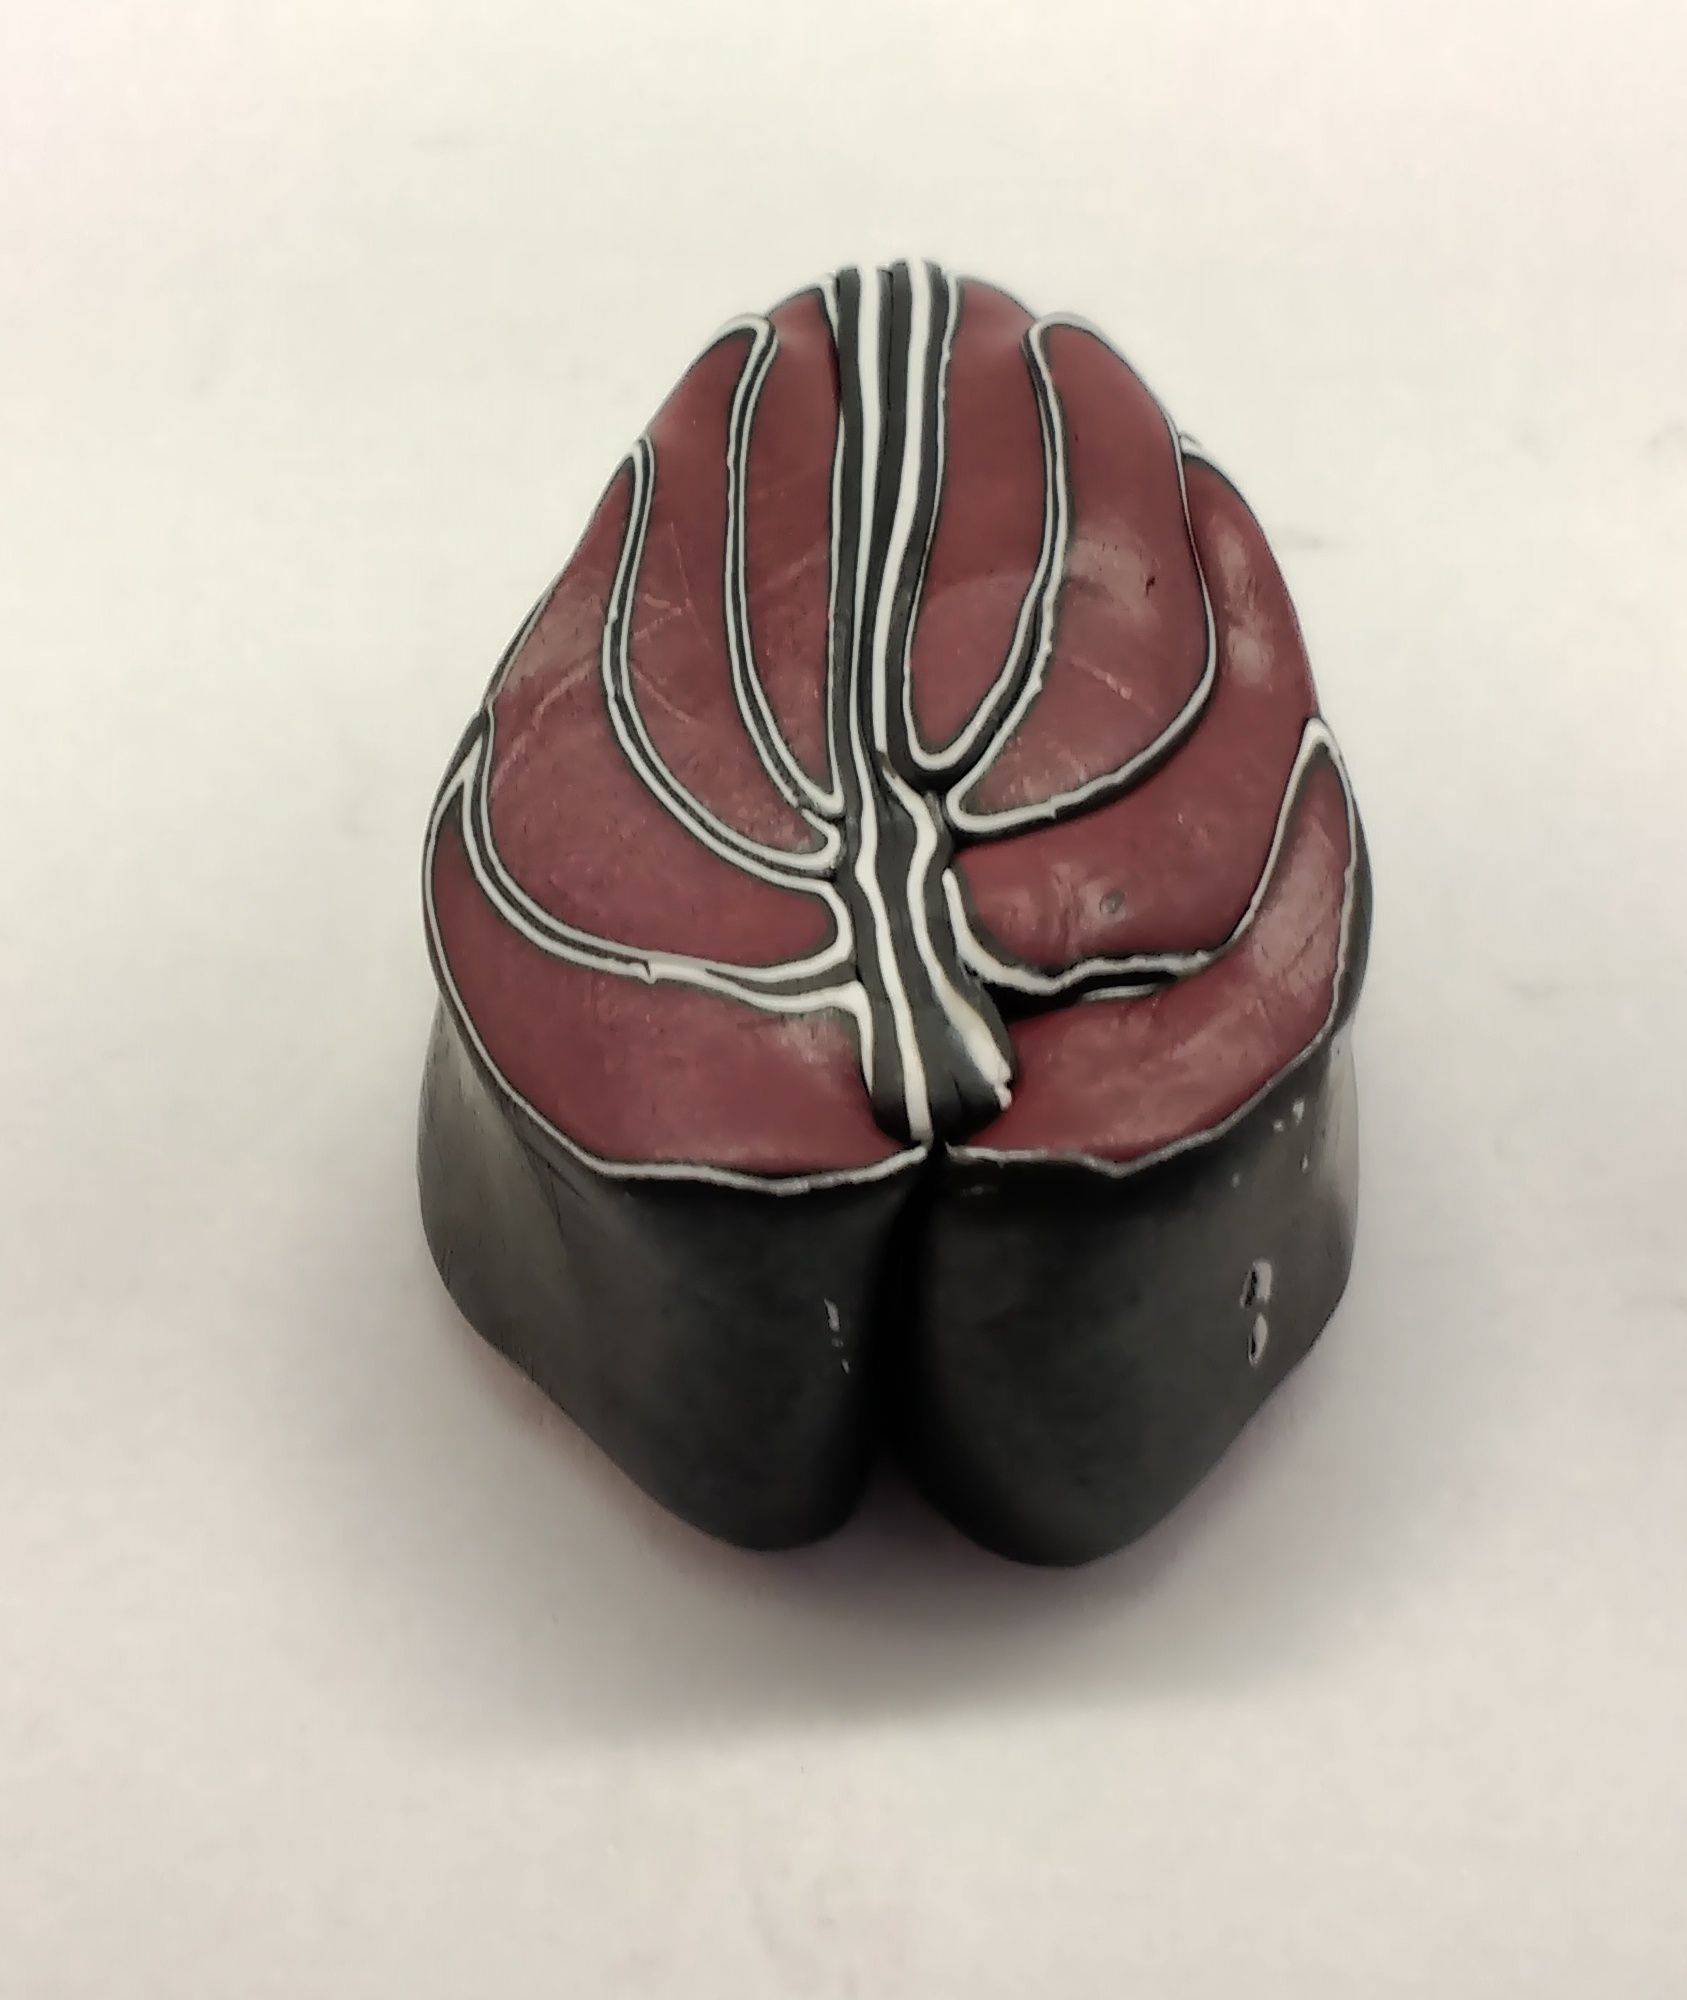
10. Cut this stack in equal parts and assemble to make the leaf.
11. Manipulate gently to create the leaf shape.
12. Use the remaining black and white thin strip to wrap the leaf and reshape care- fully.
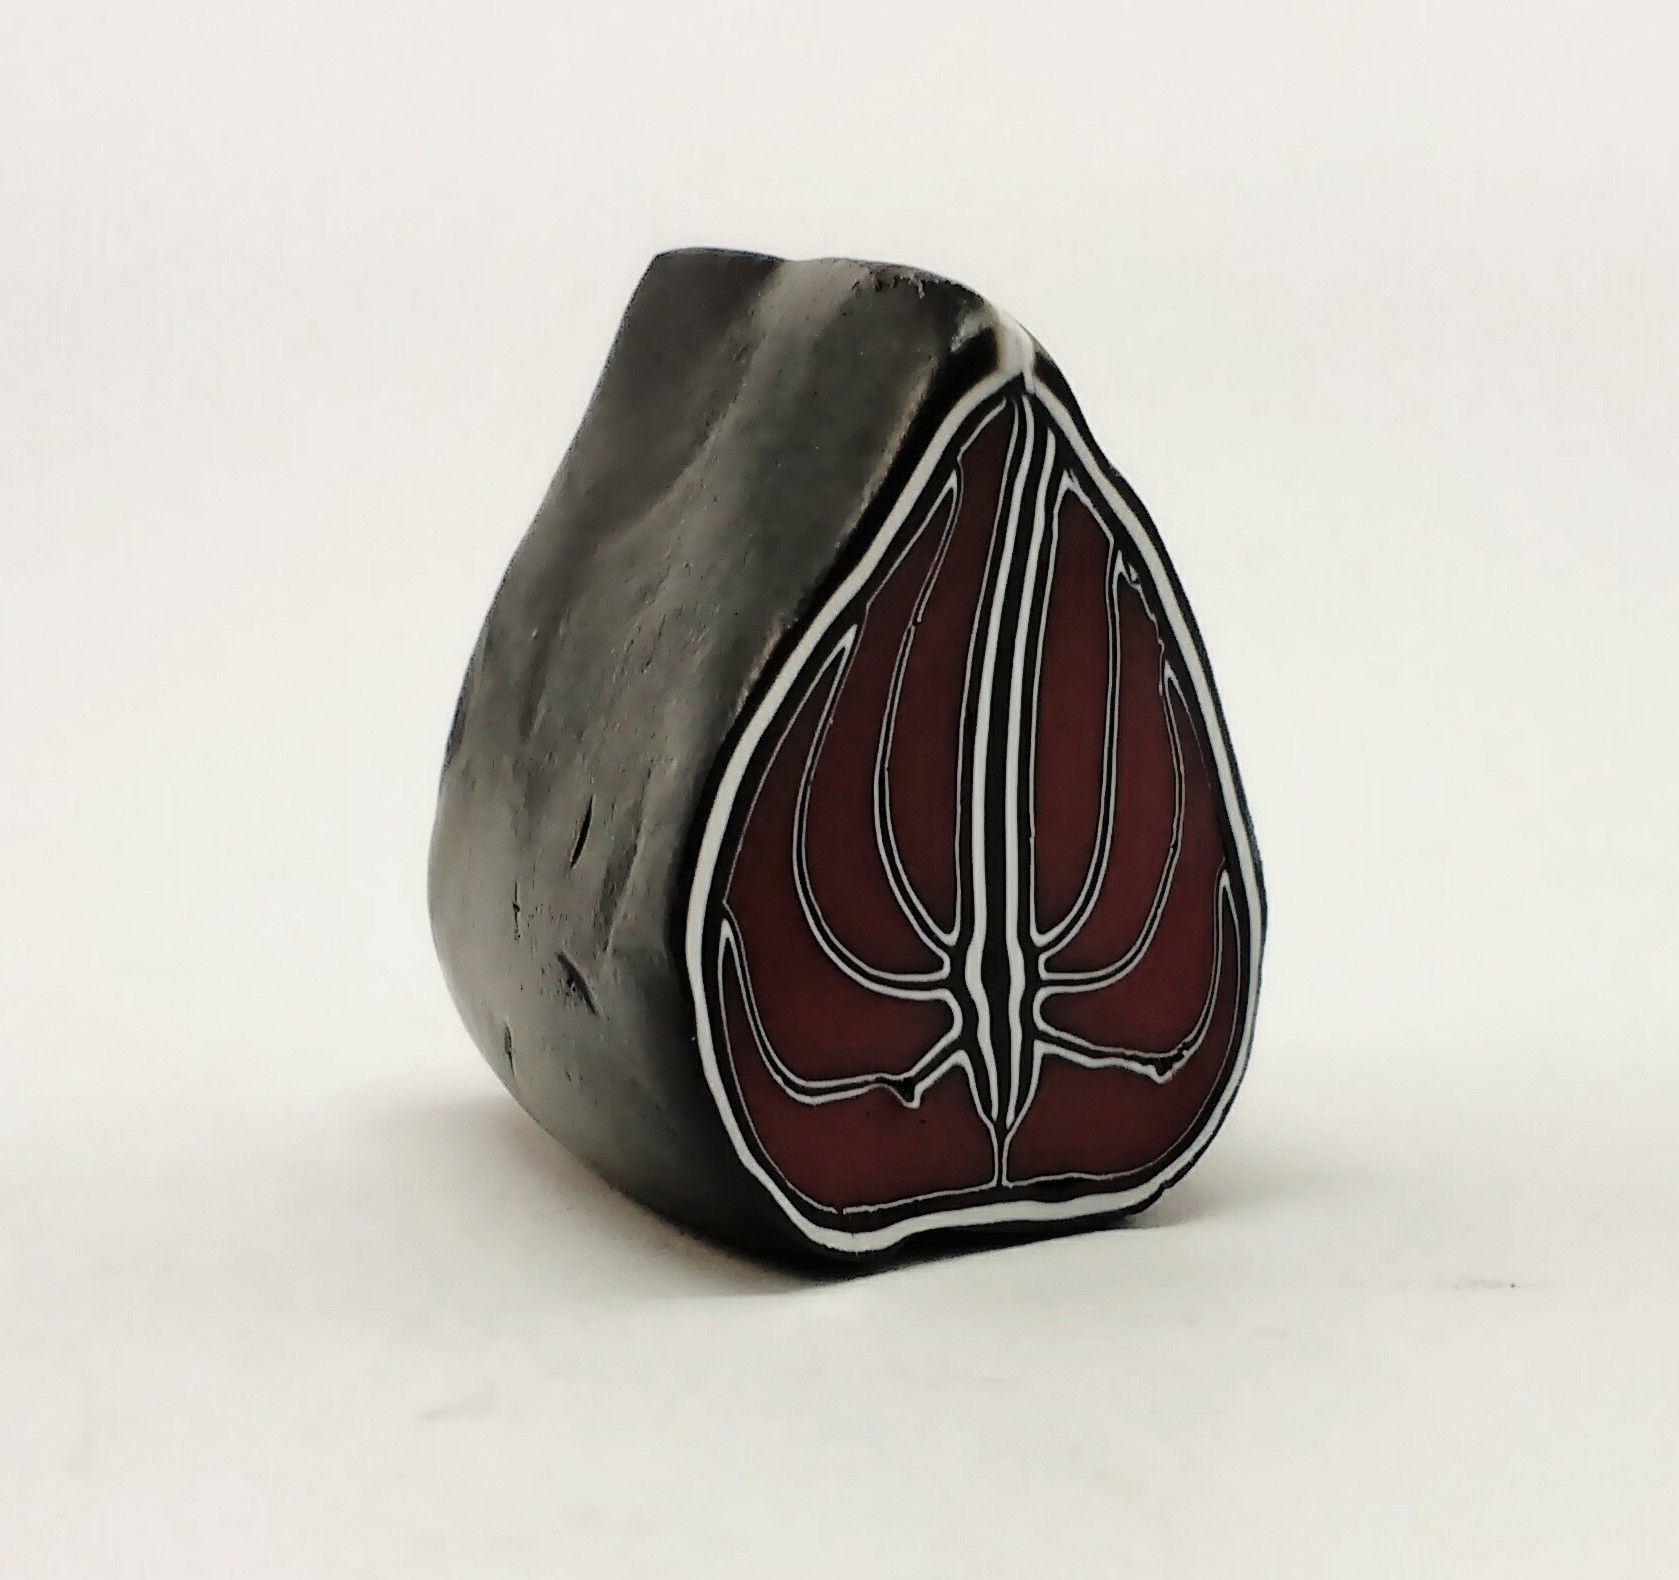
13. Your leaf is now completed.
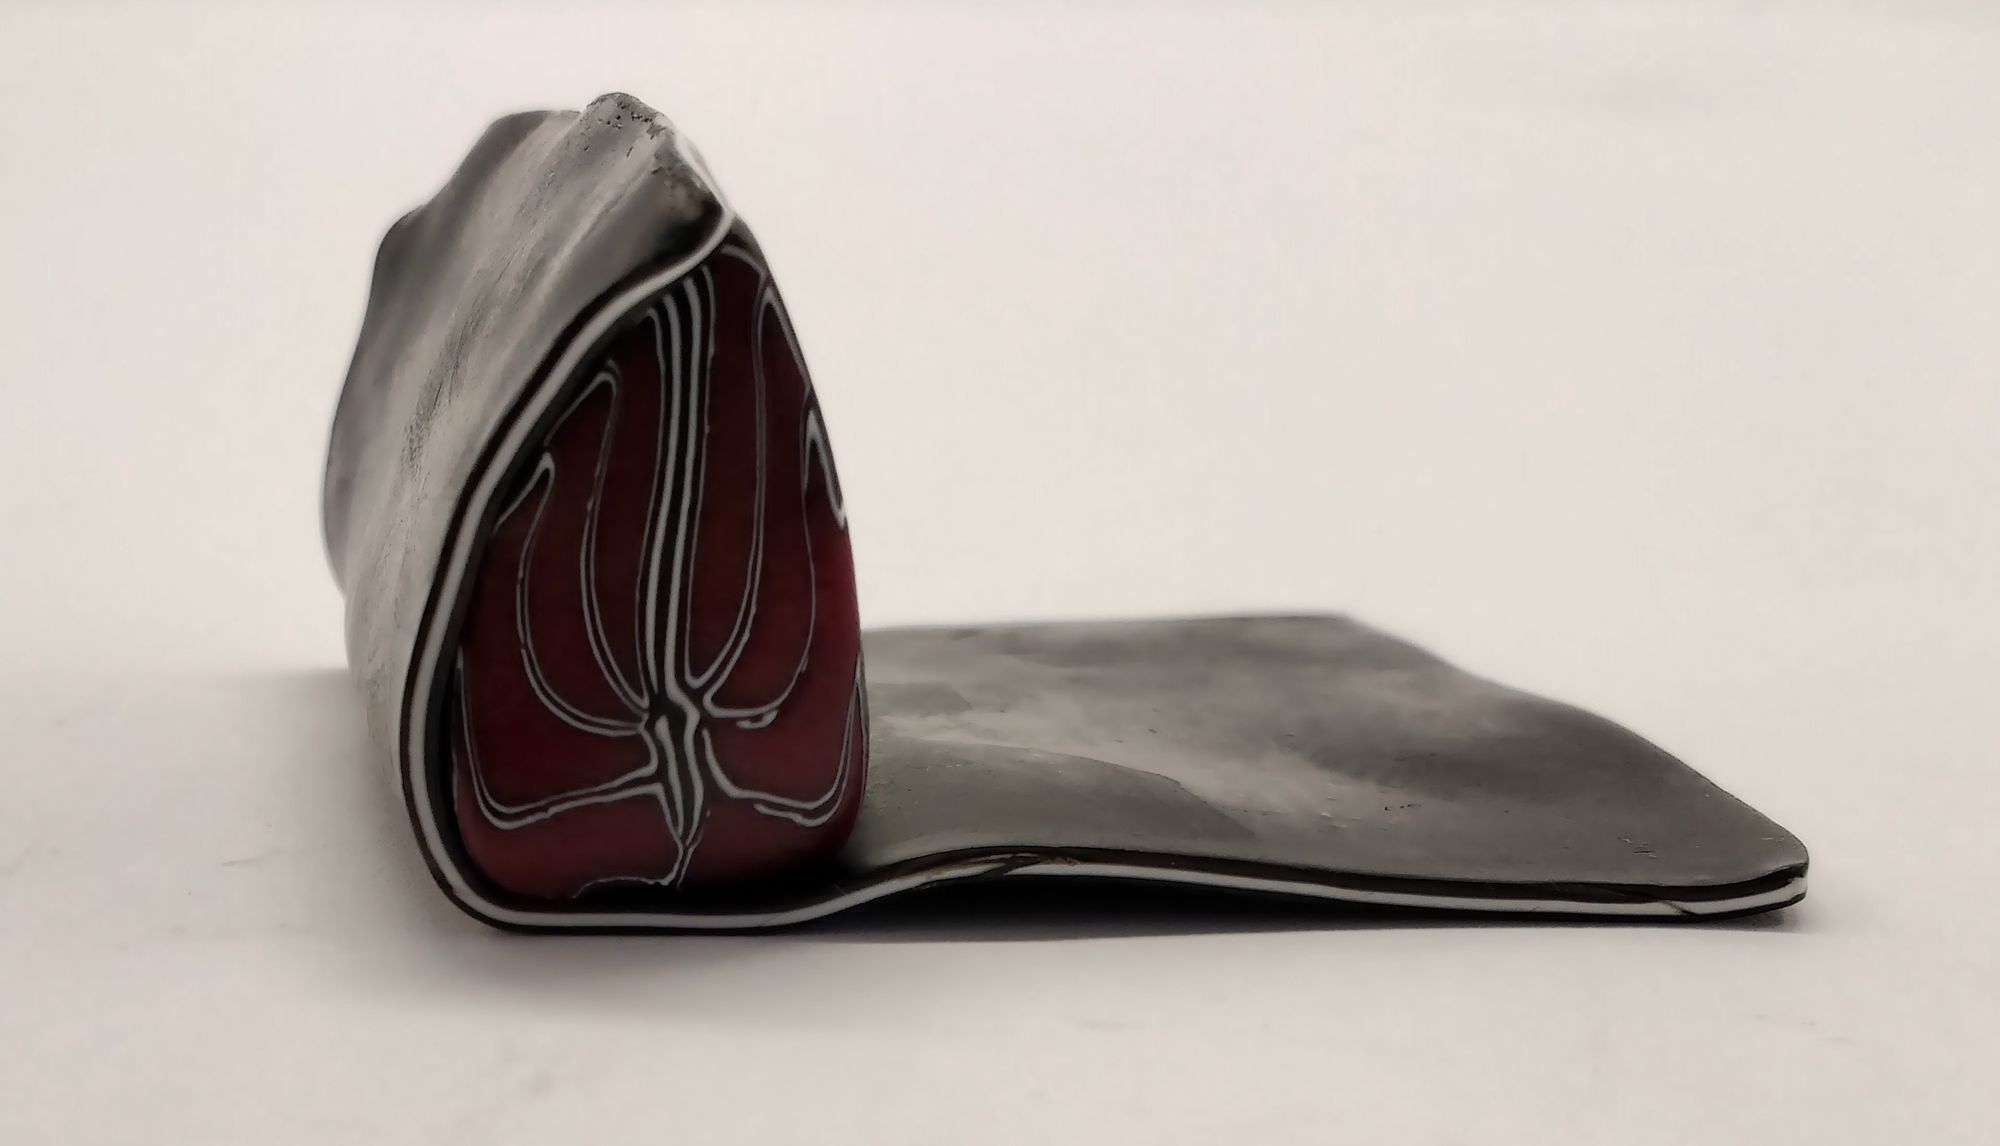
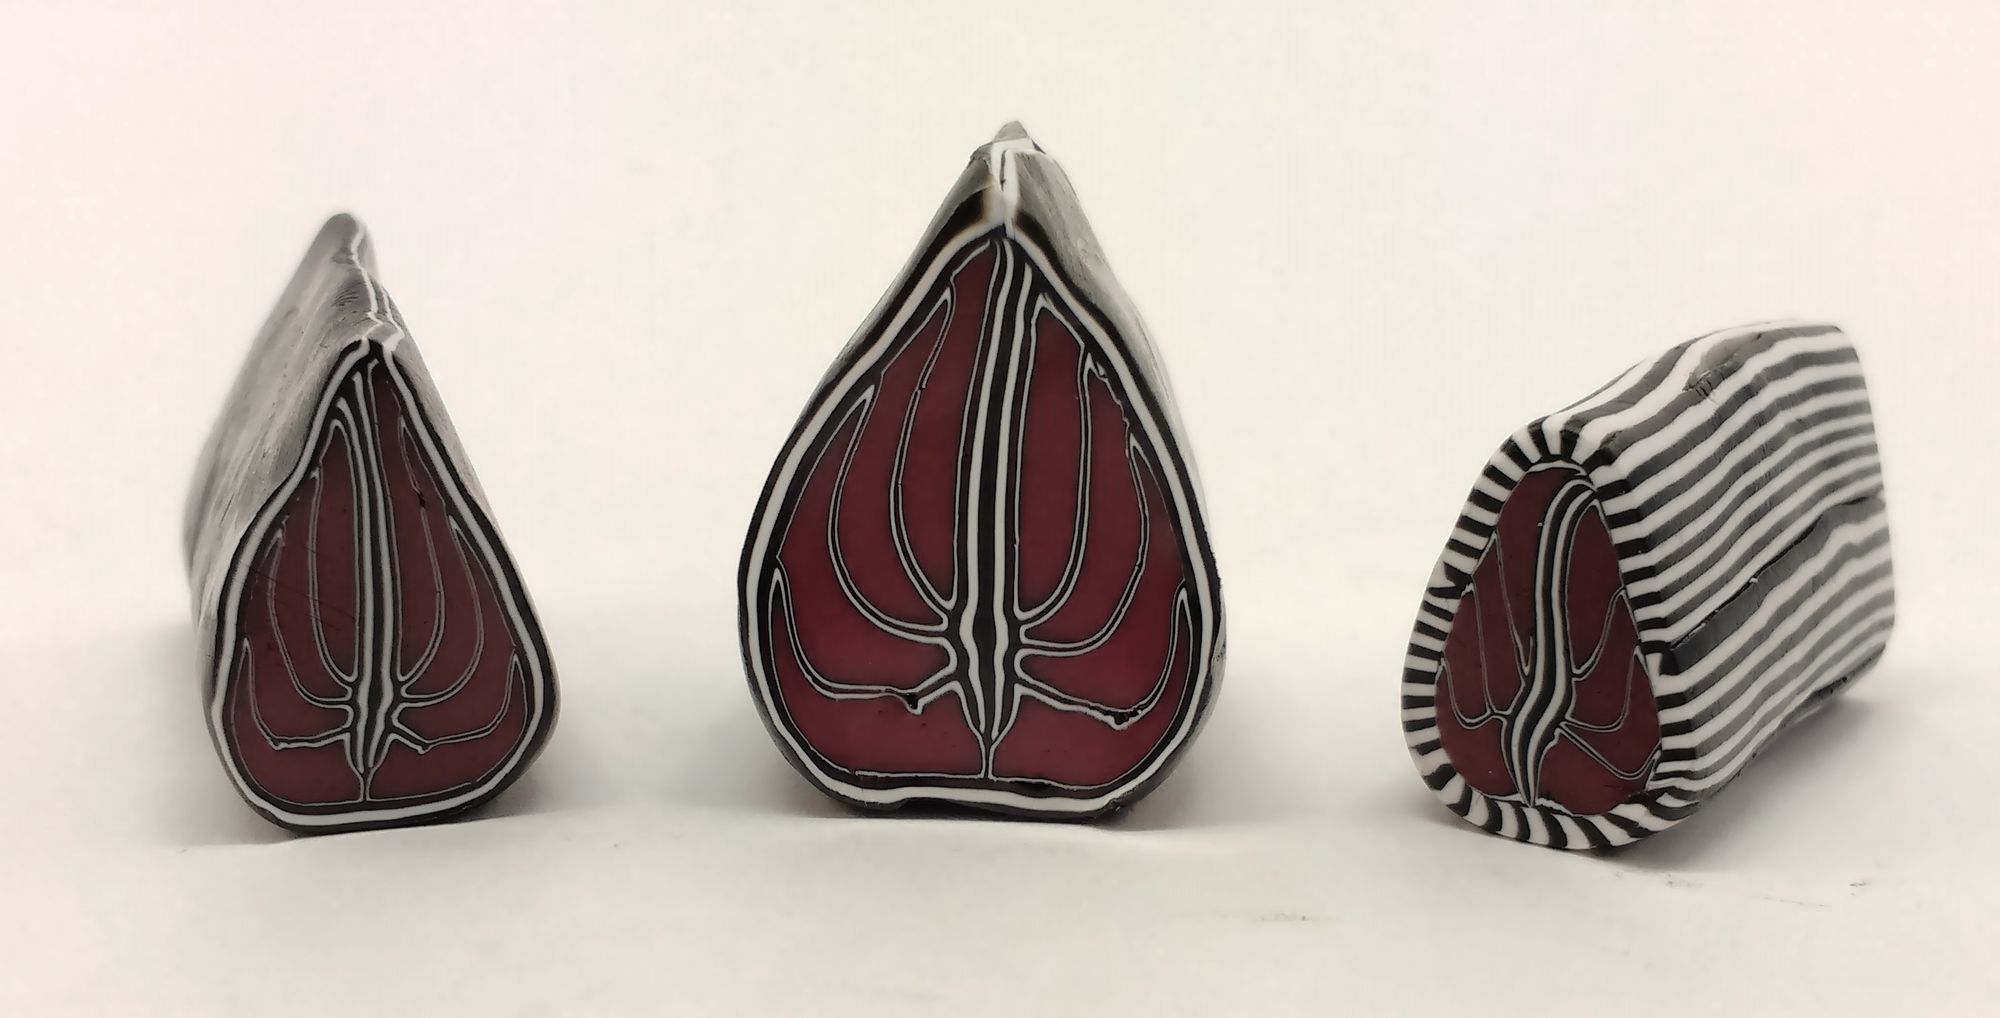
14. Cut the leaf into two equal parts and store one in a cool place. Reduce the other part to create a slightly smaller cane and cut in half. Store one half in a cool place and reduce the other half a little more.
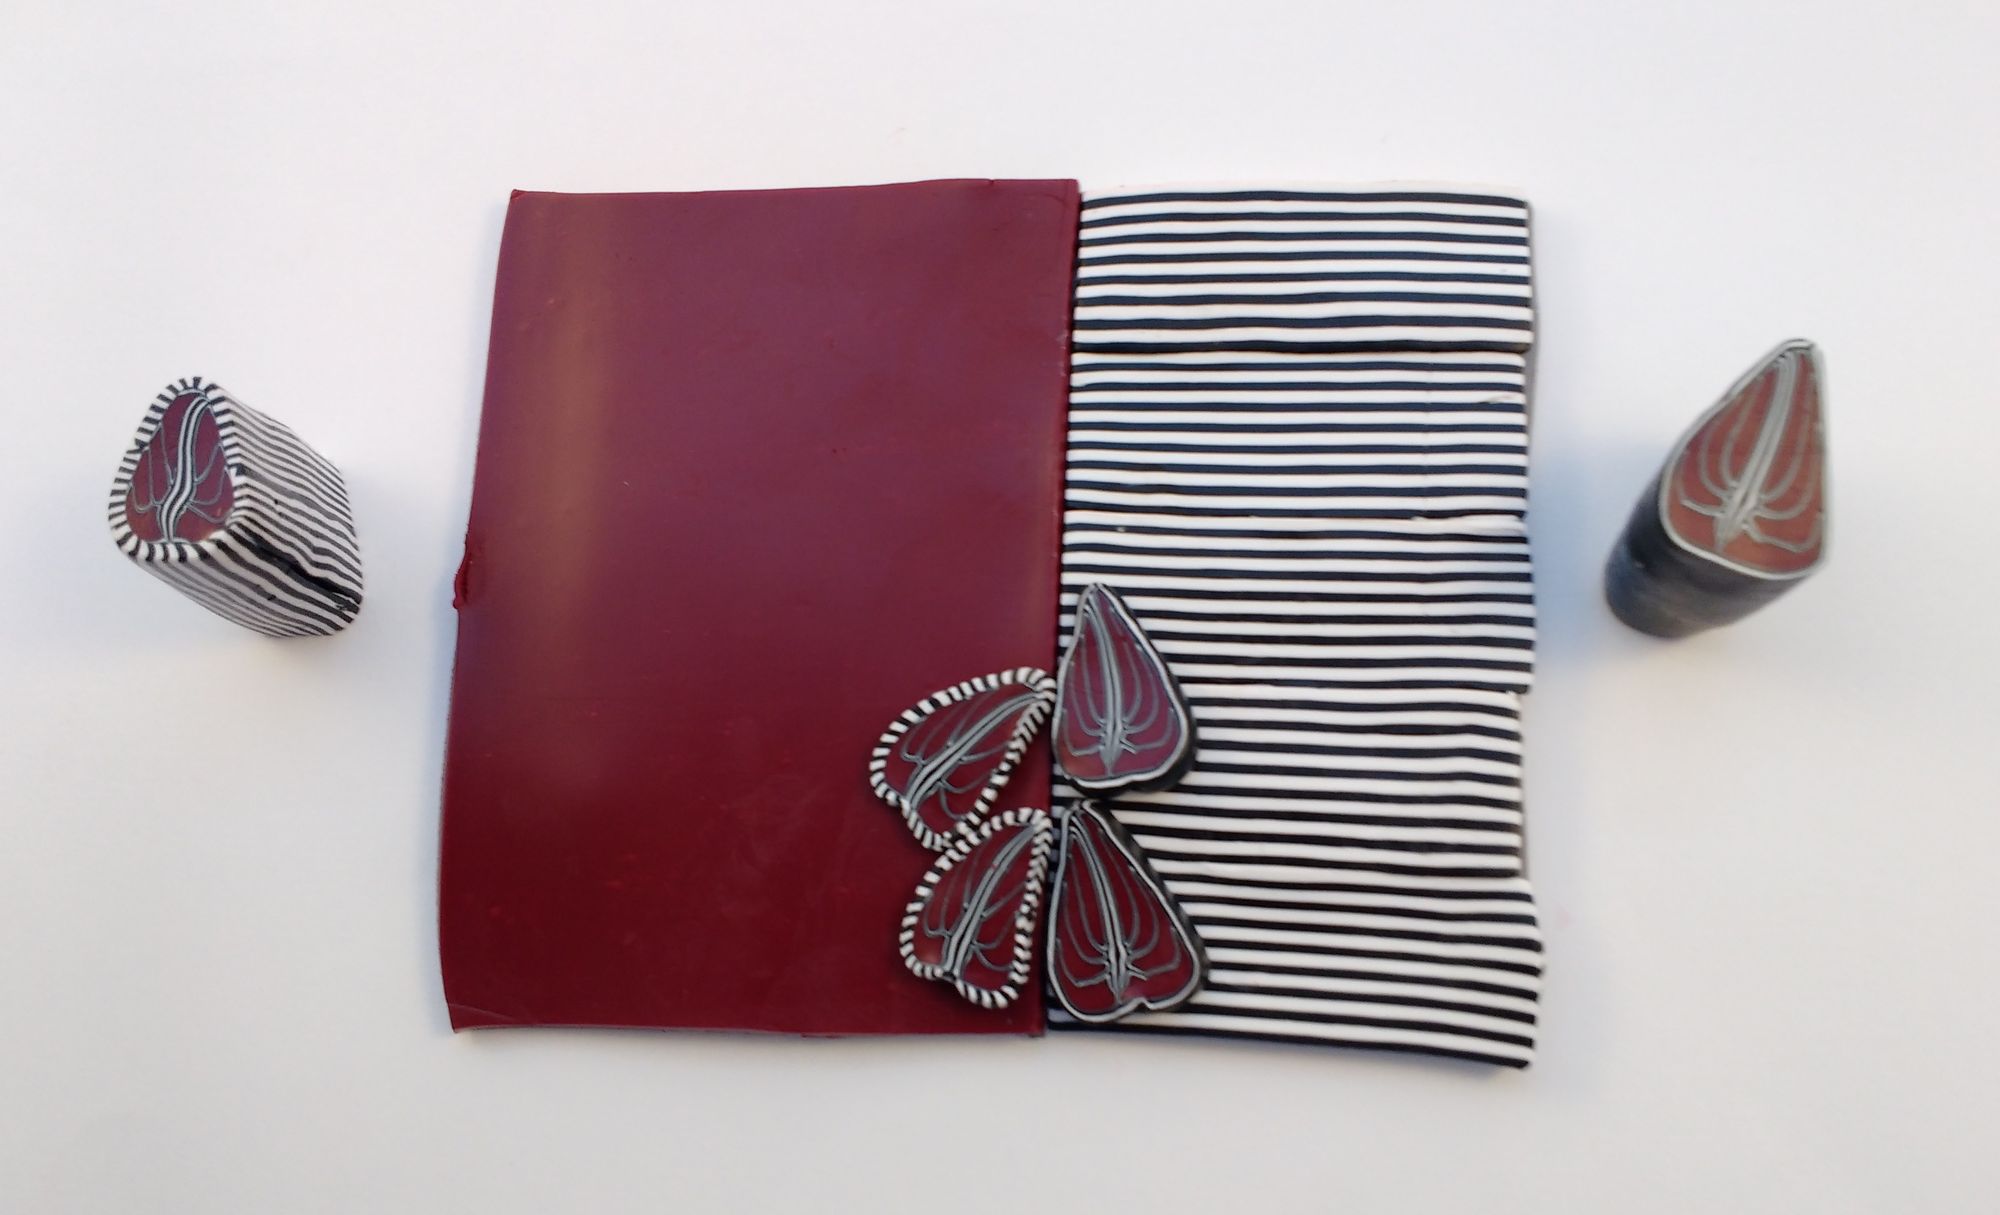
Slice the stripped cane into thin slices to create a sheet of stripped clay and wrap this sheet around the last reduced half.
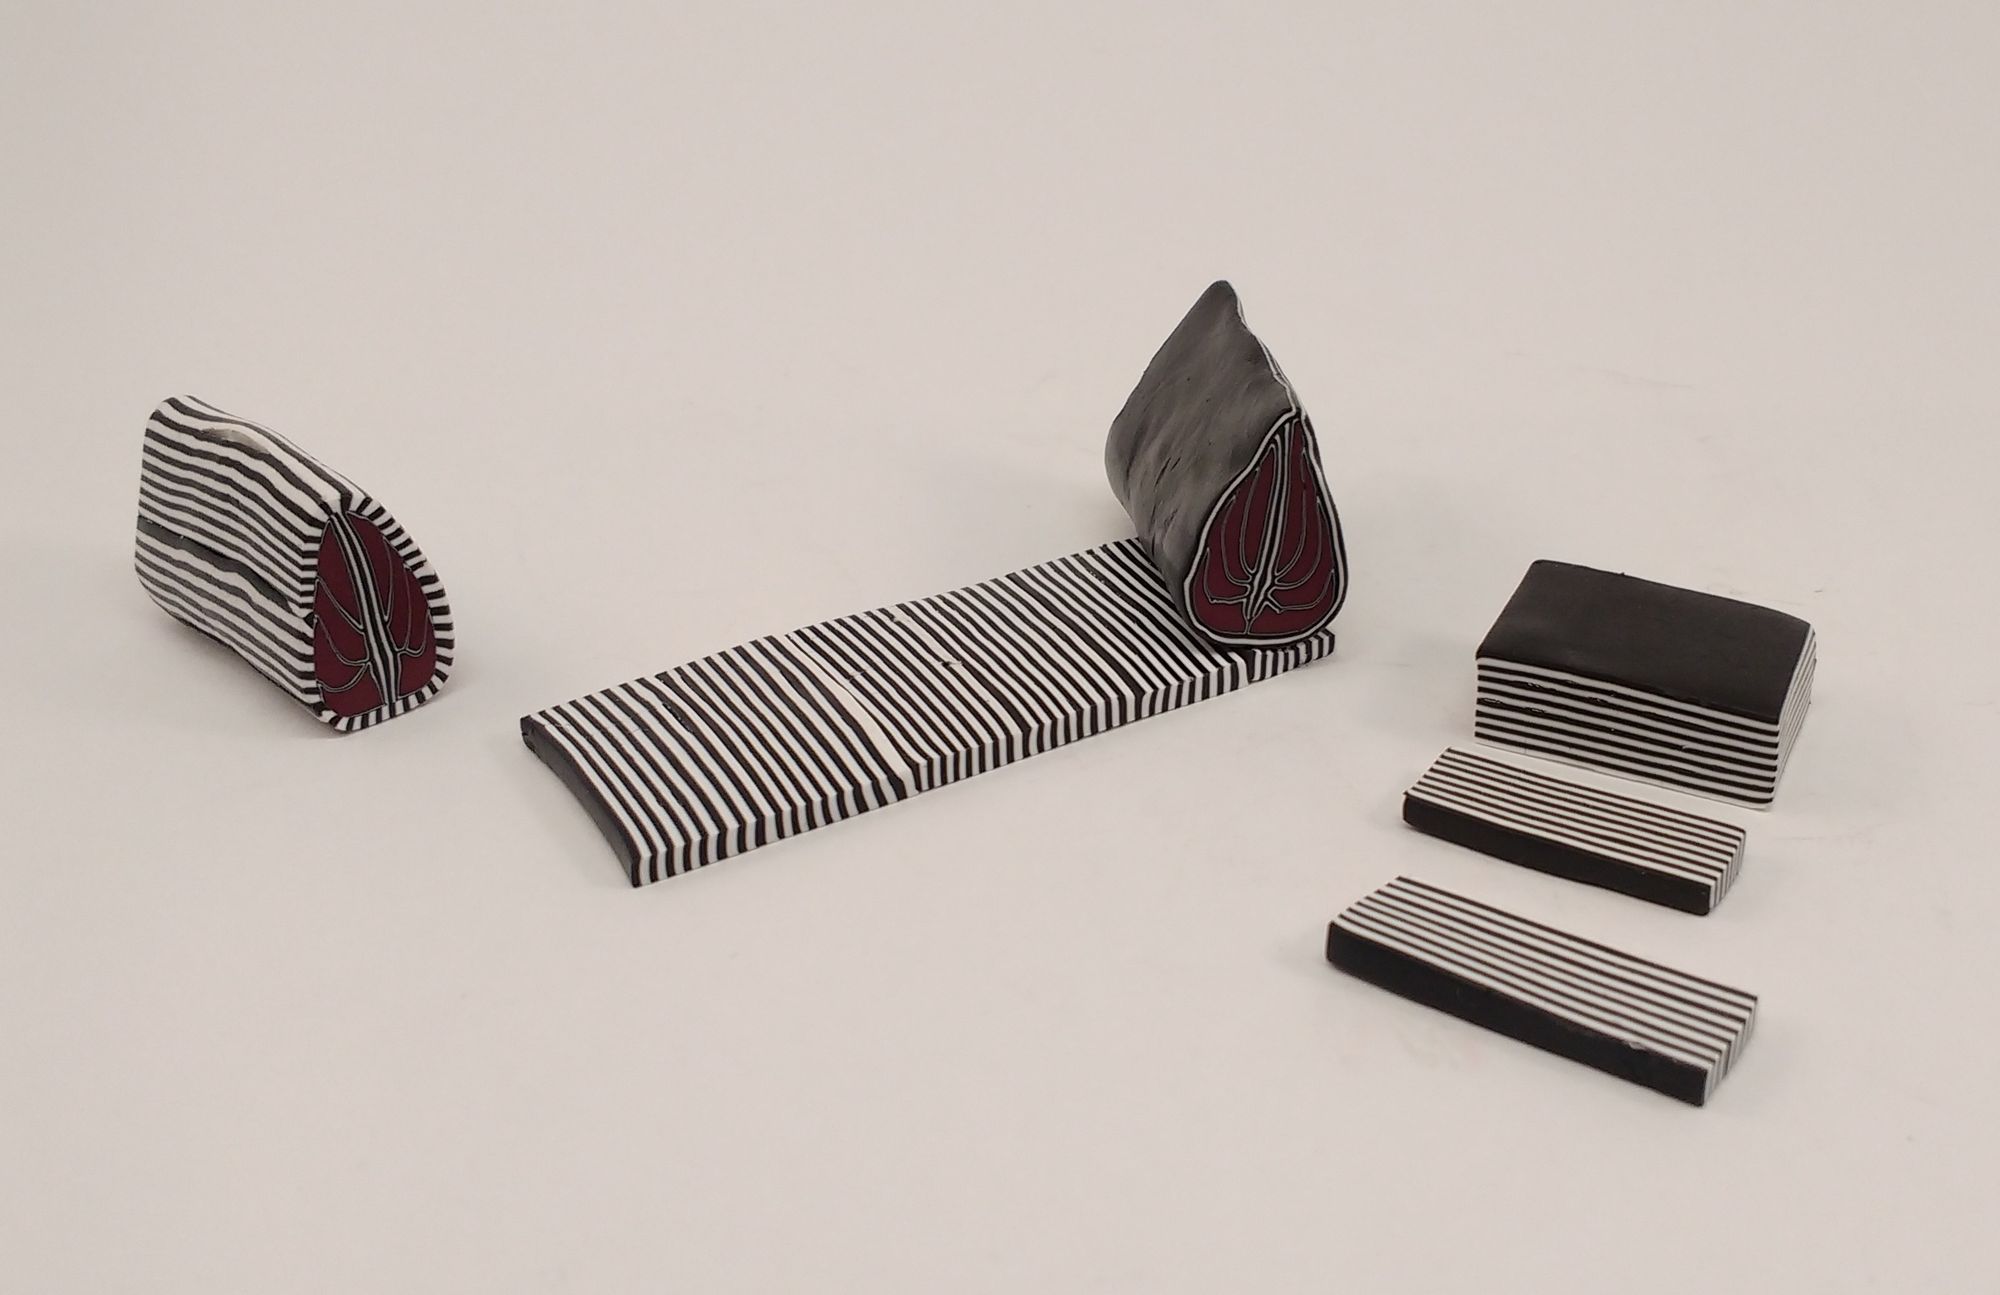
15. Now you have three leaf canes of different sizes.
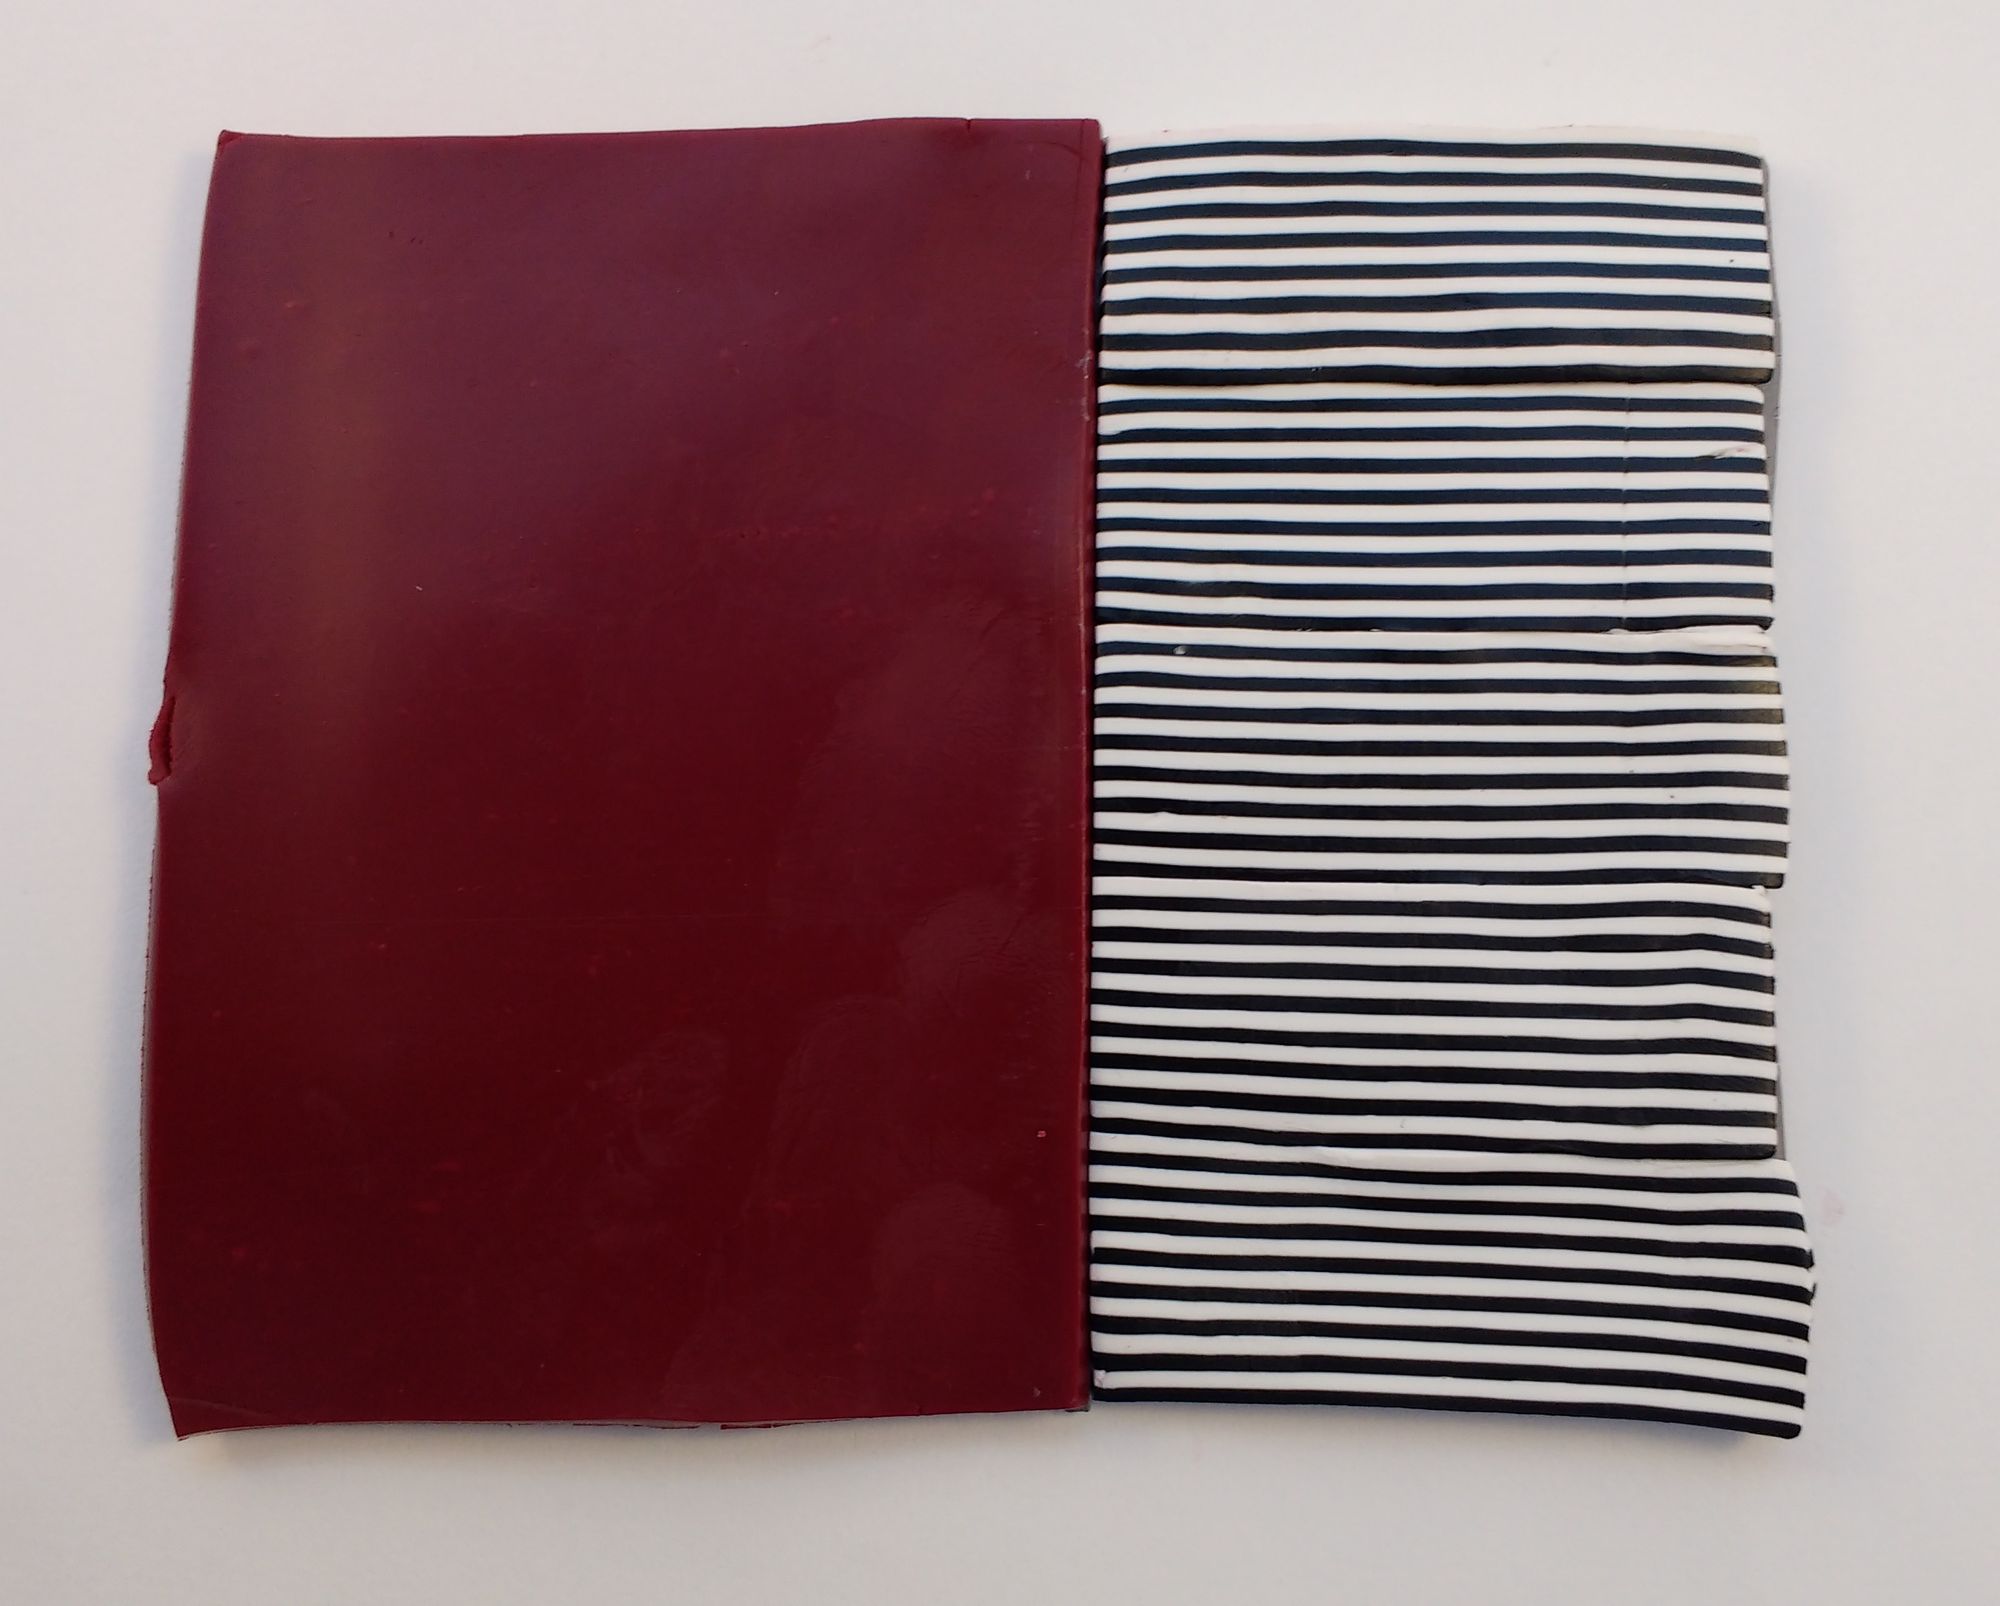
16. To create the pendant roll some scrap clay (leftover clay from previous projects) on the thickest setting of the pasta machine. Condition the last quarter of the Alizarin Crimson Hue, and cover half of the sheet of scrap clay.
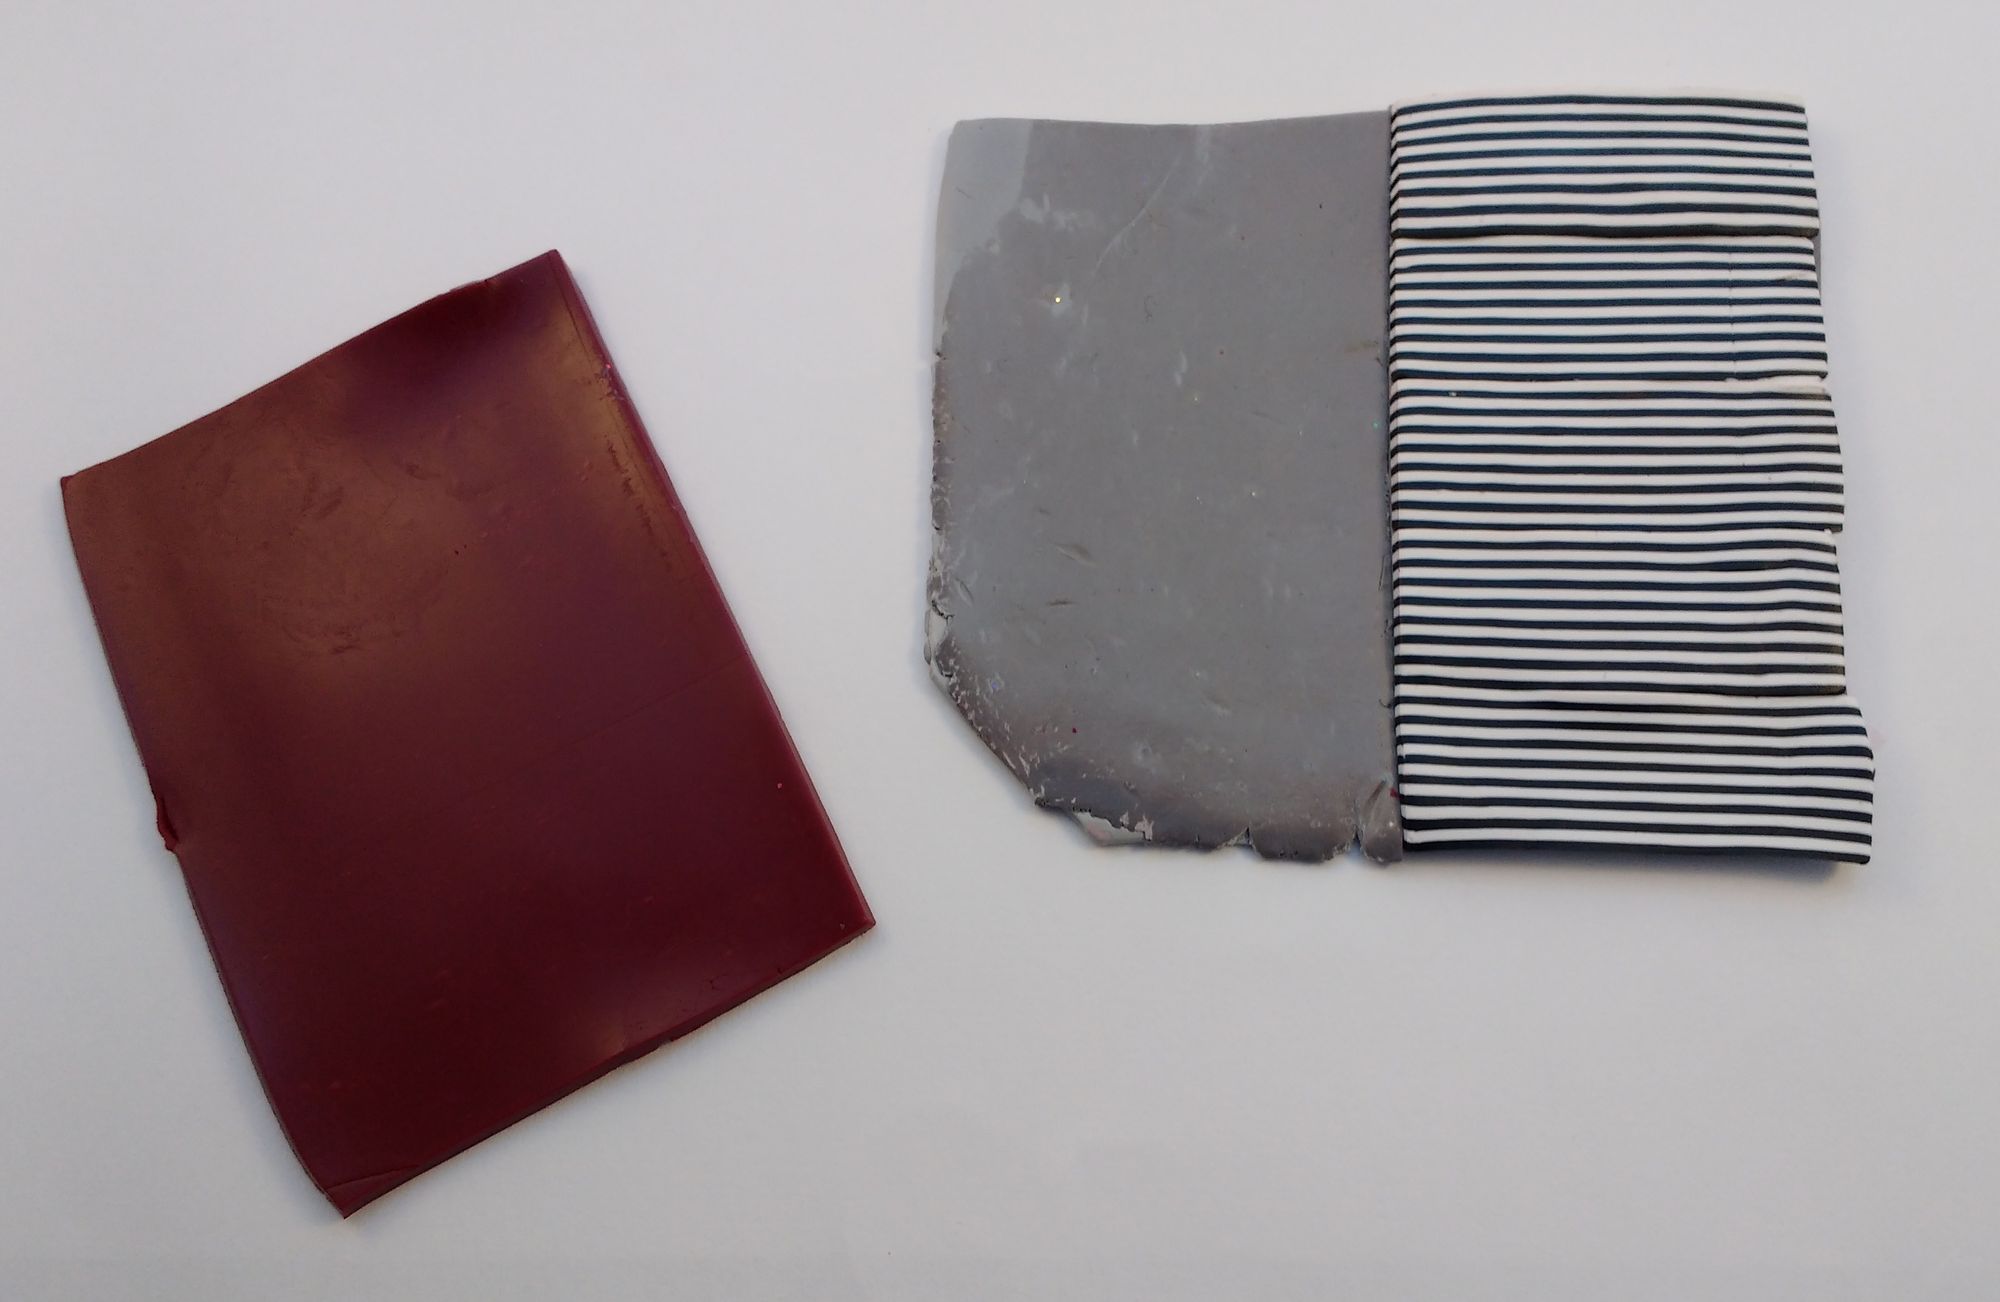
17, Cut more thin slices of the striped cane and cover the other side of the scrap clay. Using your acrylic roller, roll it gently to make sure that all the newly prepared sheet has all its components stuck together neatly.
18. You can now create your pendant design by slicing the leaf cane/s in similar thicknesses and rearranging to your satisfaction. When done, roll again with the acrylic roller to create a flat veneer.
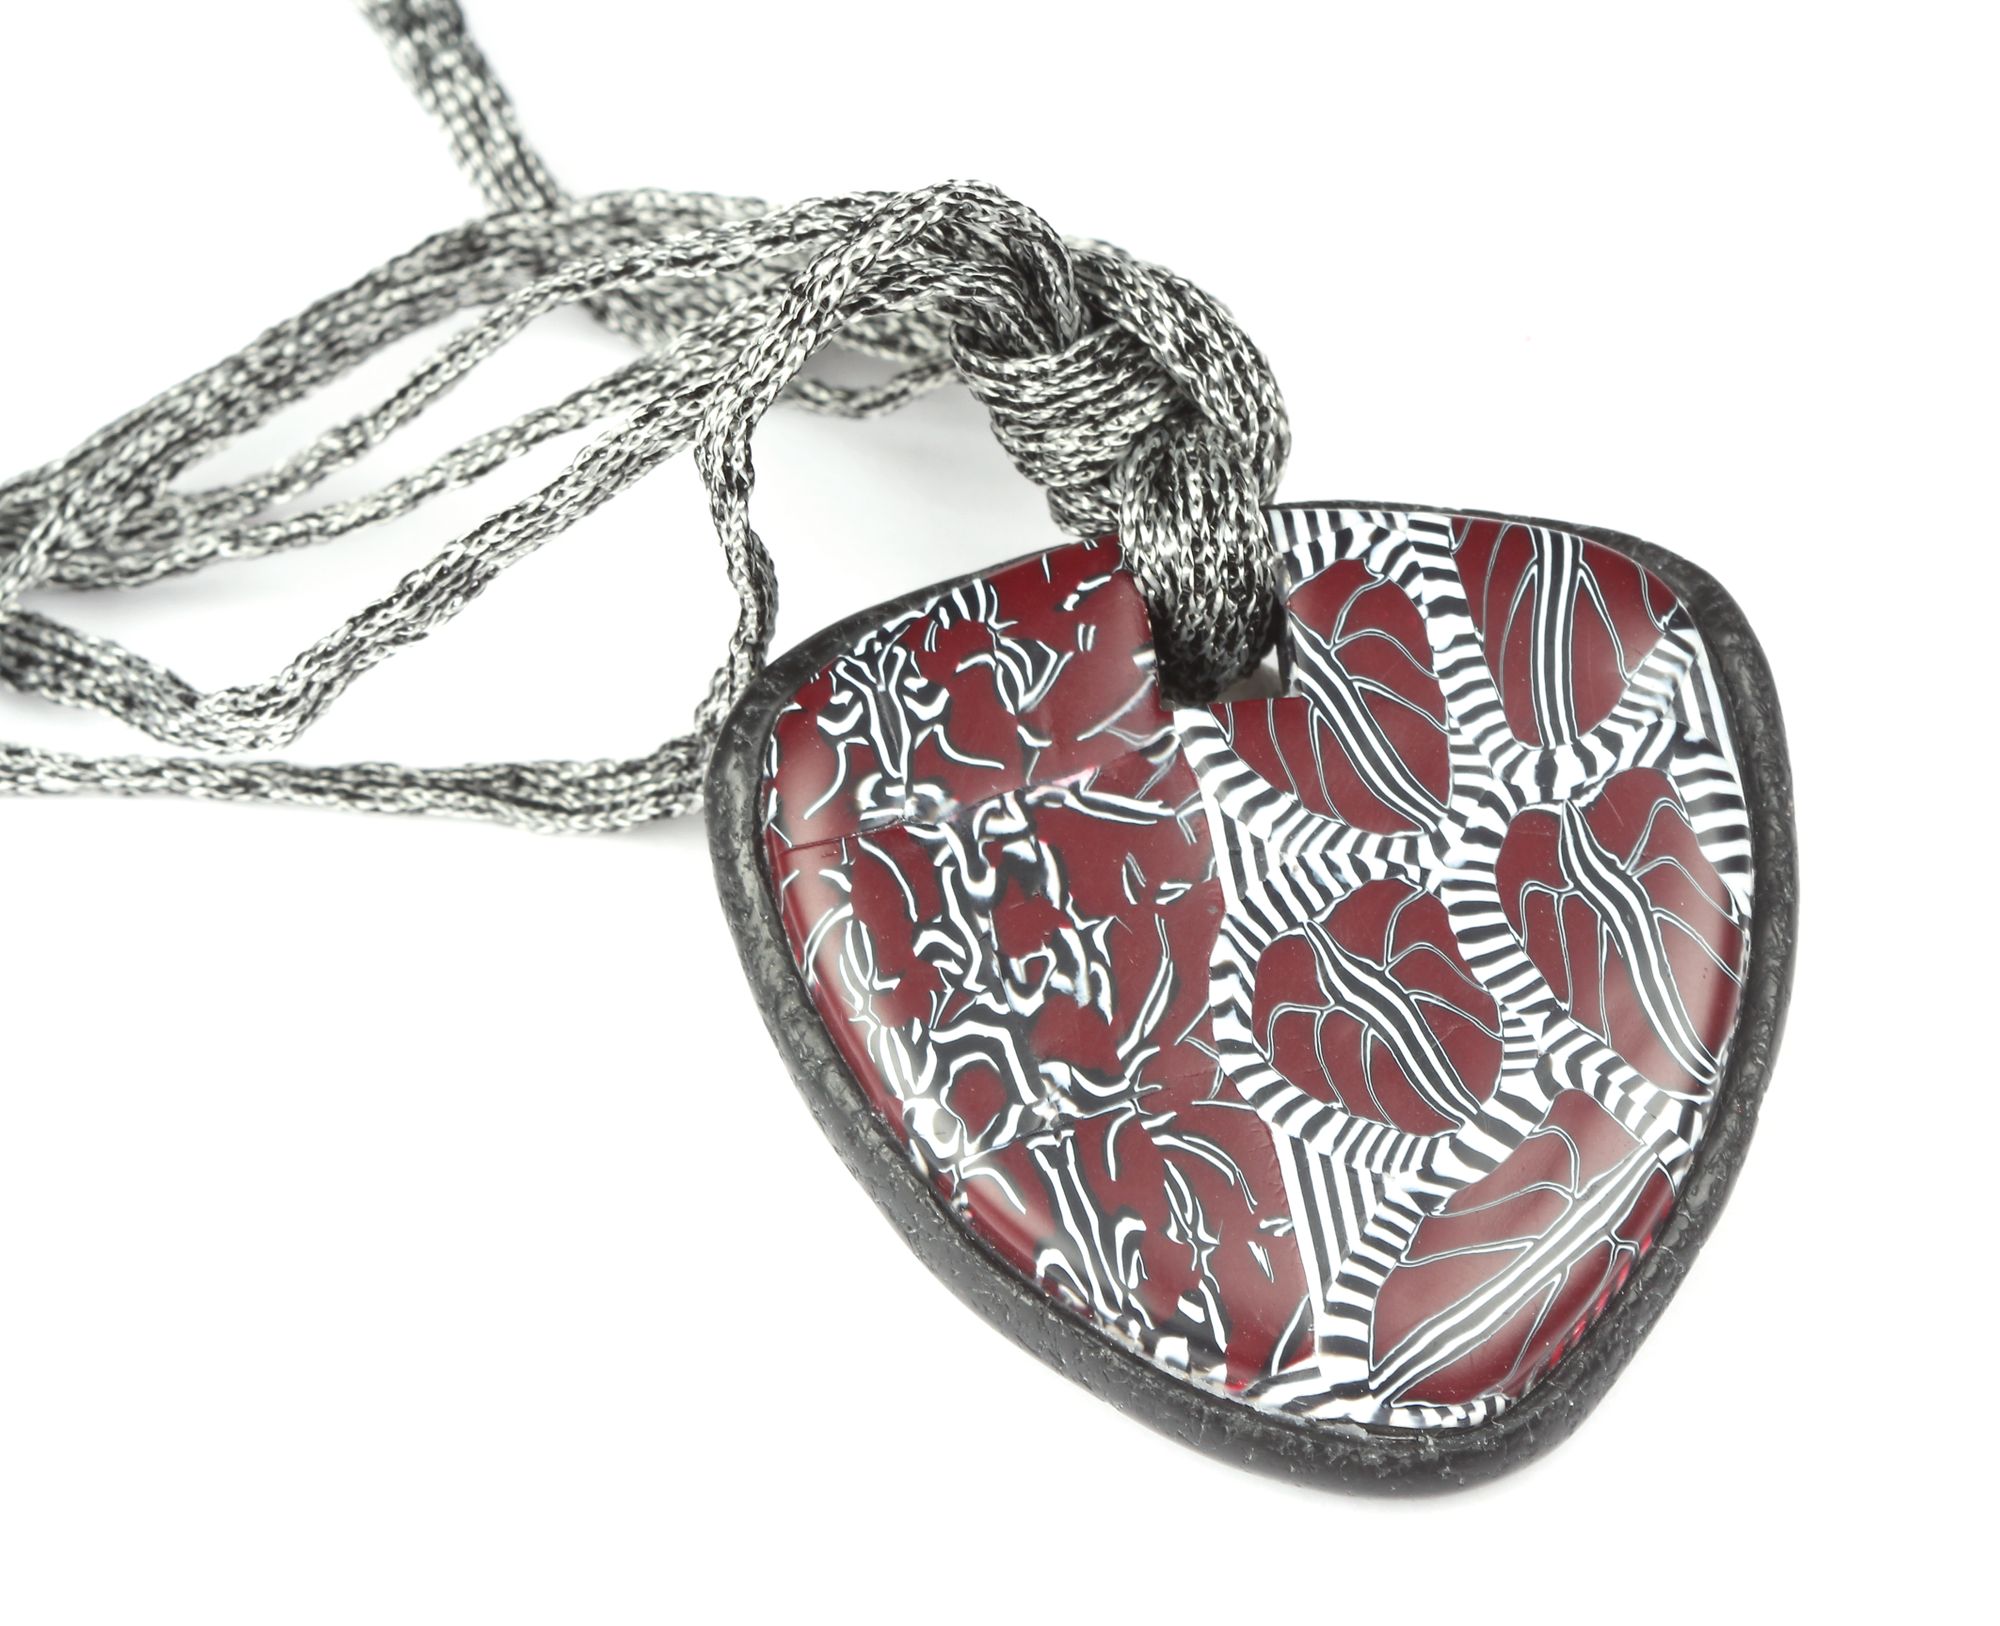
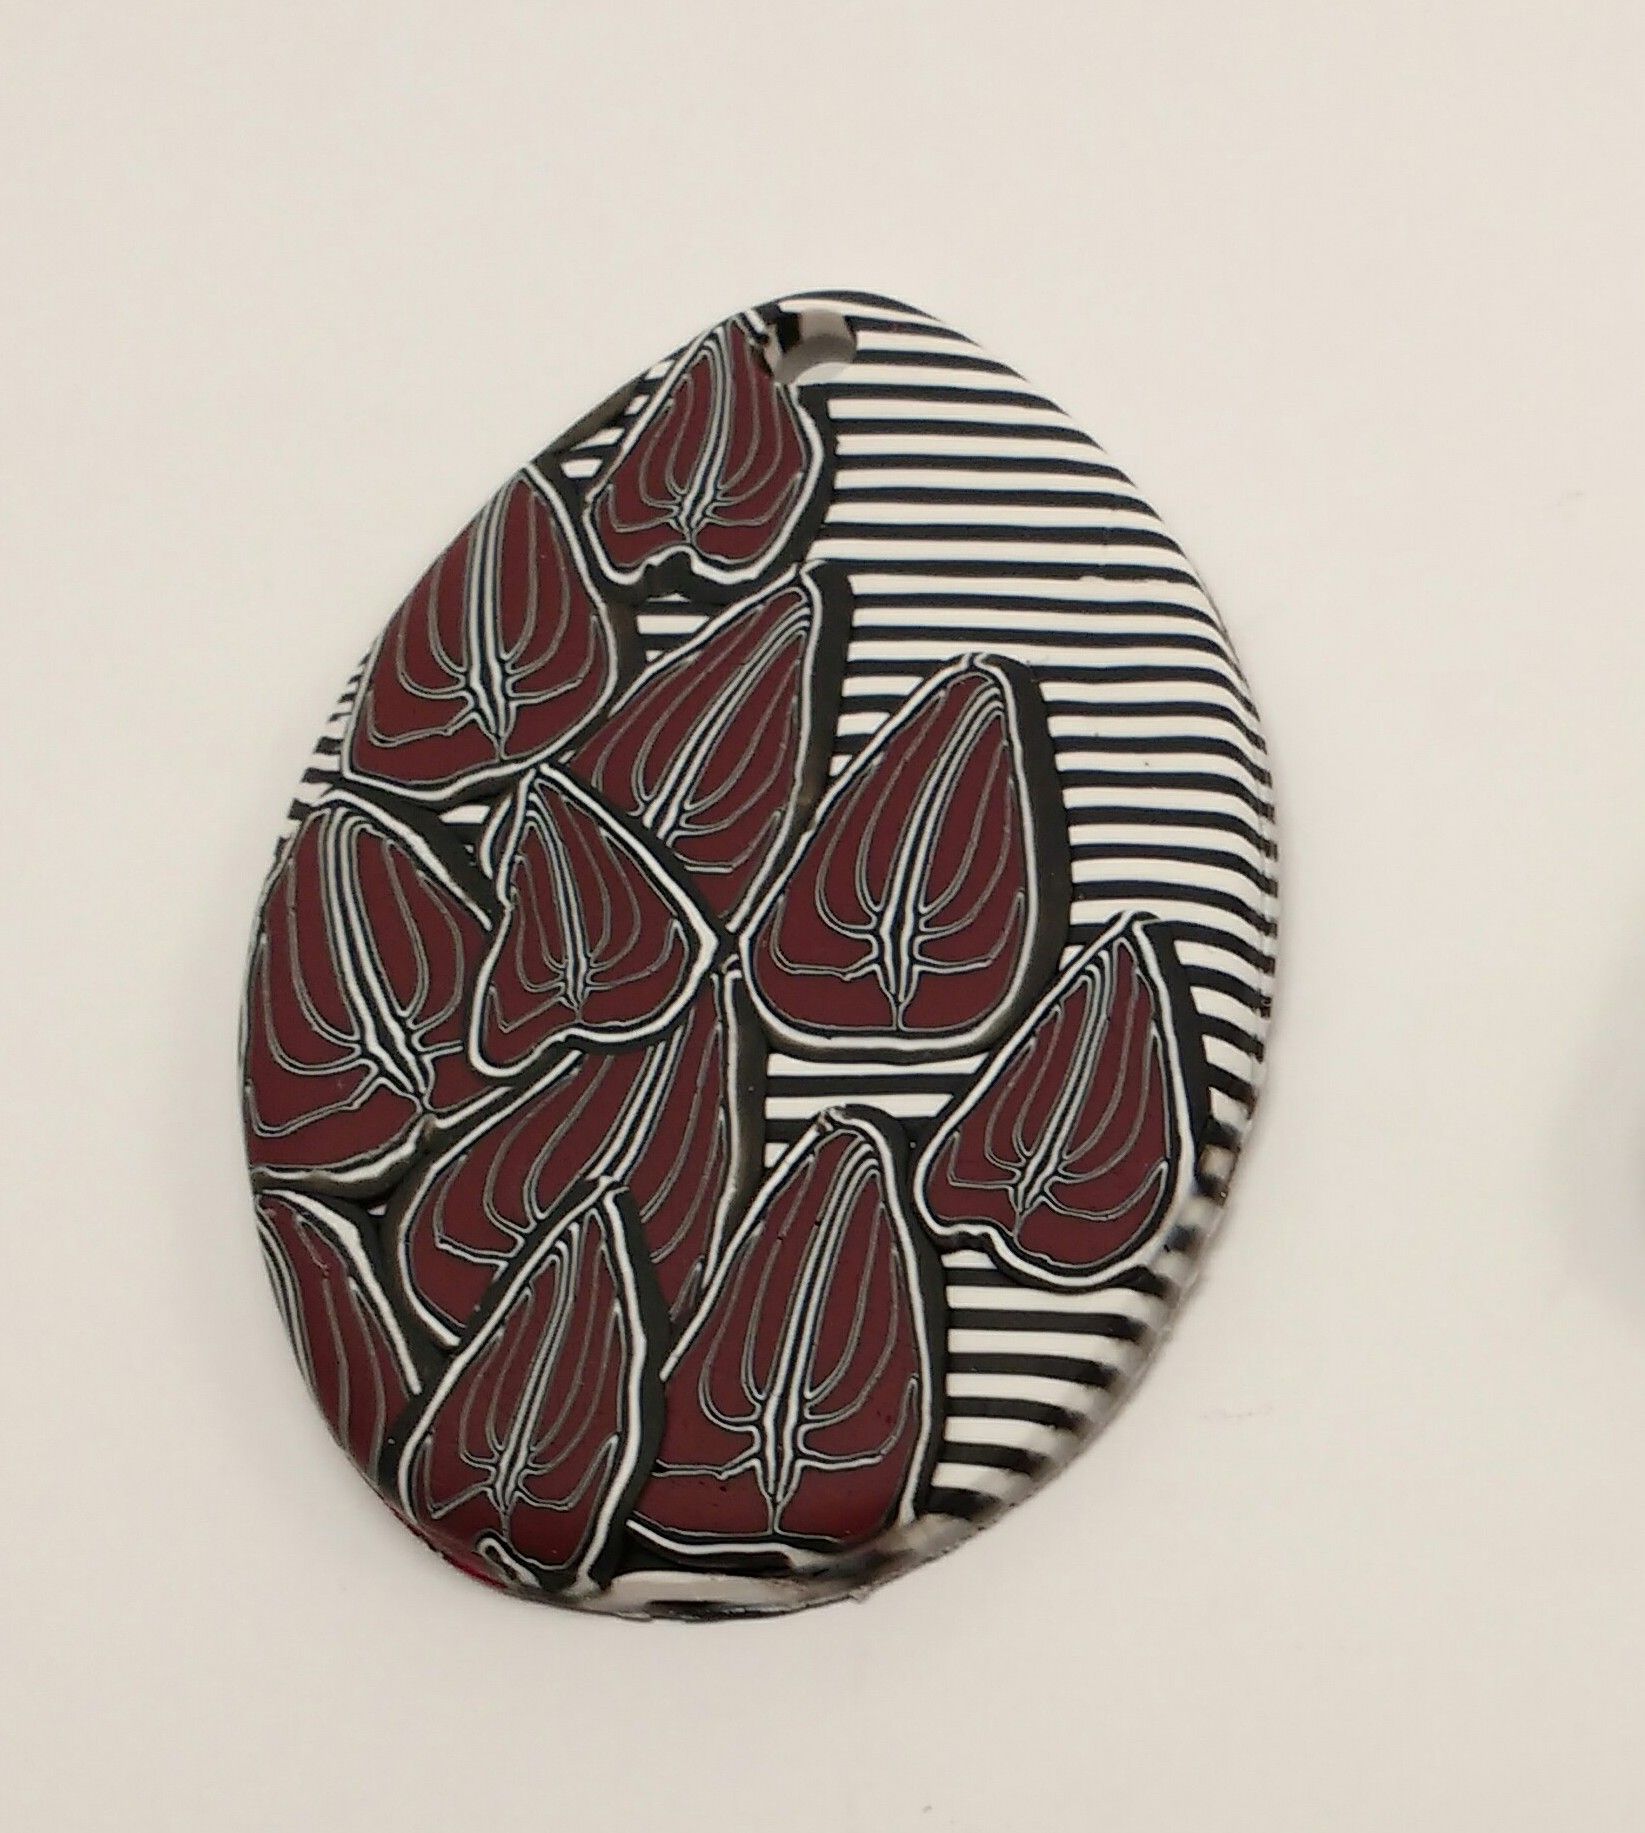
19. Cut your design with the chosen pen- dant shape cutter or your flexible blade. Smooth the edges with your fingers or a clay rubber tip shaper for a nice edge. Using a small cutter make a hole in the pendant for your leather cord or chain. Bake your pendant using the manufacturer’s recommended temperature for 45 minutes. Cover your pendant loosely with foil to avoid burning. After baking, let it cool down completely outside the oven.
20. Condition and roll the remaining half block of the black clay on the thickest setting of the past machine. This will be used to cover the reverse of the pendant. Smear some Bake and Bond on the back of the cold pendant and place it on top of the black clay. Cut the black clay with a craft knife allowing a 6mm excess around the pendant. This will enable you to cover the sides.
Use a rough sponge or any other texture for the back and sides of the pendant to create a nice and tidy finish. With the small cutter or a craft knife cut the black clay where the pendant hole is. Bake as per the previous temperature for one hour.
21. If you wish to make the beads, cut them out with a 2cm cutter four circles of scrap clay for each bead. Roll in the palm of your hand to create the bead shape.
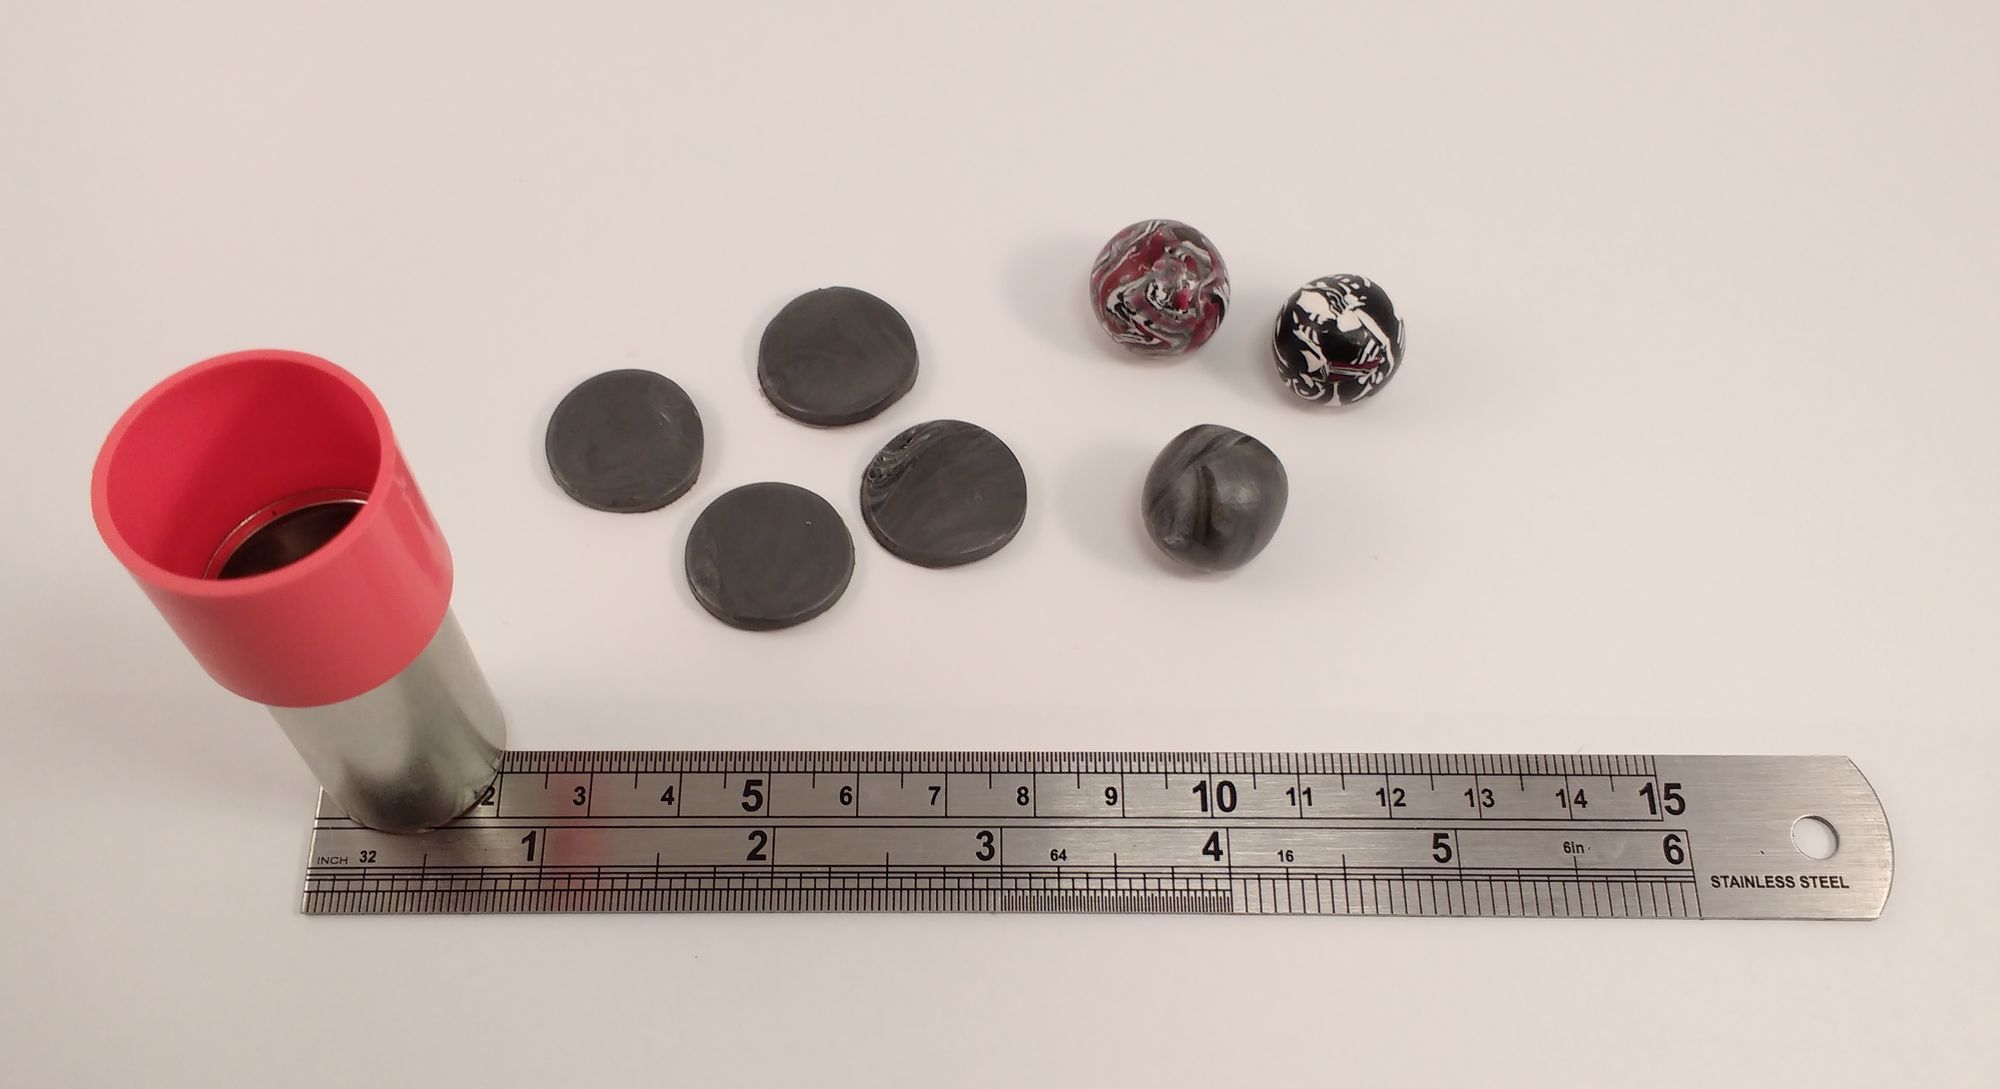
22. To cover your beads, use the leftover colours by cutting two circles for each bead using a 2.5cm cutter.
23. Using cocktail sticks, make a hole in each bead and leave the cocktail stick in. By scrunching up some foil, I managed to create a shape with enough depth to stick the cocktail sticks into. Make sure that the beads don’t touch each other. Cover with foil and bake at the recom- mended temperature for one hour.
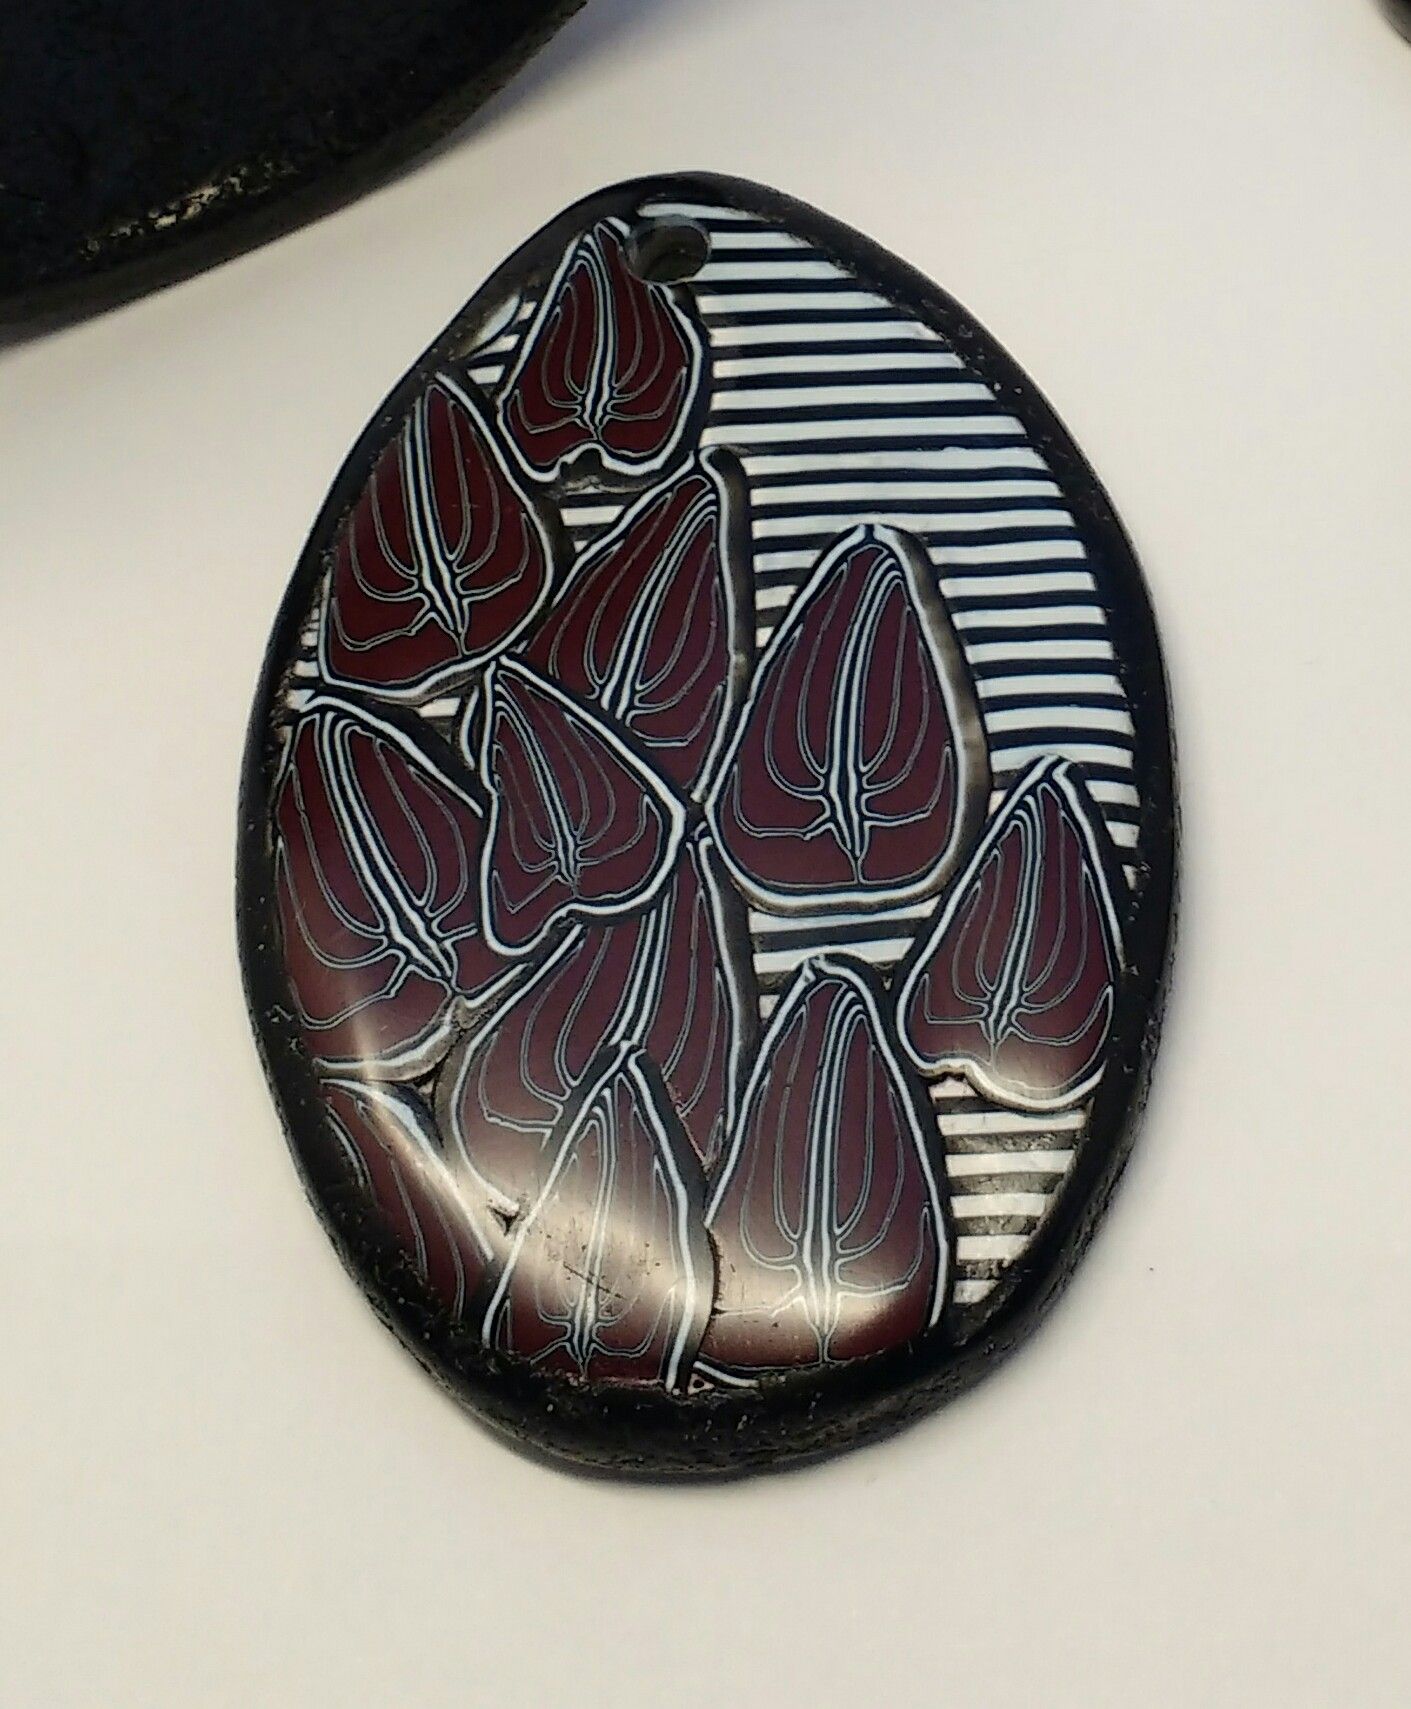
24 When the pendant and beads have been baked and have cooled down, gently sand with a wet and dry 400 grit sandpaper in some clean water. Allow for drying.
You can finish by varnishing with matt varnish using a soft brush or alternative- ly, you can use Renaissance Wax applied with a cloth and then buffed with a dry and soft cloth.
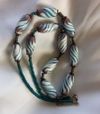
Autumn is a beautiful and colourful season. You can make colourful canes of different shapes and sizes to create many beautiful designs.