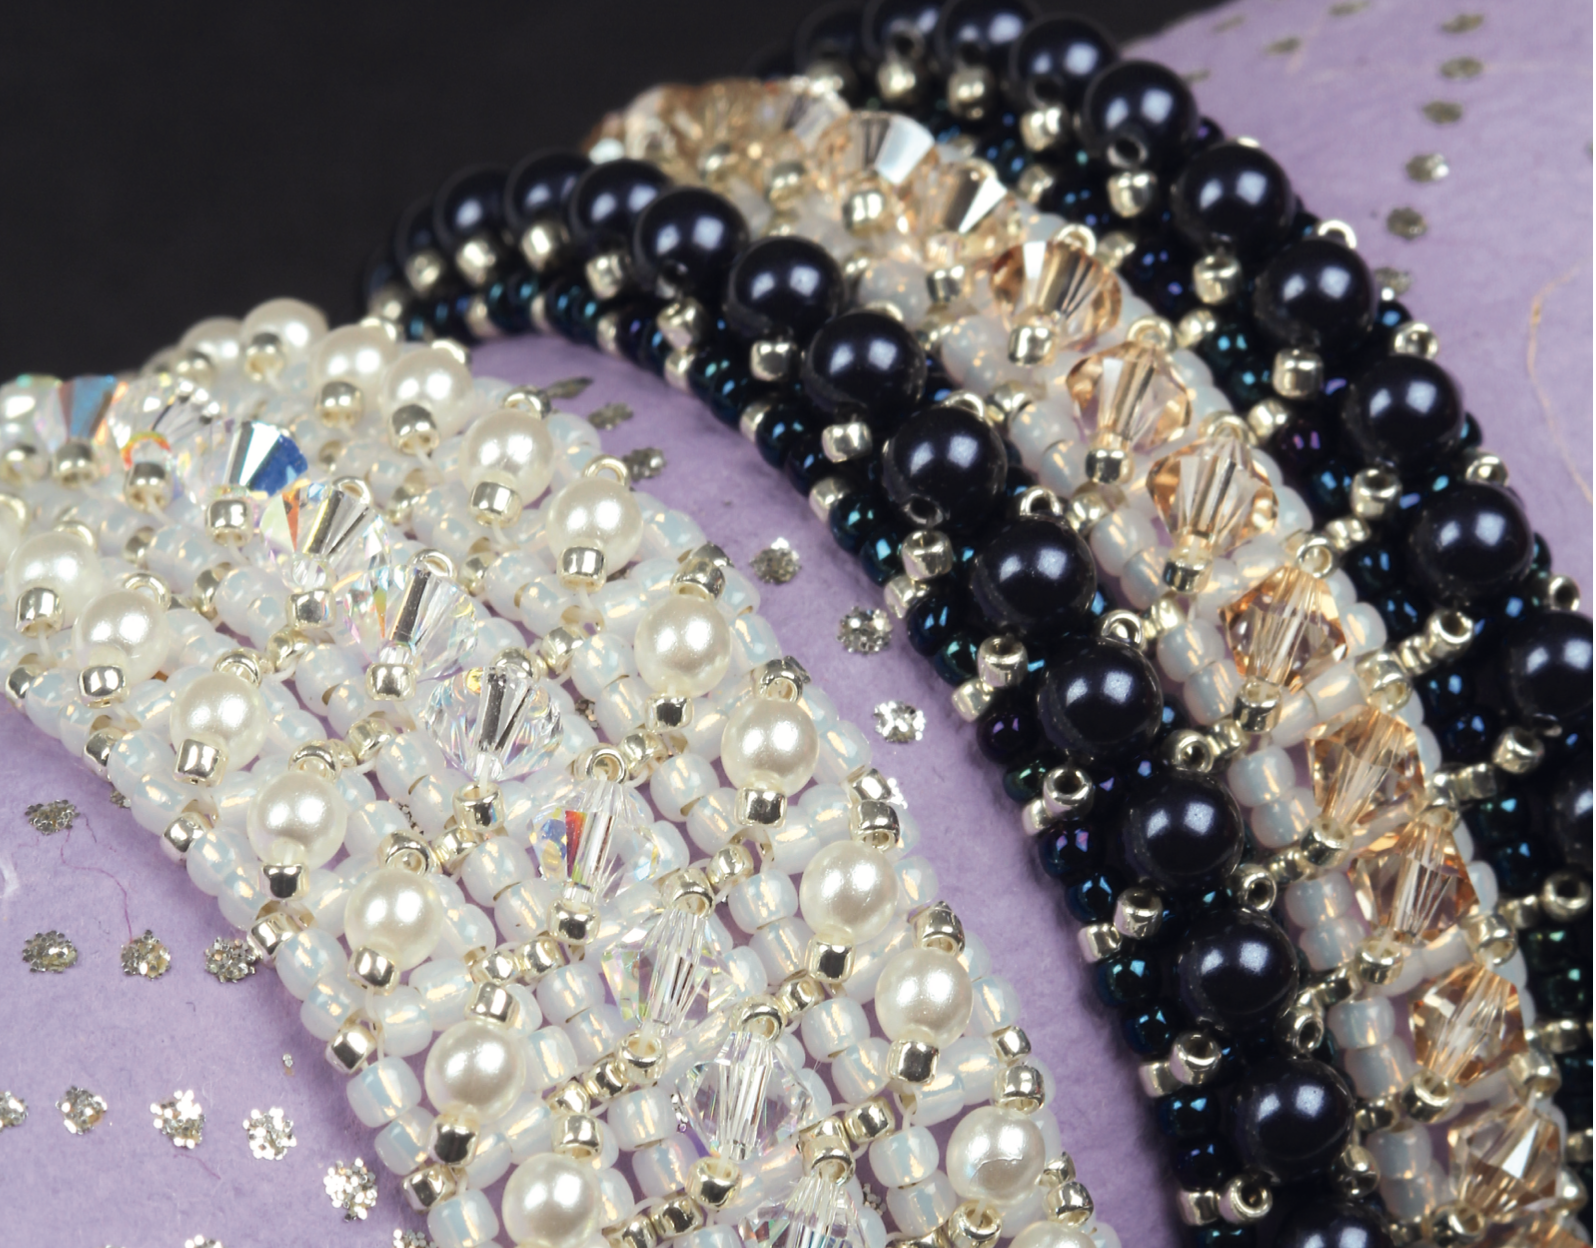
This stunningly sparkling bracelet can be made in roughly four hours and would add a touch of elegance to that special outfit. It would look just as pretty as a one strip tennis style bracelet, as it does the three strips used in the pattern. You could choose to keep the colours simple and elegant or change it up and use bright crystals against a background of gold seed beads. There is also the option of making the design that bit bigger, by adding size 11/0s between the units instead of 15/0s. It will flatten and widen the design.
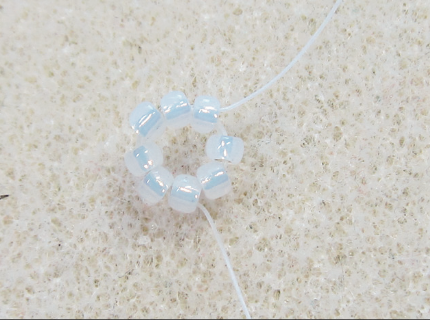
- Start with 5 feet of Fireline. Pick up 8 (A), leaving a 6” tail to weave in later. Circle back through all the (A), and 6(A) again. Your working thread and tail will be on the same side of the circle with the tail exiting the bottom two beads, and the working thread exiting the top two.
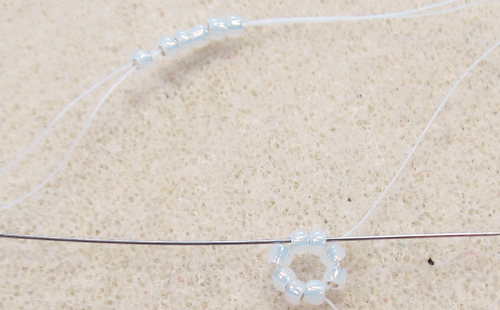
2. Pick up 6(A) and circle back through the 2(A) you were exiting from at the beginning of this step. This is your second unit.
3. Continue to add units in this manner until you have 36 units or 1⁄2” short of total wrist size. After adding last unit, your working thread will be exiting from the top two seed beads. Turn the work horizontal so the working thread is pointing upward.
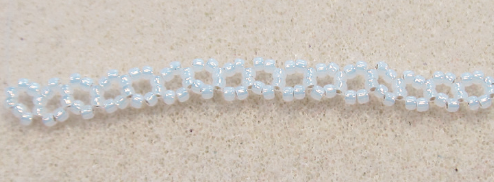
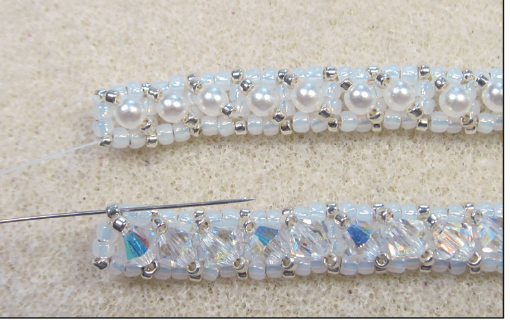
4. Pick up a 1(B), 1(C), 1(B) and go up through the two seed beads connecting the first unit to the next unit. This is your first embellishment.
5. Continue adding the embellishment all the way to the end. After your last embellishment, your needle will be exiting the last vertical set of 2(A).
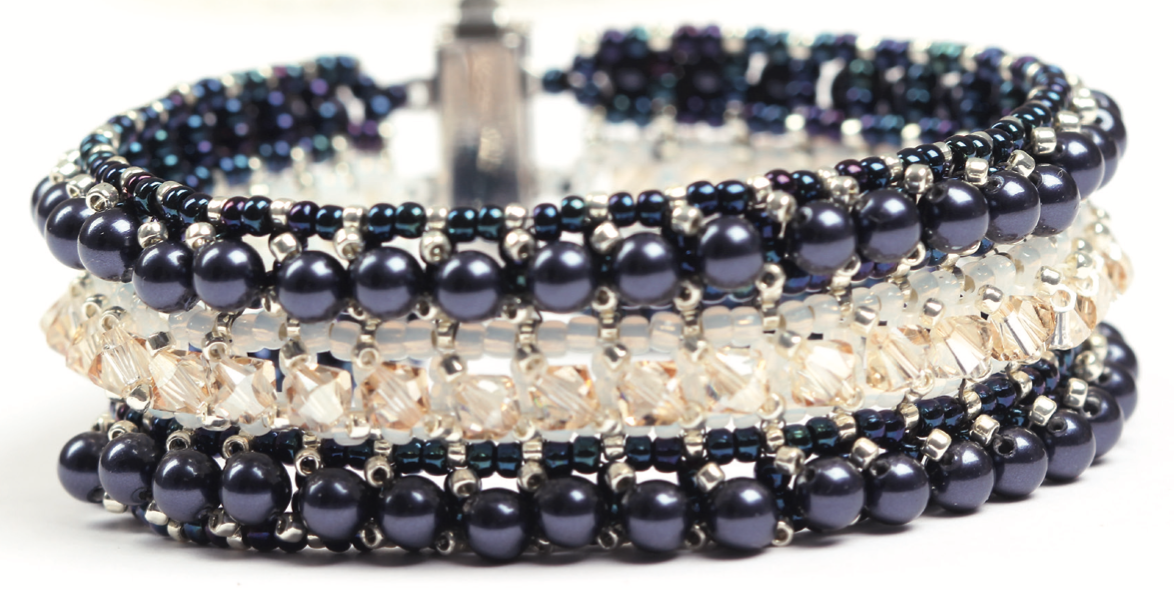
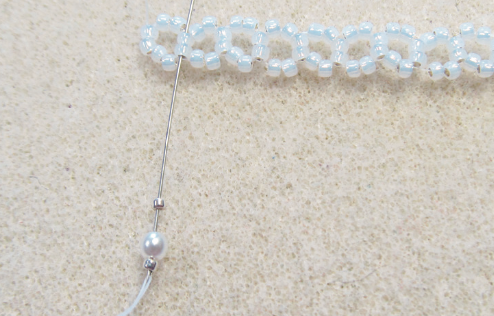
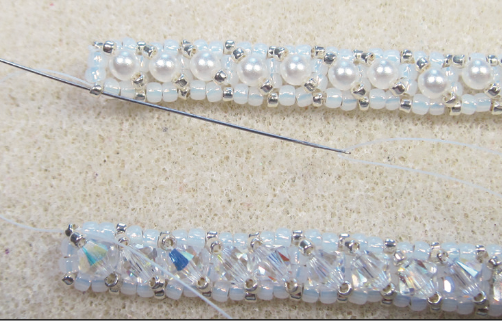
6. Pick up 1(B), and go through the two hor- izontal side beads of this unit. Continue adding 1(B) between each unit. Repeat on opposite side. Once finished tie a few half hitch knots in the vertical sets of (A) between units, and do the same with the tail thread. Cut and set aside. Repeat steps to create another two strips. You should have one with 4mm bicones, and two with 4mm pearls.
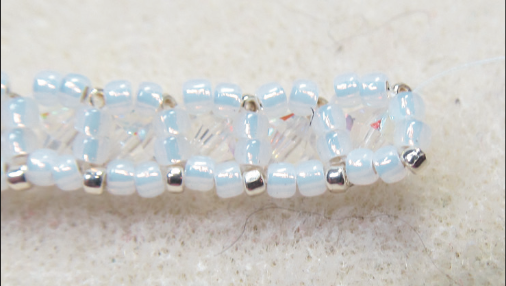
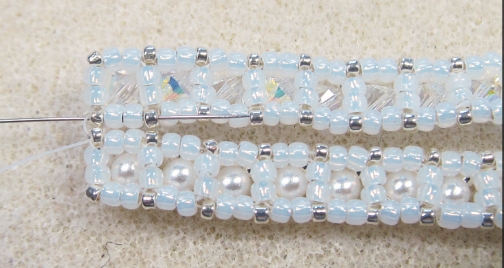
7. Lay the first two strips next to each other and using a new length of Fireline, work from the back side exiting 1(B) at the corner of the bicone strip with your needle pointed away from the strip. Go down through the first 1(B) on the corner of the pearl strip.
8. Go back up through the (B) on the bicone strip, and back down through the (B) on the pearl strip, the next 2(A) and the next 1(B).
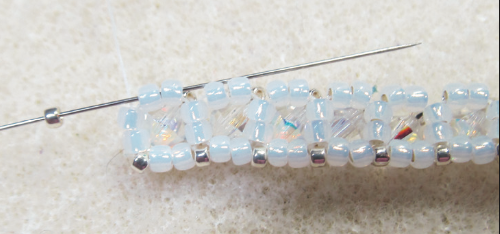
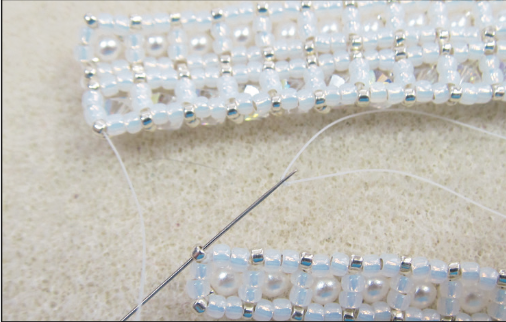
9. Go up through the corresponding (B) on the bicone strip and back down the (B) on the pearl strip. Continue square stitching the (B) beads together the entire length of the bracelet.
10. When you reach the end, continue around the end of the pearl strip, and attach the bicone strip to the second pearl strip as in steps 7-10.
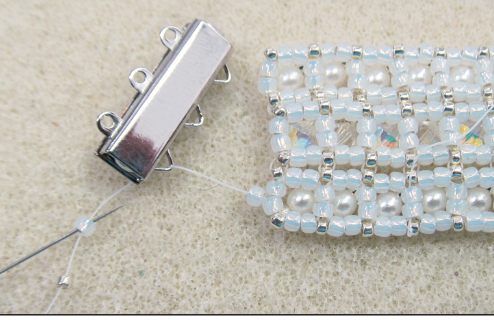
11. We will now add the clasp. Using a new length of Fireline, attach to the bead- work, and exit between the two end (A) of the first strip.
Pick up 1(A) and go from back to front through the first hole of the clasp. Pick up 1(A) and 1(B), skip the (B) and go back through the (A), the clasp hole, and the other (A) on that strip. Work your way over to the next two strips and repeat the sequence. Reinforce the clasp. Repeat on opposite side.