INSPIRATION: After seeing lots of medals on antique websites, I became fascinated with how to make them from beads. I found that two holed beads are perfect for giving texture and an easy way to move around my bead work, to get the exact shape I was looking for.
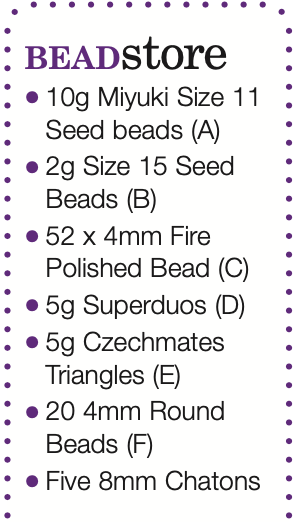


Step 1: Pick up 1(D) and 1(F). Repeat another three times until you have four of each bead. See figure 1.
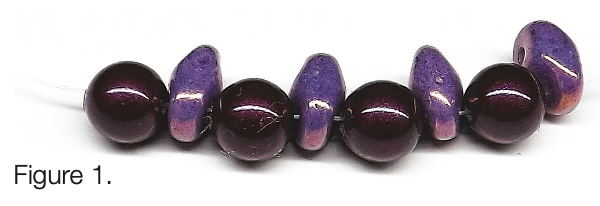
Step 2: Take your needle through the first (D) to bring the beads into a circle. Go through all the beads again until you are coming out of a (D). See figure 2.
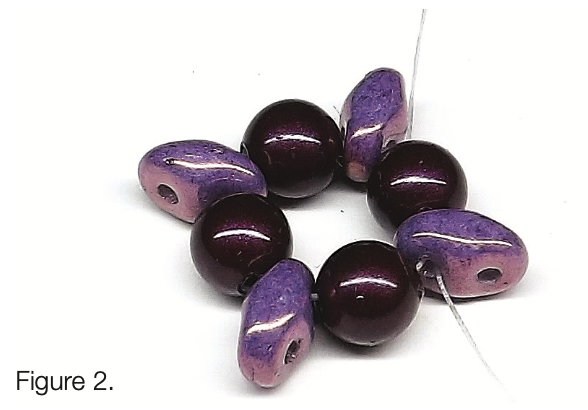
Step 3: Pick up 4(A). Miss the pearl and go in to the bottom hole of the next superduo in your circle – remember, this is the same hole that you have already passed through. See figure 3.
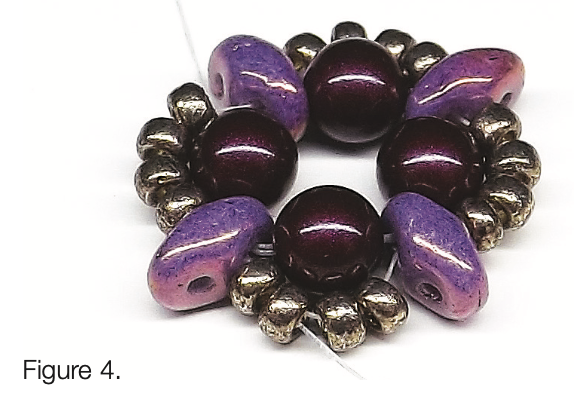
Step 4: Keep repeating step 3 until each of the (F) beads have a small arc over them. At the end of the round, pass on through the first 2(A) in your first group of four. See figure 4.
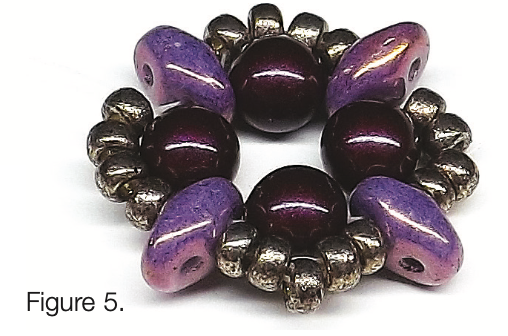
Step 5: Pick up 1(A) and go through the next two (A) beads, the (D) and the next two (A) beads. See figure 5.
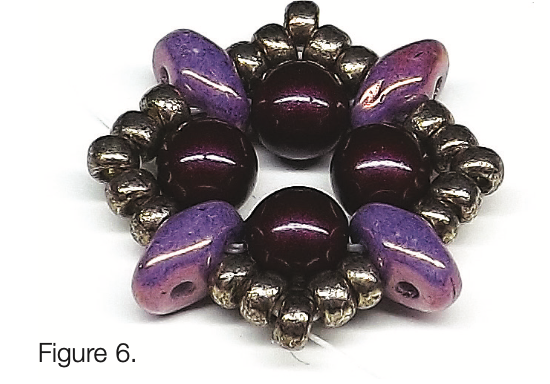
Step 6: Repeat step 5 all the way around the circle until you are back to the (A) you picked up at the start of step 5 – your thread should be exiting from this bead. See figure 6.
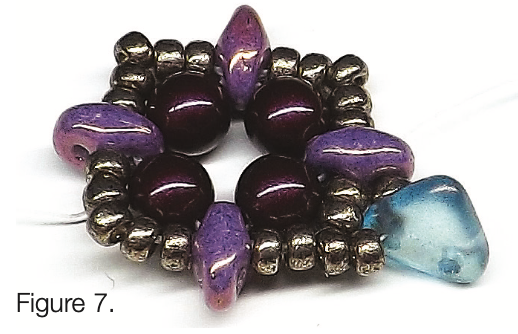
Step 7: Pick up 1(A), 1(E), 1(A) and pass through the top hole of the next (D) – this will be the un-used hole. See figure 7.
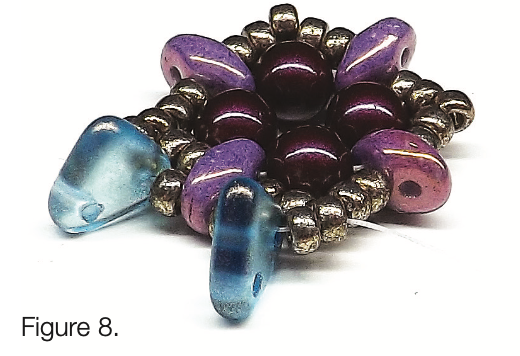
Step 8: Pick up 1(A), 1(E), 1(A) and go through the next (A) from step 6 (this bead should be sticking up slightly from the arc). See figure 8.
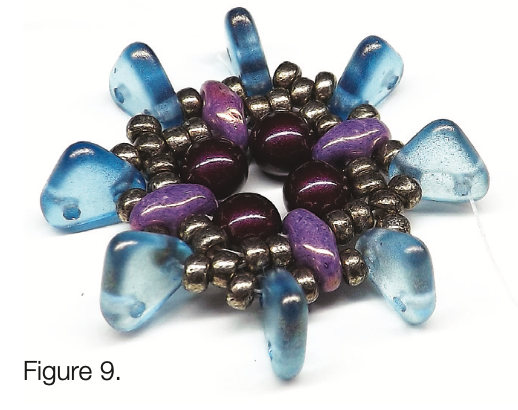
Step 9: Repeat steps 7 and 8 until you are back at the first (A) where you started step 7. Move on through the first group of beads you added in step 7 until you are coming out of the Triangle. Move your needle up the side to exit from the outside hole of the Triangle (the un-used hole). See figure 9.
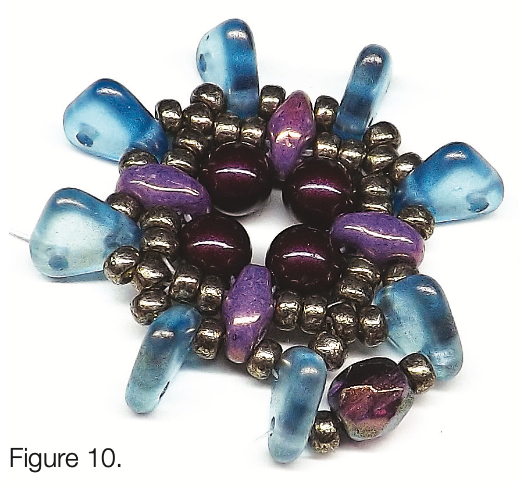
Step 10: Pick up 1(A), 1(C), 1(A) and go through the next Triangle, passing through the outside (empty) hole. See figure 10.
Step 11: Continue repeating step 10 all the way around and once the round is completed reinforce it by passing through these outer beads again. Weave through until you are coming out of an (A) after a Triangle. See figure 11.

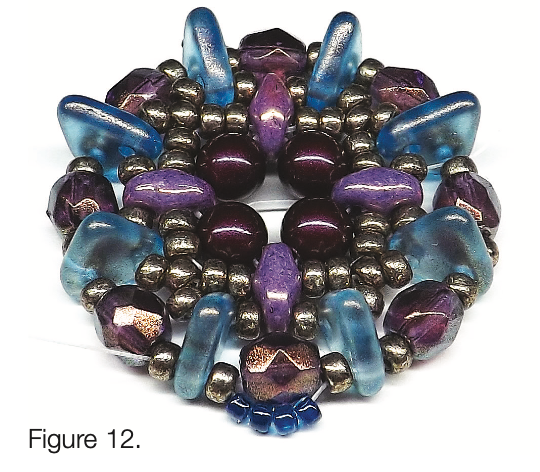
Step 12: Pick up 4(B) and go into the (A) before the next Triangle. Move forward into the Triangle and into the next (A). See figure 12.
Step 13: Continue adding (B) beads all the way around the circle. Move through the first two (B) of your first set of four from the previous step. See figure 13.

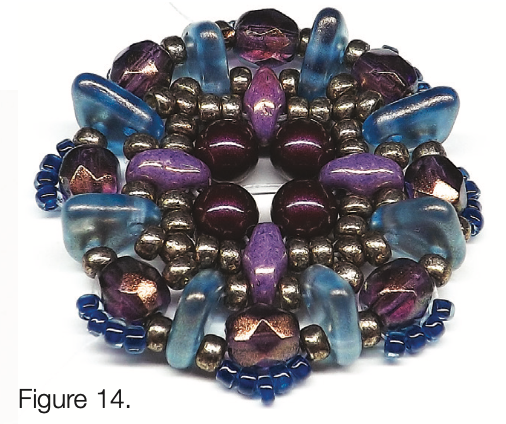
Step 14: Pick up 1(B) and go through the next two (B) beads, though the (A), (E), (A) and up through the first two (B) beads from the next set of four. See figure 14.
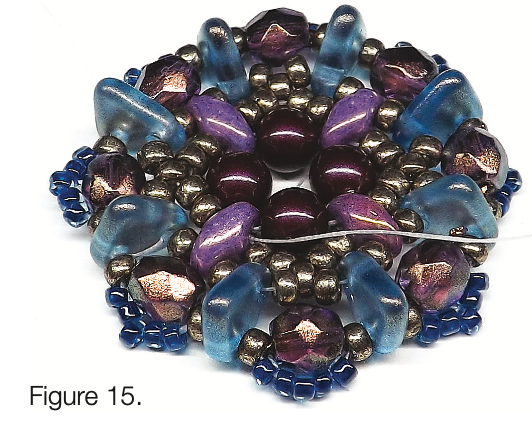
Step 15: Repeat step 14 all the way around the circle. When you have finished, weave your way through to the inside hole of a (D) bead from step one. See figure 15.
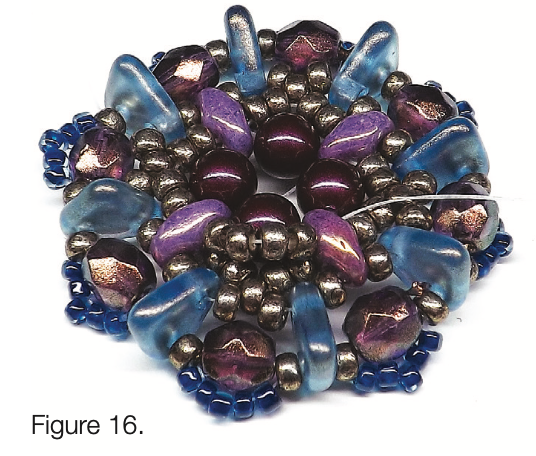
Step 16: Pick up 4(A) and go through the inside hole of the next (D). See figure 16.
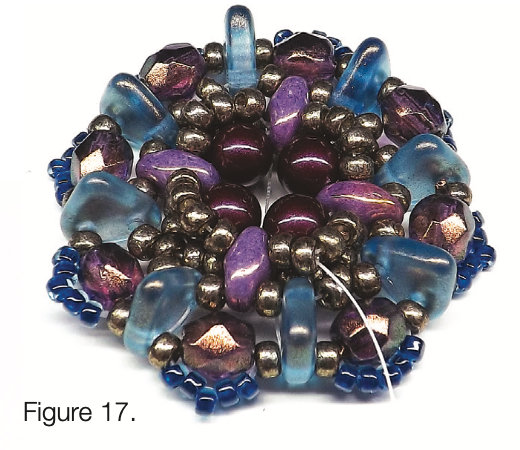
Step 17: Keep repeating step 16, until you are back at the original superduo. Pass up through the first 2(A) on the new row (from step 16). See figure 17.
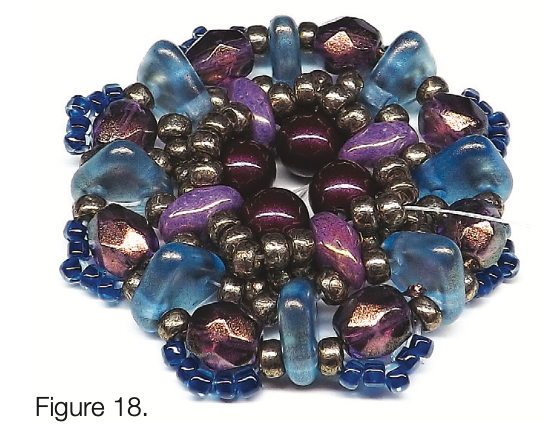
Step 18: Pick up 1(A) and go through the next 2(A), 1(D) and the first 2(A) in the next group. See figure 18.
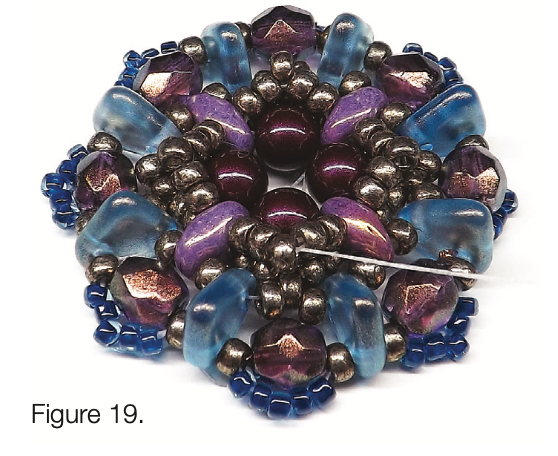
Step 19: Keep repeating step 18 until you have worked all the way around the circle. Move on through to exit from the first (A) added in step 18. See figure 19.
Step 20: Pick up 4(A) and go through the next (A) from step 19 – this bead should be sticking up a little bit. See figure 20.

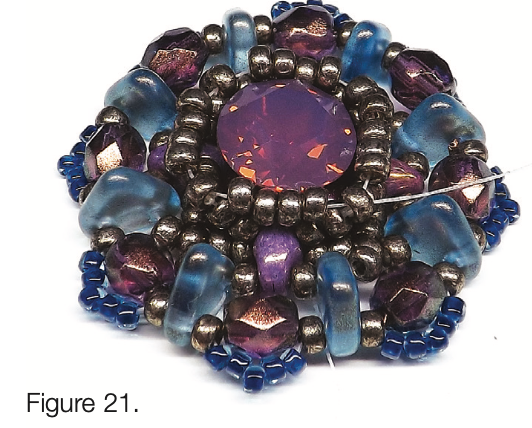
Step 21: Keep repeating step 20 all the way around the circle. This will create a bezel. See figure 21.
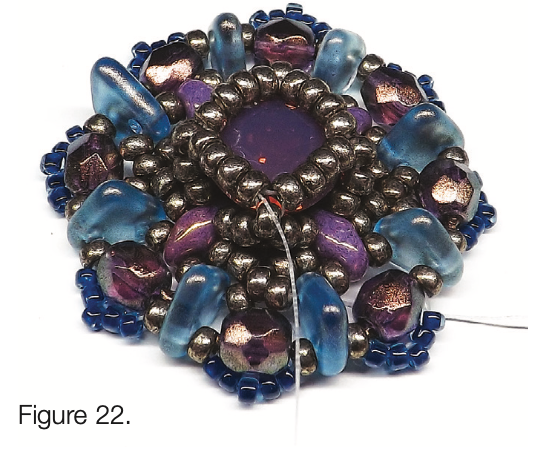
Step 22: Put the chaton in the bezel and pull the thread tight. Go back through all the (A) beads from the last step (missing out the corner beads of steps 19-20) to tighten and keep the chaton in place. Reinforce this row. Come out of the last (A) in a set of four. See figure 22.
Step 23: Pick up 4(A) and go through a Fire Polished bead on your outside row. This will be adjacent to where you are coming out of the (A) bead. See figure 23.

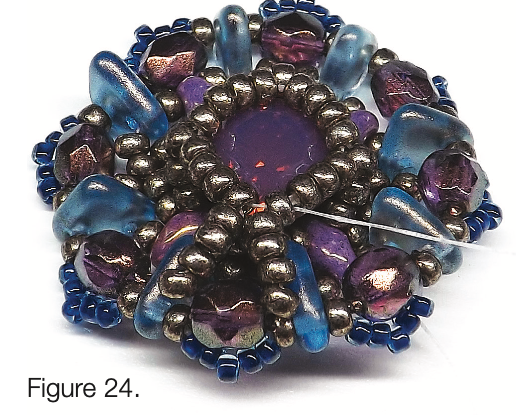
Step 24: Pick up another 4(A) and go through the first (A) on the next set of four in the inner circle you created in step 20. See figure 24.
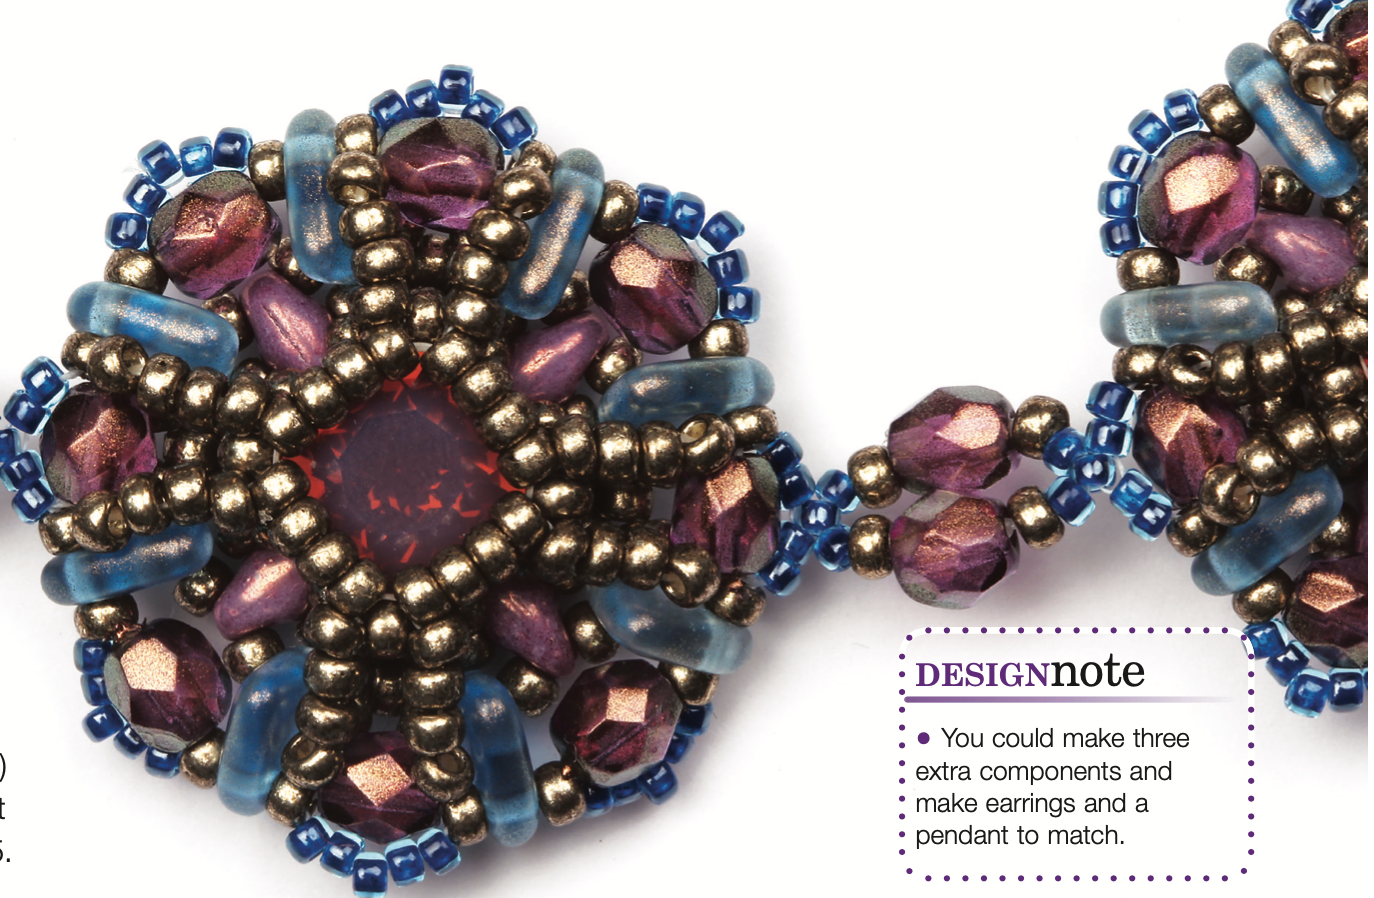
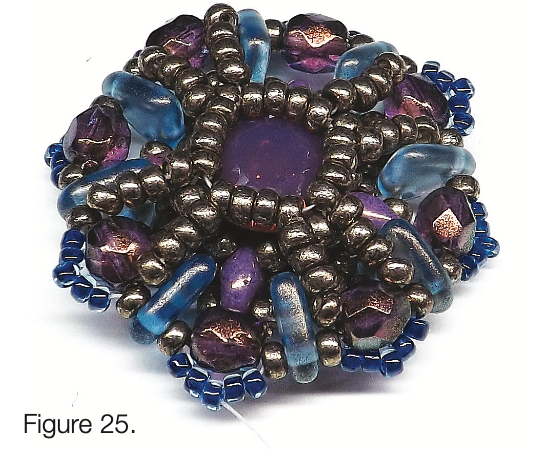
Step 25: Repeat steps 23 and 24 all the way around the circle. Weave your way to one of the middle (B) beads on the outside row that sits above the (A) beads from steps 23-24. This completes a single component – you can leave the working thread to join this to the other components later. See figure 25.
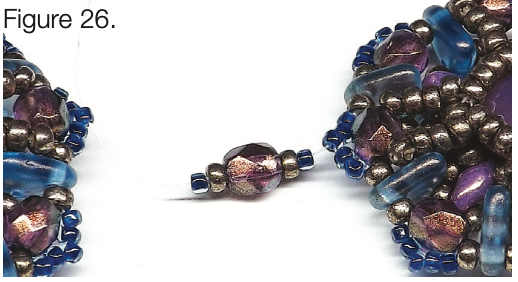
Step 26: Make a second component, then you are ready to join these two together. Make sure you are exiting from the (B) bead where you ended step 25. Pick up 1(B), 1(A), 1(C), 1(A), 1(B) and go into the equivalent (B) in your other component. You must go in the same side as the one you’re coming out of on your original component. See figure 26.
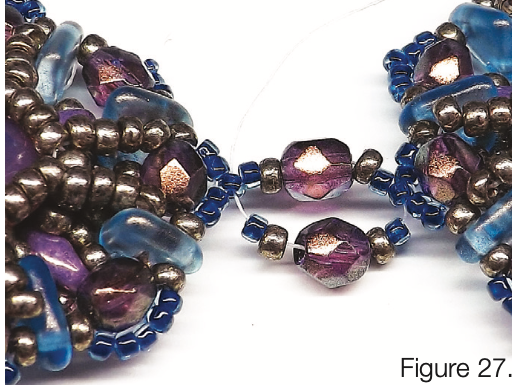
Step 27: Pick up 1(B), 1(A), 1(C), 1(A), 1(B) and go into the opposite side of the (B) on your original component. Reinforce this part a few times. See figure 27.
Step 28: Repeat Steps 1-27 to make enough components to fit around your wrist. If you join each new component as you finish it, then it is very easy to measure the length and check you get the right fit for your wrist.
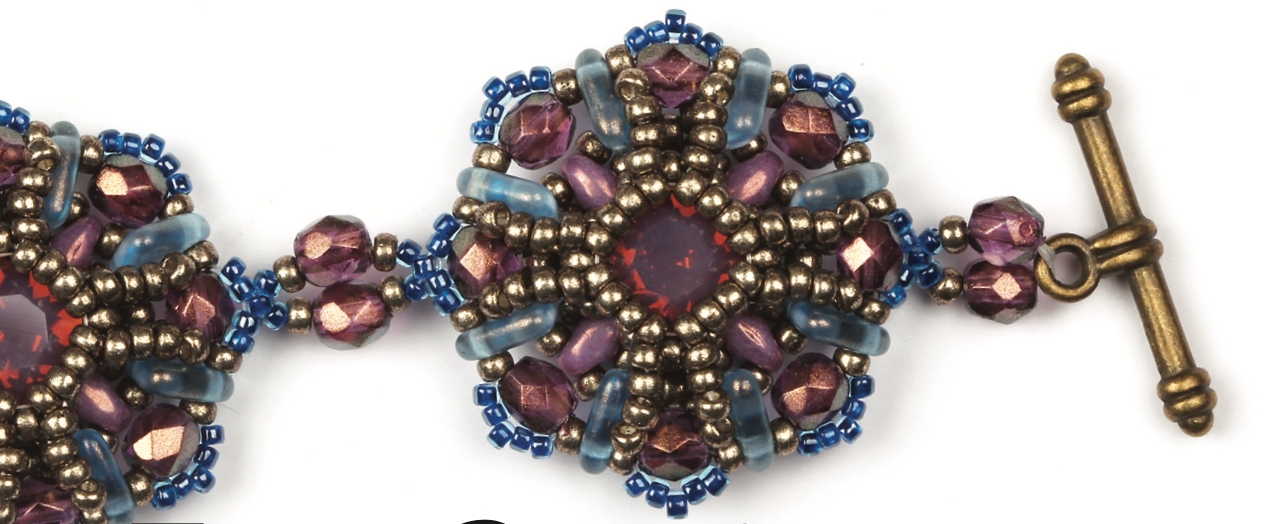
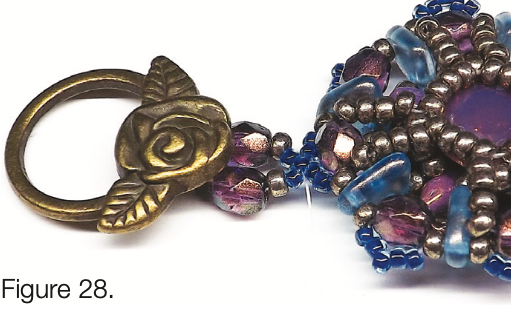
Step 29: You are now ready to add the clasp. Come out of a central (B) on your end component. Pick up 1(B), 1(A), 1(C), one half of your clasp, 1(C) 1(A), 1(B). Go back into the (B) you originally exited on the bracelet, but pass in from the opposite side. Reinforce this section a couple of times and then finish your thread. See figure 28.
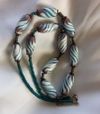
Step 30: Repeat step 29 to add the other half of the clasp to the other end of your bracelet. Your jewellery is finished and ready to wear.