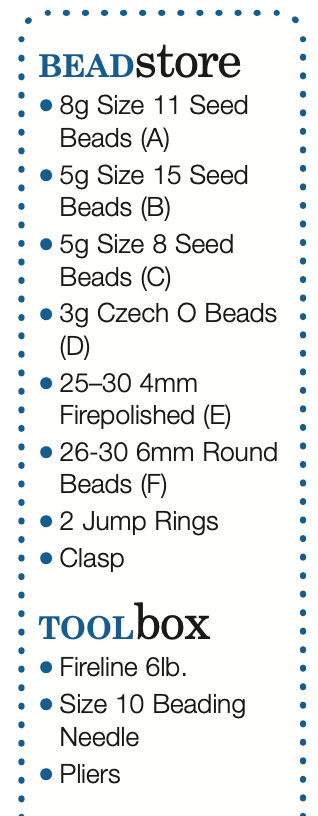

Step 1: To start pick up a stopper bead. Then pick up 1(A), *1(D), 1(F), 1(D), 1(A) 1(E), 1(A)**. This is the start of your sequence for the first row. See figure 1.
Step 2: Continue repeating the sequence from * to ** until the rope is as long as you want it. It is important to keep tension tight through the necklace as we want to get the twist.
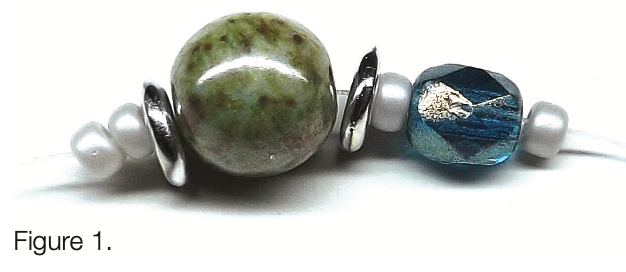
Step 3: When your necklace is long enough finish on an (A). Then pick up 7(A) and come back down the last (A) of your sequence. This will be the loop for your clasp. See figure 2.
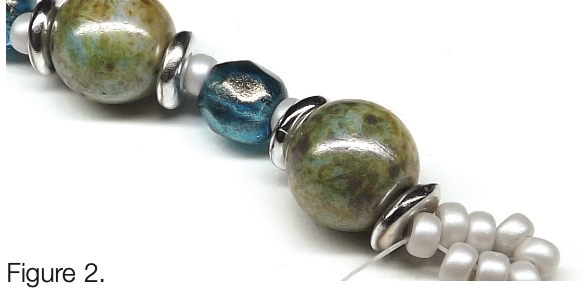
Step 4: Coming out of the first (D) after the clasp, pick up 7(B) and go through the next (D). Pick up 1(A) and go through the (E) then 1(A) and go through the next (D). Continue this sequence all along until end of necklace. See figure 3.
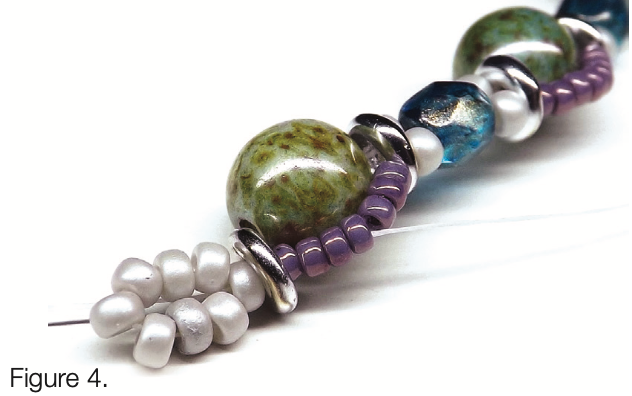
Step 5: When you reach the other end of your necklace, come out of the last (A) (ignore the stop bead as we’ll leave him on until the end of the necklace for tension) of your sequence and pick up 7(A). Go back down the last (A) of your sequence. Move forward through 4(B) from your last row. See figure 4.
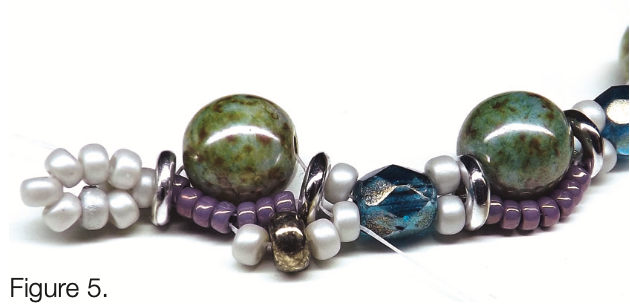
Step 6: Pick up 1(A), 1(C), 1(A) and go through an (A) in front of the next (E) bead. See figure 5.
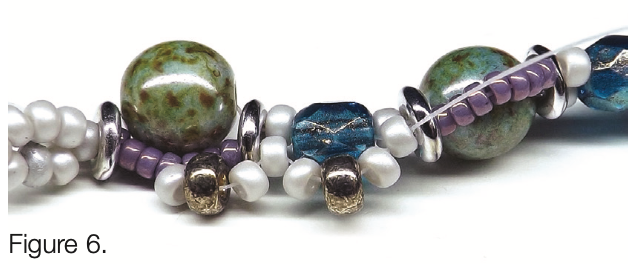
Step 7: Pick up 1(A), 1(C), 1(A) and go through the (A) after the (E) bead. See figure 6.
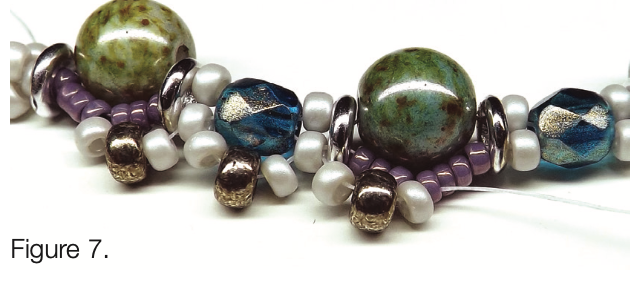
Step 8: Pick up 1(A), 1(C), 1(A) and go through the fourth (B) along in the arc around your 6mm bead. Continue steps 6-8 until you have reached the last middle (B) of your necklace. See figure 7.
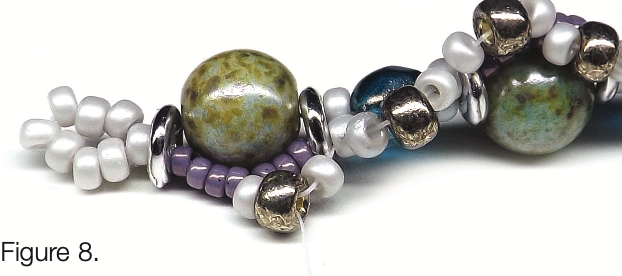
Step 9: Work your way around your beads until you are coming out of the last (C) added. See figure 8.
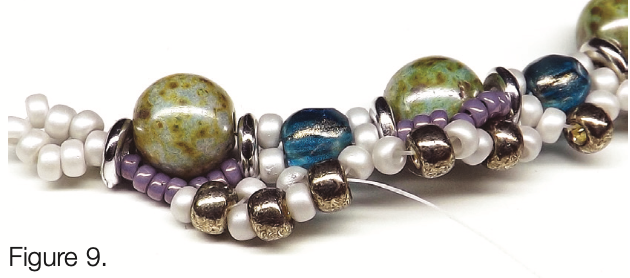
Step 10: Pick up 1(A), 1(C), 1(A) and go through the next (C) along from the previous row. Continue this step all the way to the end of your necklace. Pulling the necklace tight to give it good tension, weave in all your threads to finish them off. See figure 9.
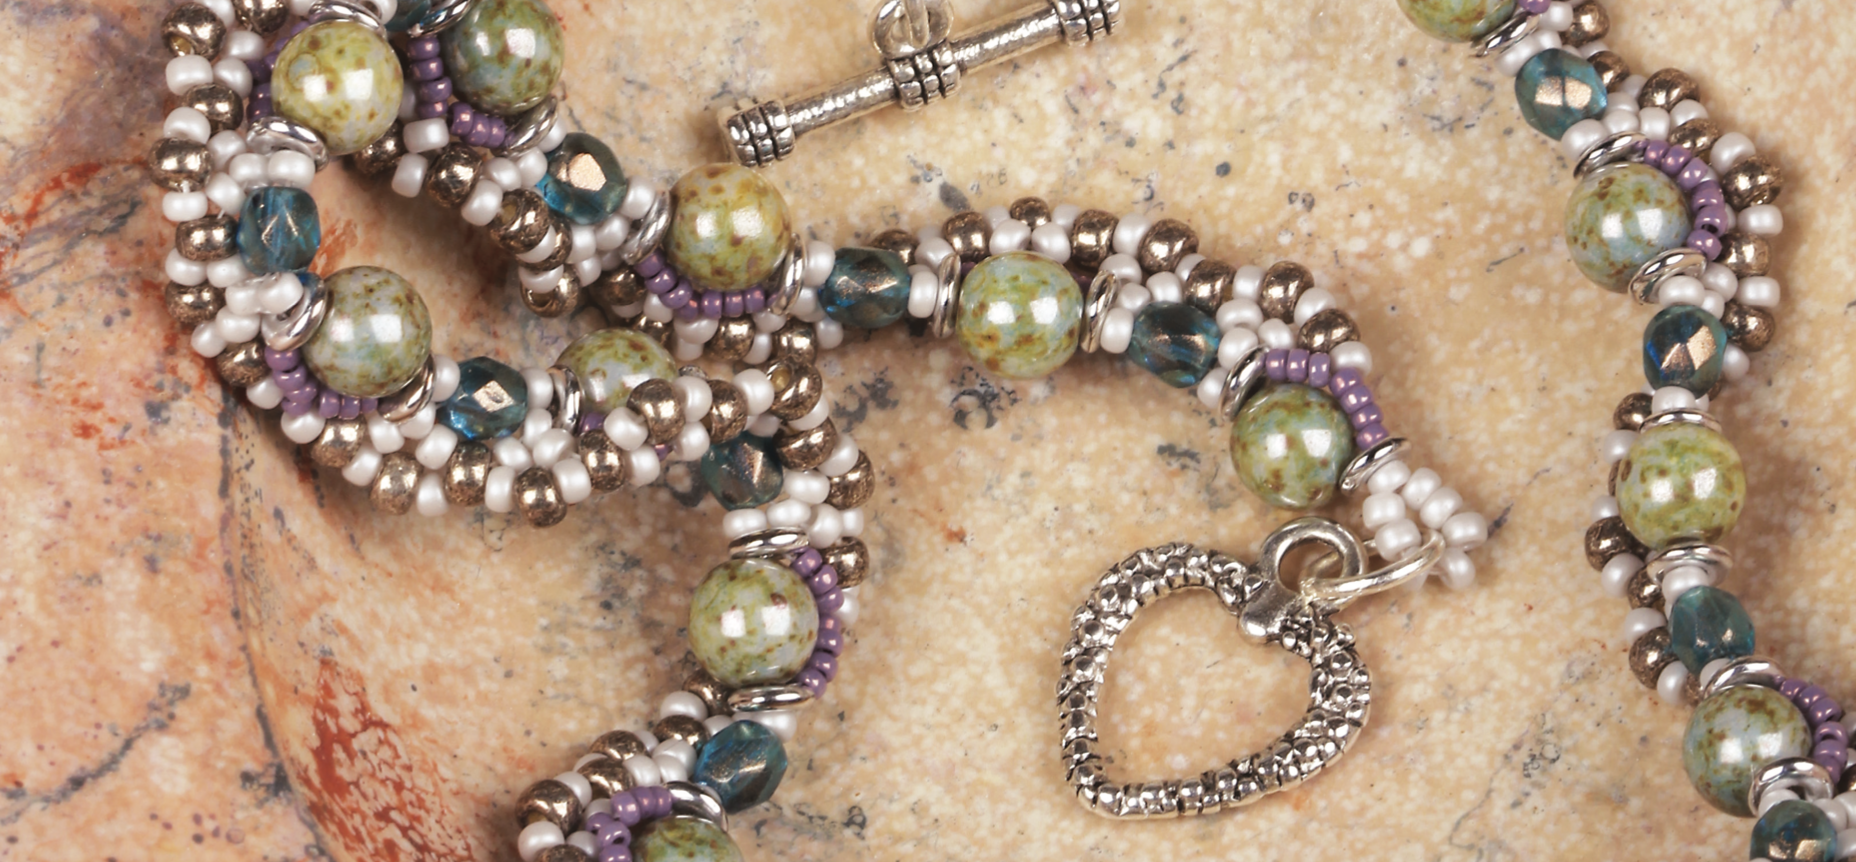
Step 11: Using pliers, attach a jump ring to a clasp and take it through the little loop on one end of the necklace. Repeat on other end. Your necklace is now ready to wear.