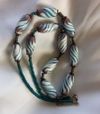
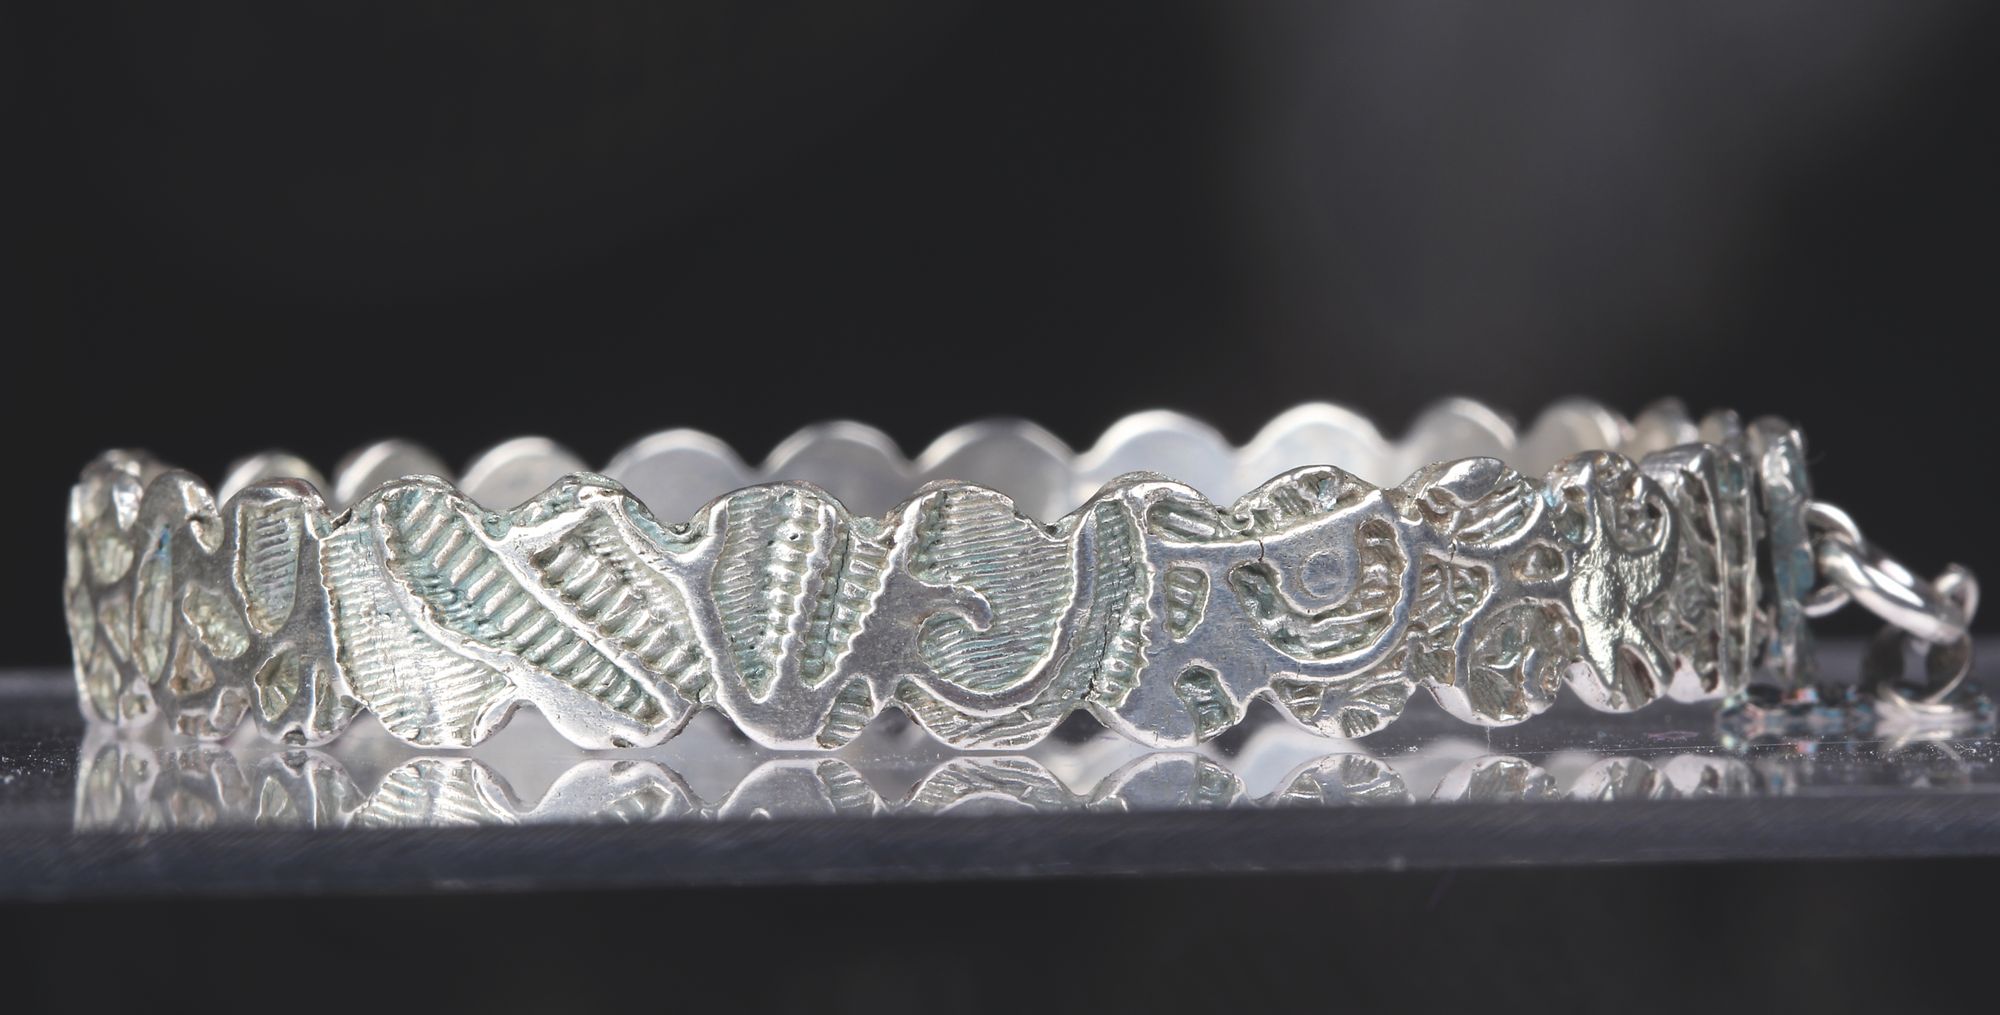
The wonderful Tracey has brought to us yet another perfect silver clay piece. This bangle will look good dressed up or down and would easily become a go-to piece that you can just pop on and go without having to find the perfect colour match/design. You can choose the texture that suits you, whether that be wallpaper or a texture plate.
This is definitely a more advanced piece to make, but if you’re looking for more beginner options or just more metal clay pieces in general, why not join Tracey on her online distance learning courses. With full detailed instructional videos, support documents and you can even interact with her to ask questions. A whole world of metal clay at your fingertips.
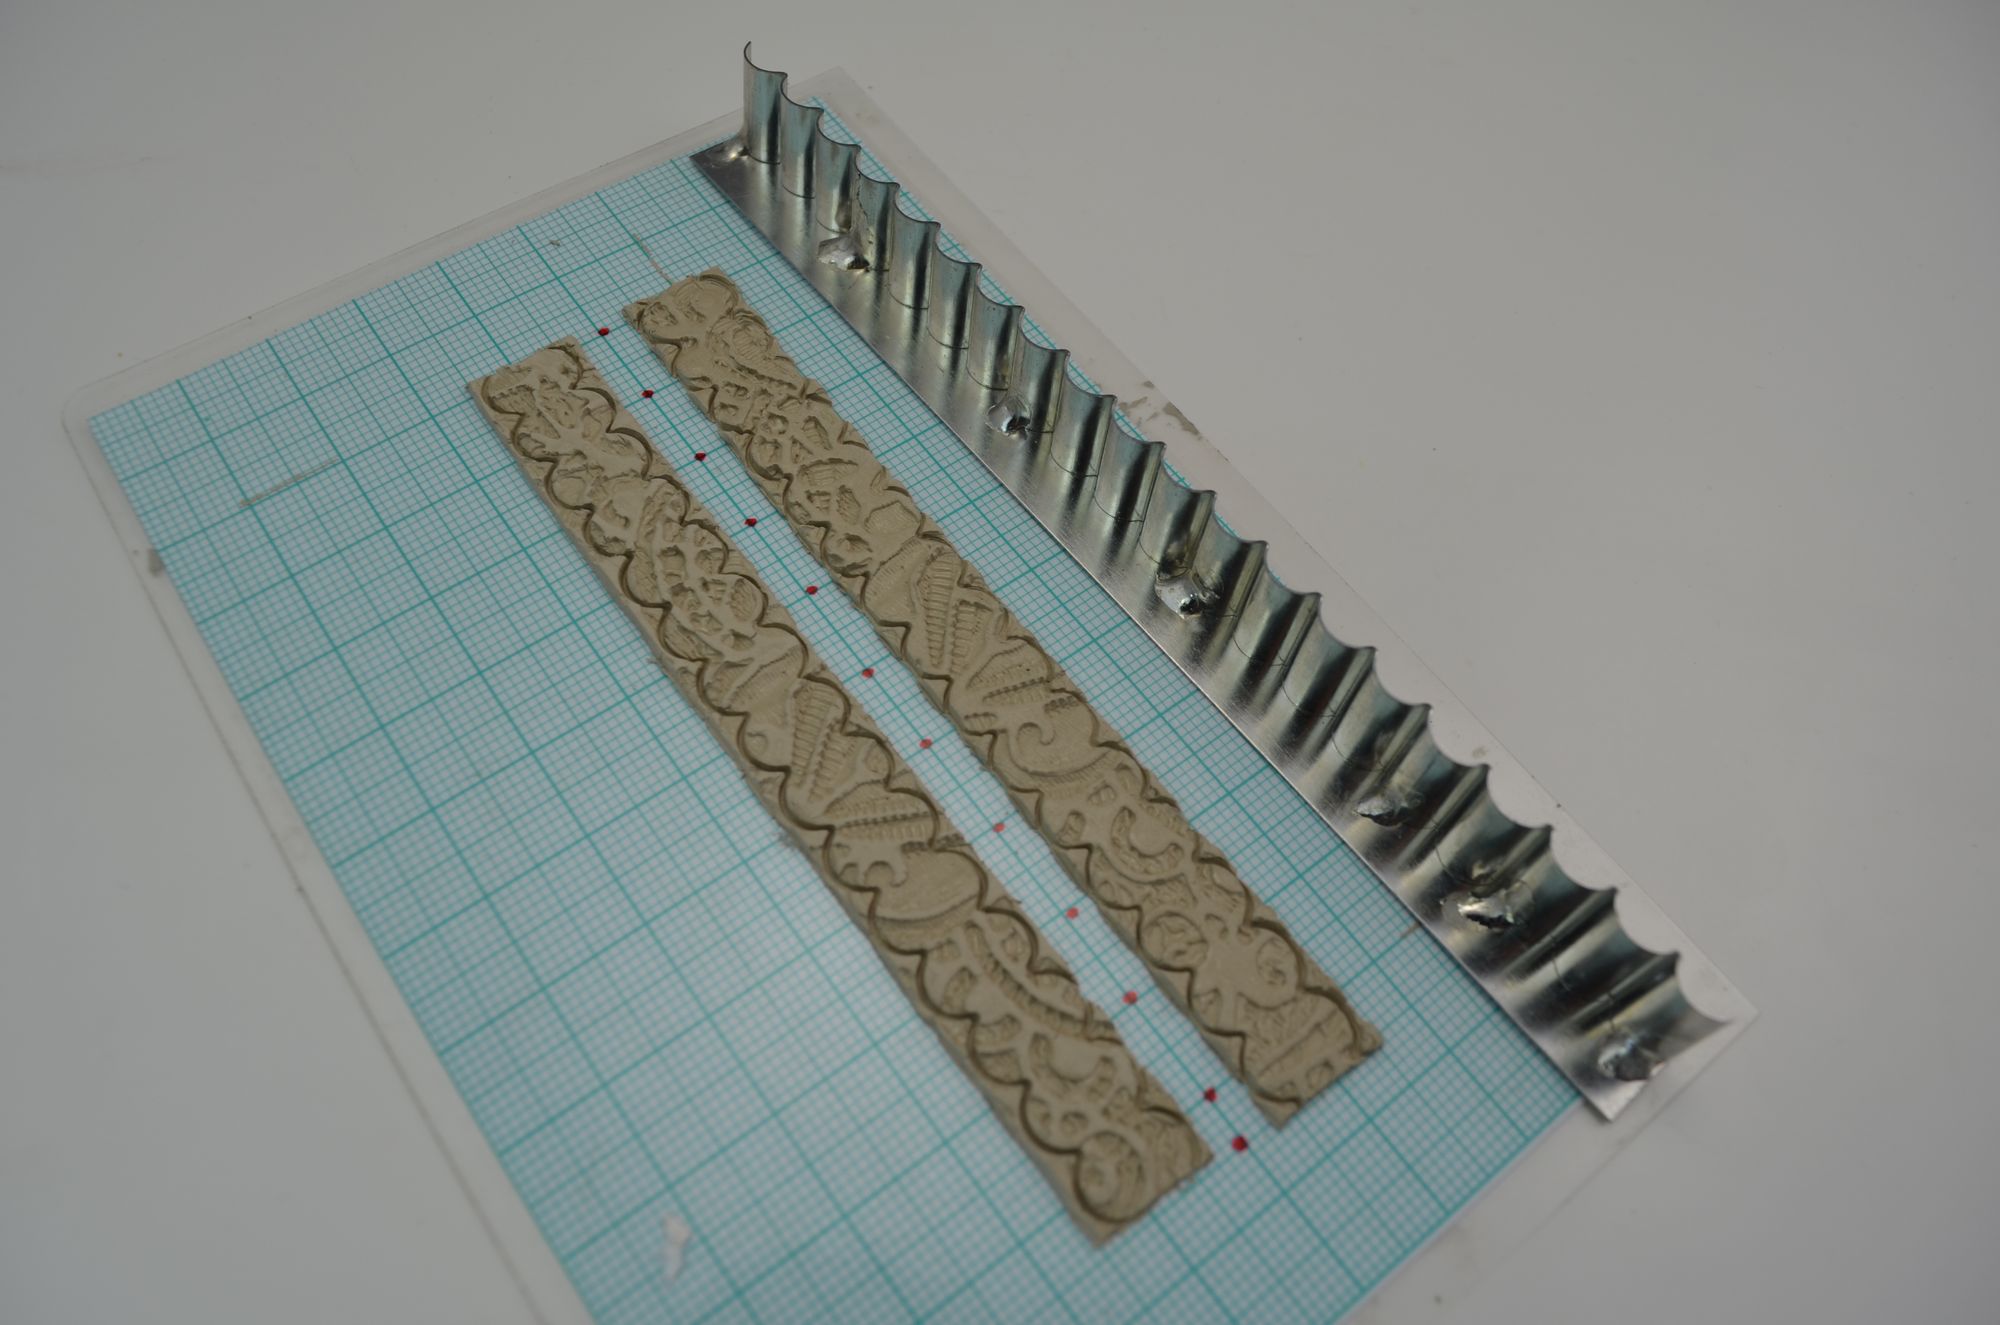
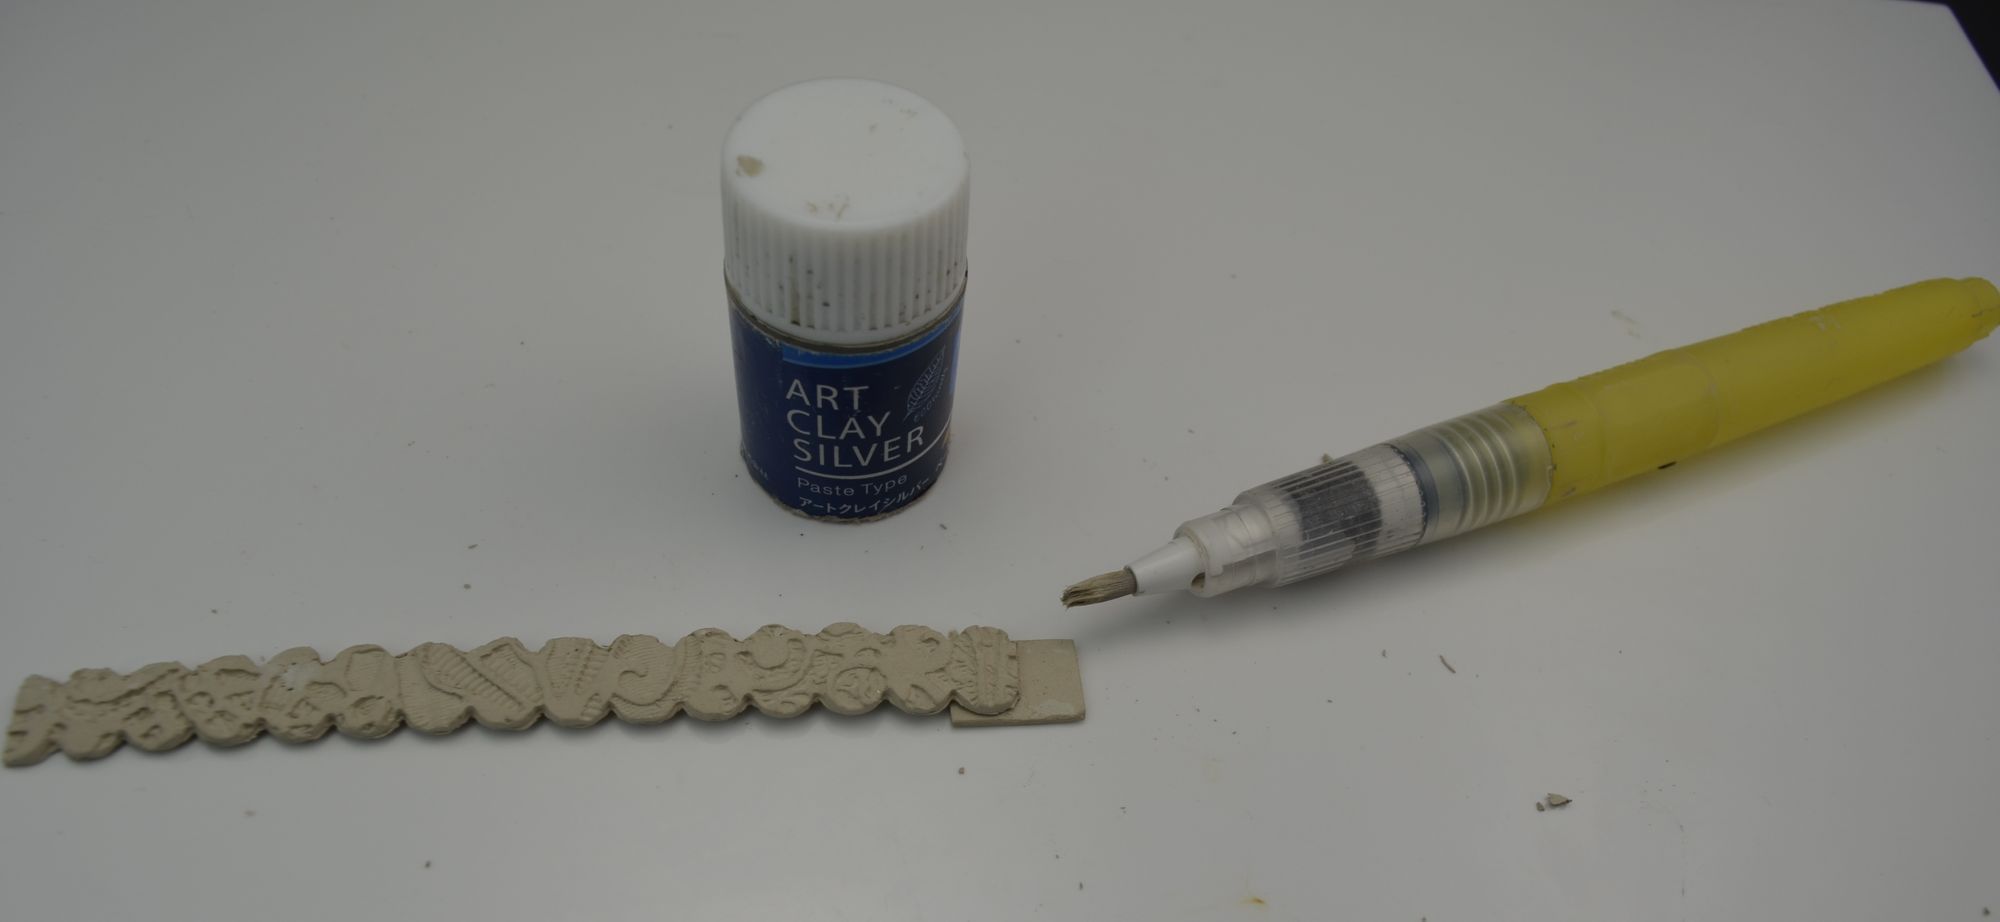
- Oil or Badger balm your work surface. Roll out the clay using 1.5mm spacer bars. Place the clay on top of your chosen texture and roll once again using 1mm spacer bars.

2. Use a Craftworx 10mm parallel strip cutter to cut a strip of clay 10.5cm long. Repeat this to make a second strip. Roll out a small piece of clay using 1mm spacers. Cut this to approximately 2cm x 1cm. This small piece helps to create the clasp fastening tab.

3. Next use a Craftworx small fluted cutter and cut the straight edge to create an interesting fluted edge to the design. Place these to dry flat.
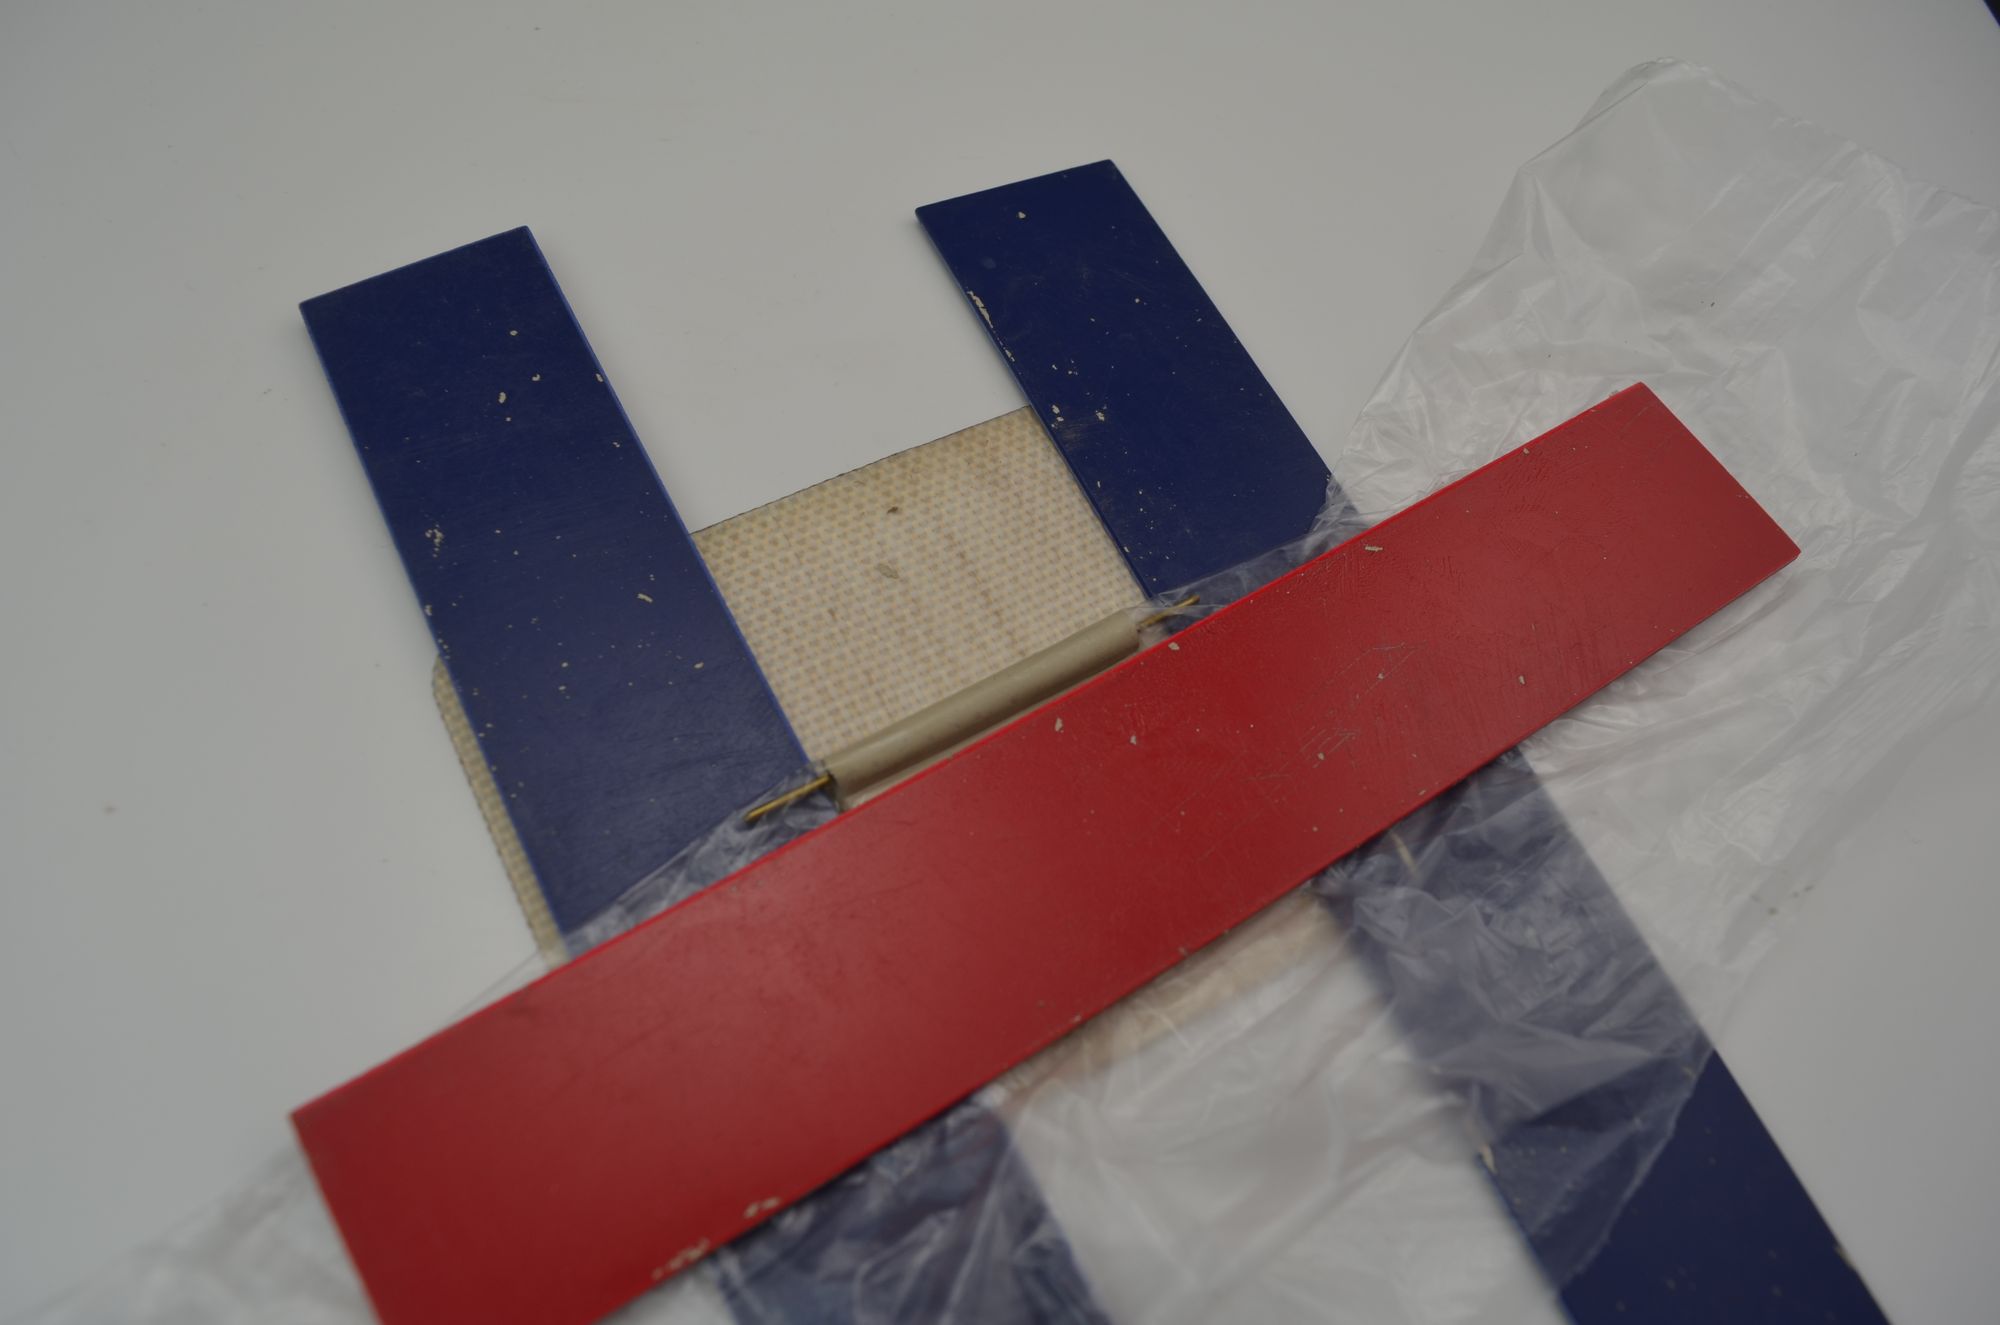
4. Next roll out a little clay using 1mm spacers. Cut the clay to approximate 3cm x 3cm. Place the clay on top of a piece of cling film. Cover the centre section of a Craftworx hinge pin with a little silver clay paste. Lay it close to the edge of the clay furthest away from you.
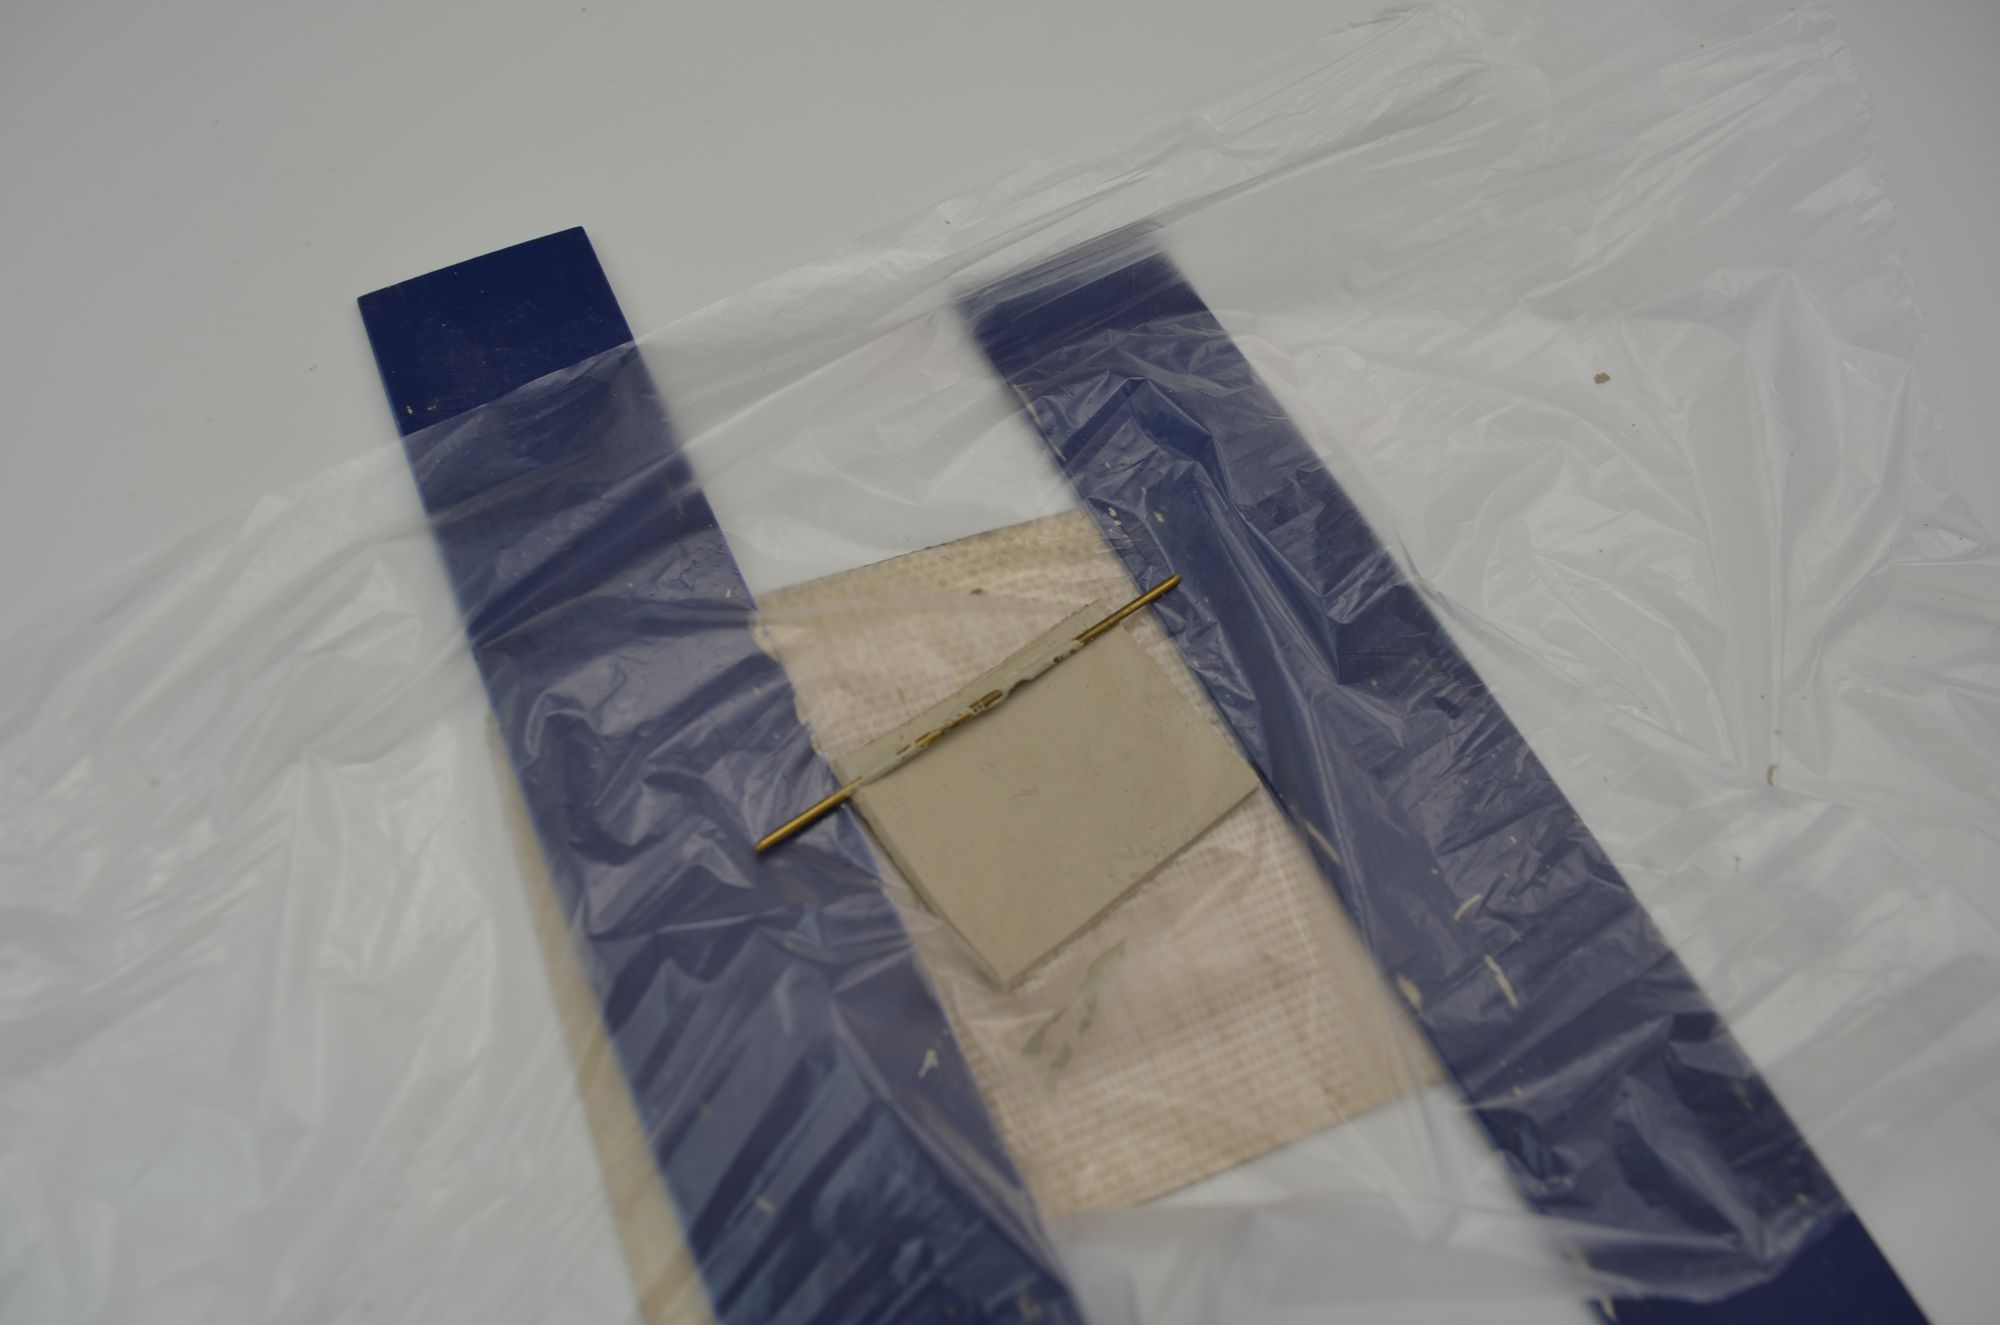
5. Place your 1mm spacer bars under the ends of the hinge pin. This prevents you from accidentally cutting into the clay with the pin. Use the cling film to roll the clay over the hinge pin and use another spacer bar to press the edge onto the back. Ensure the piece maintains its shape. Place this to dry.
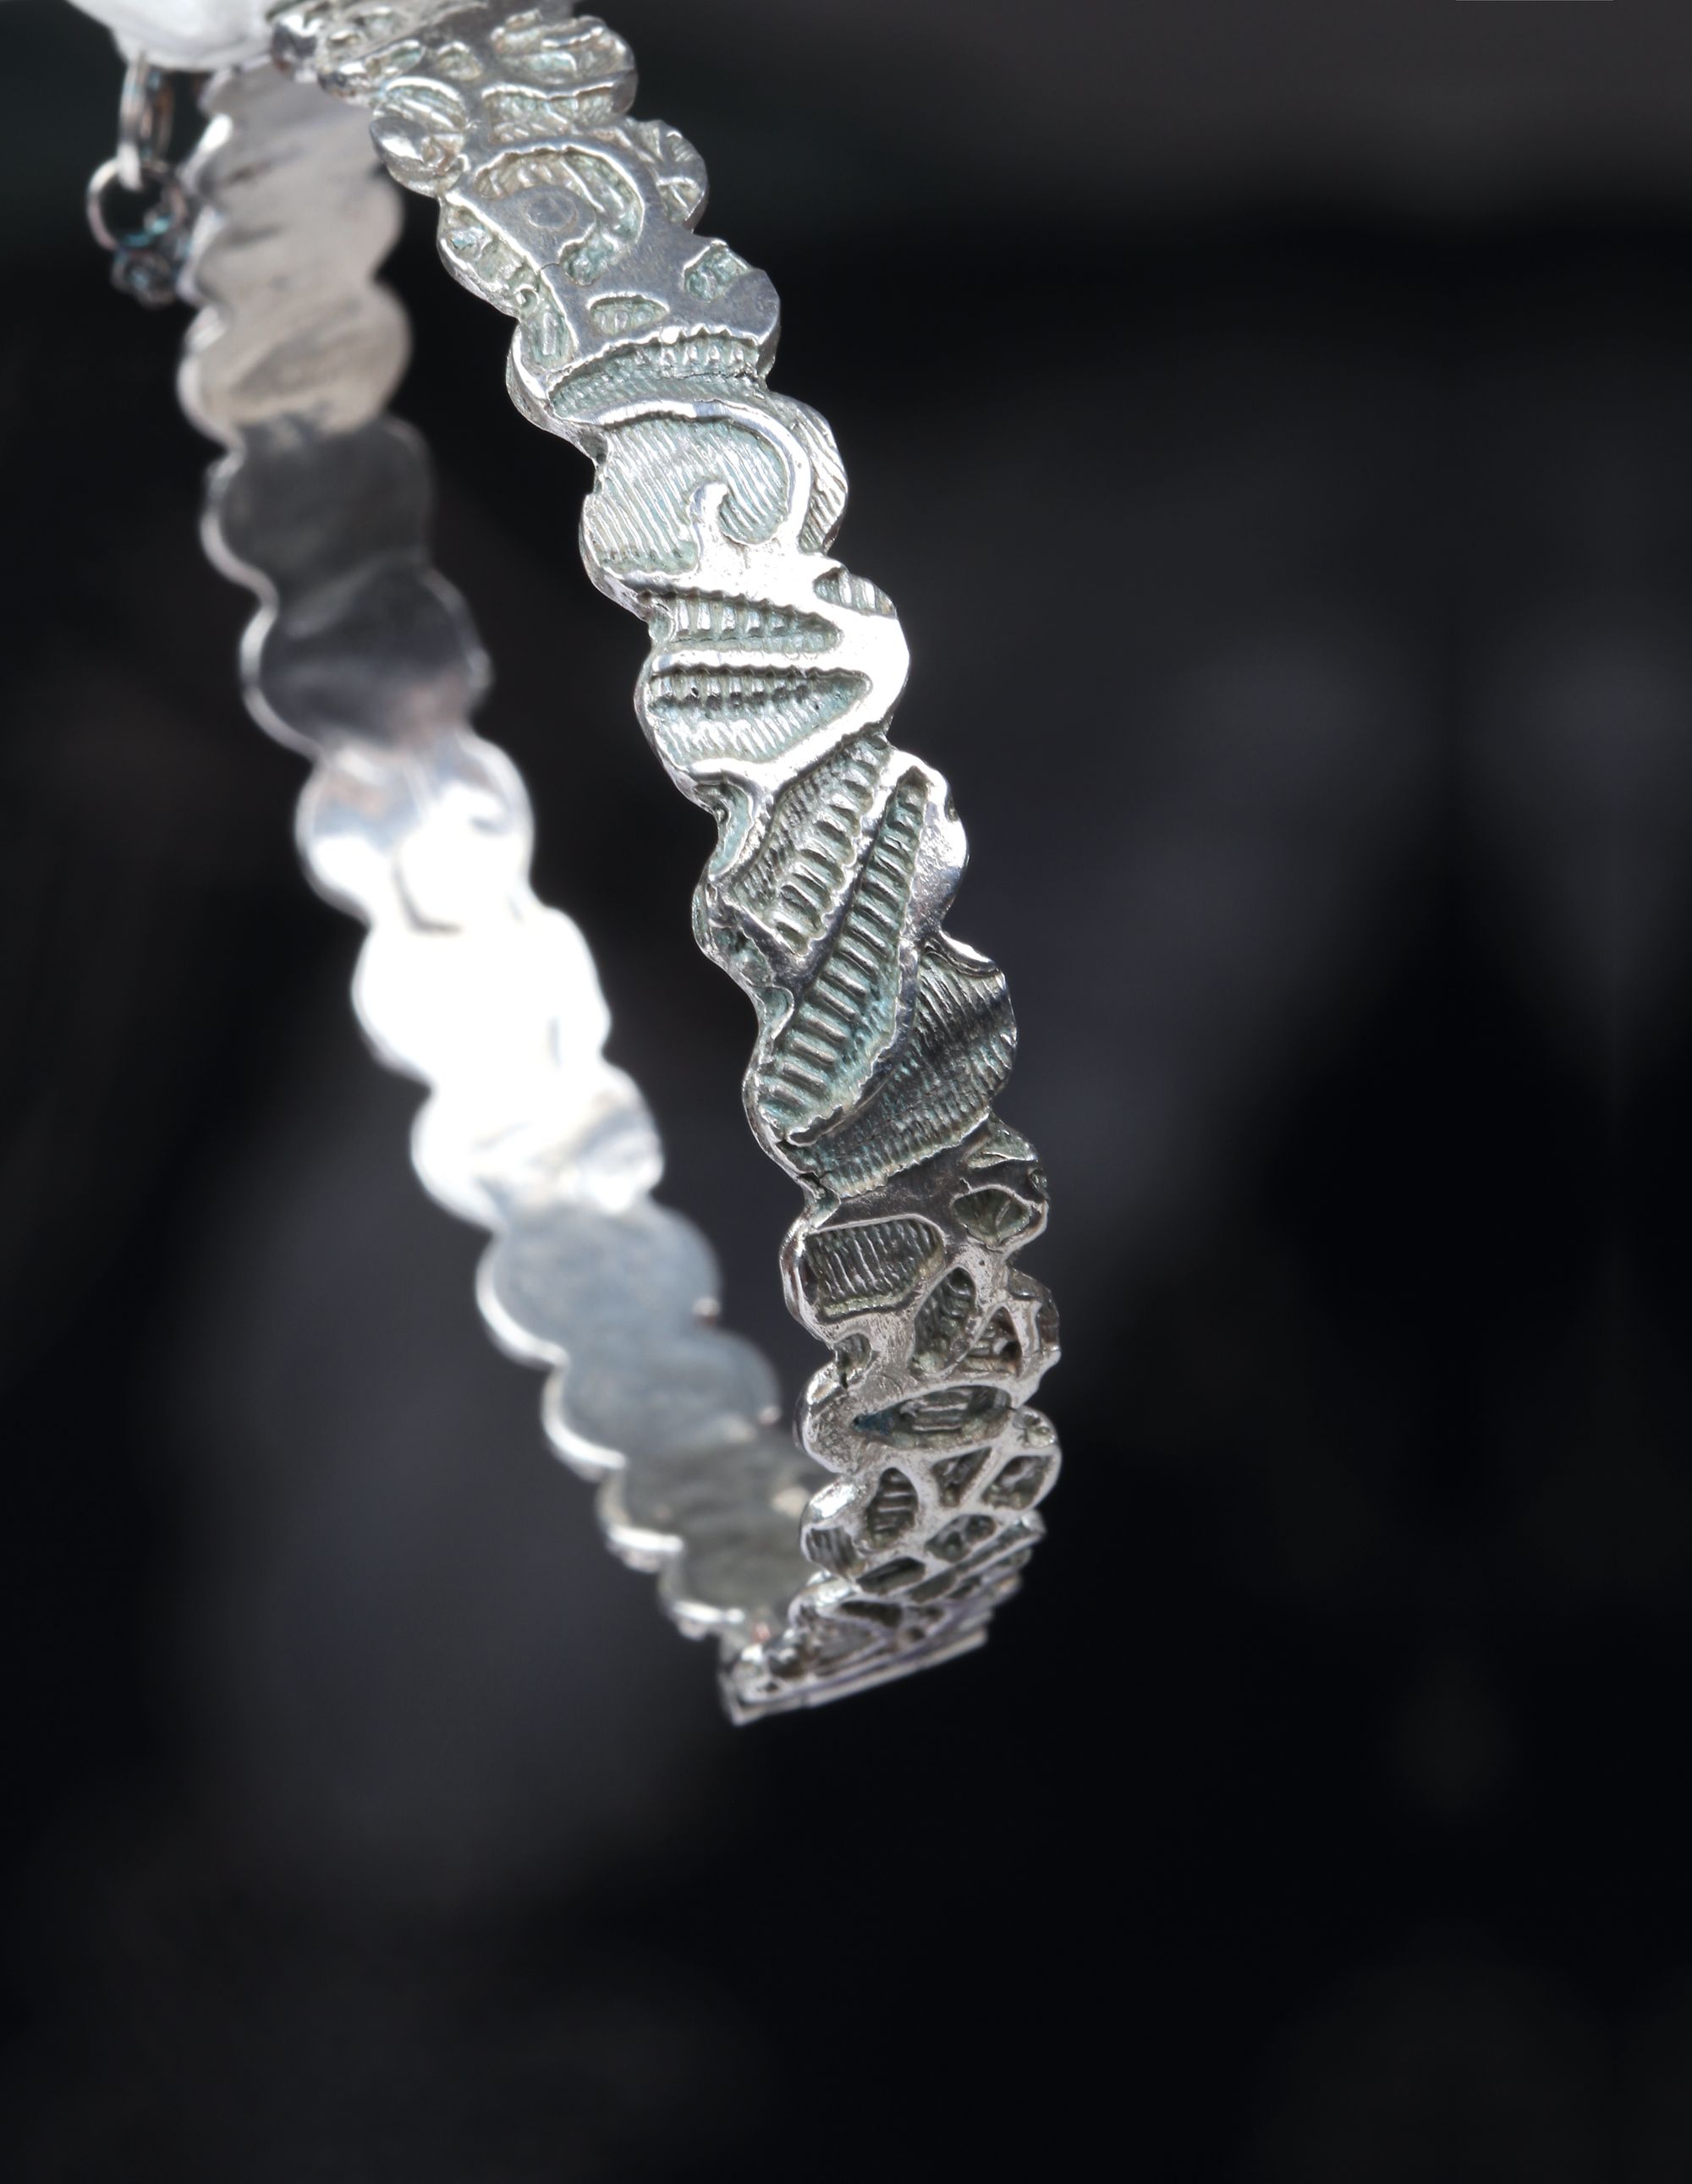
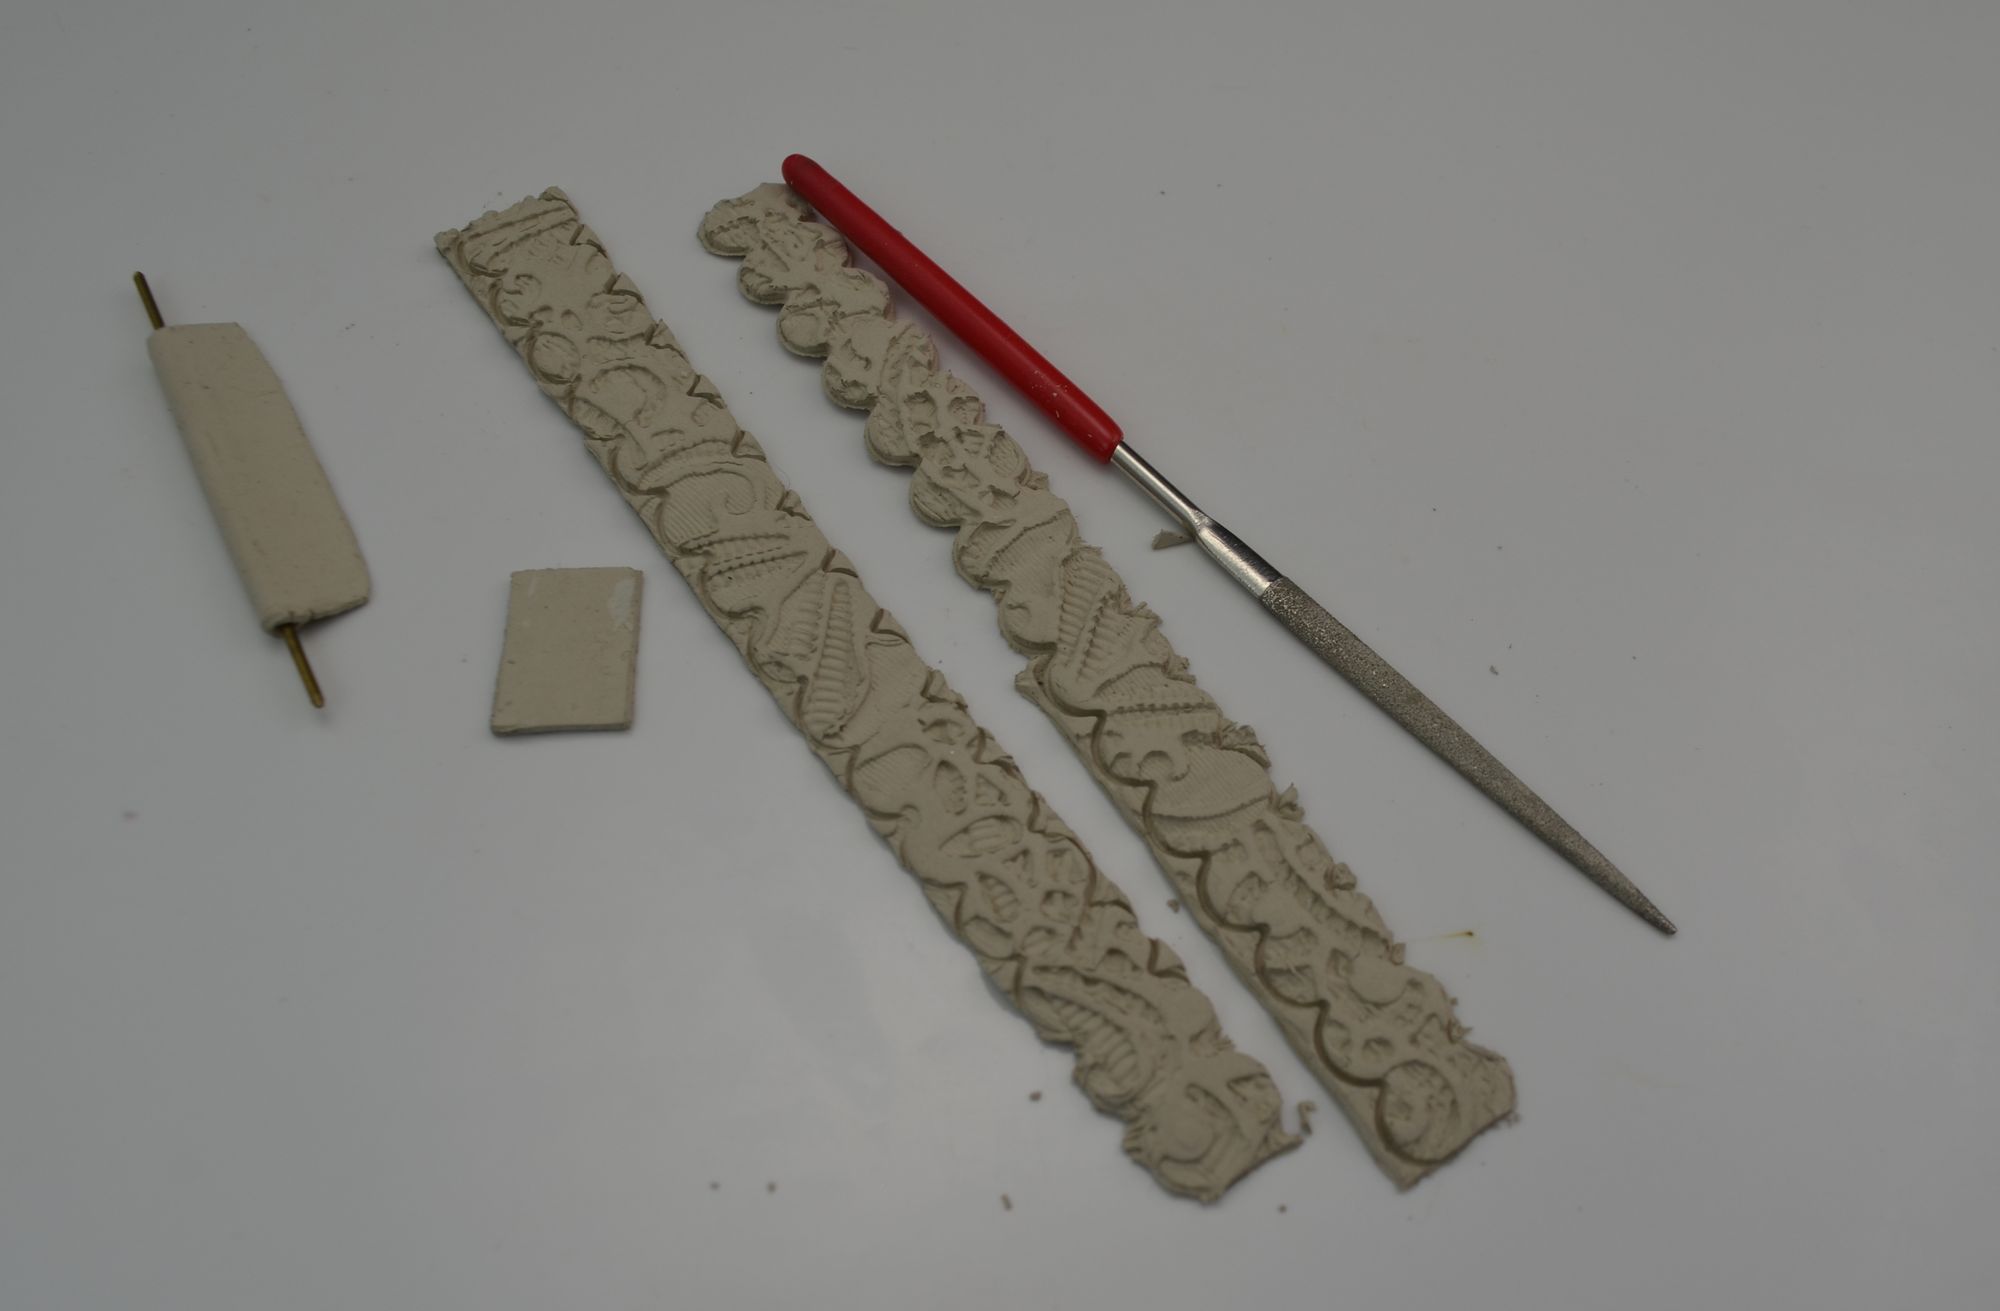
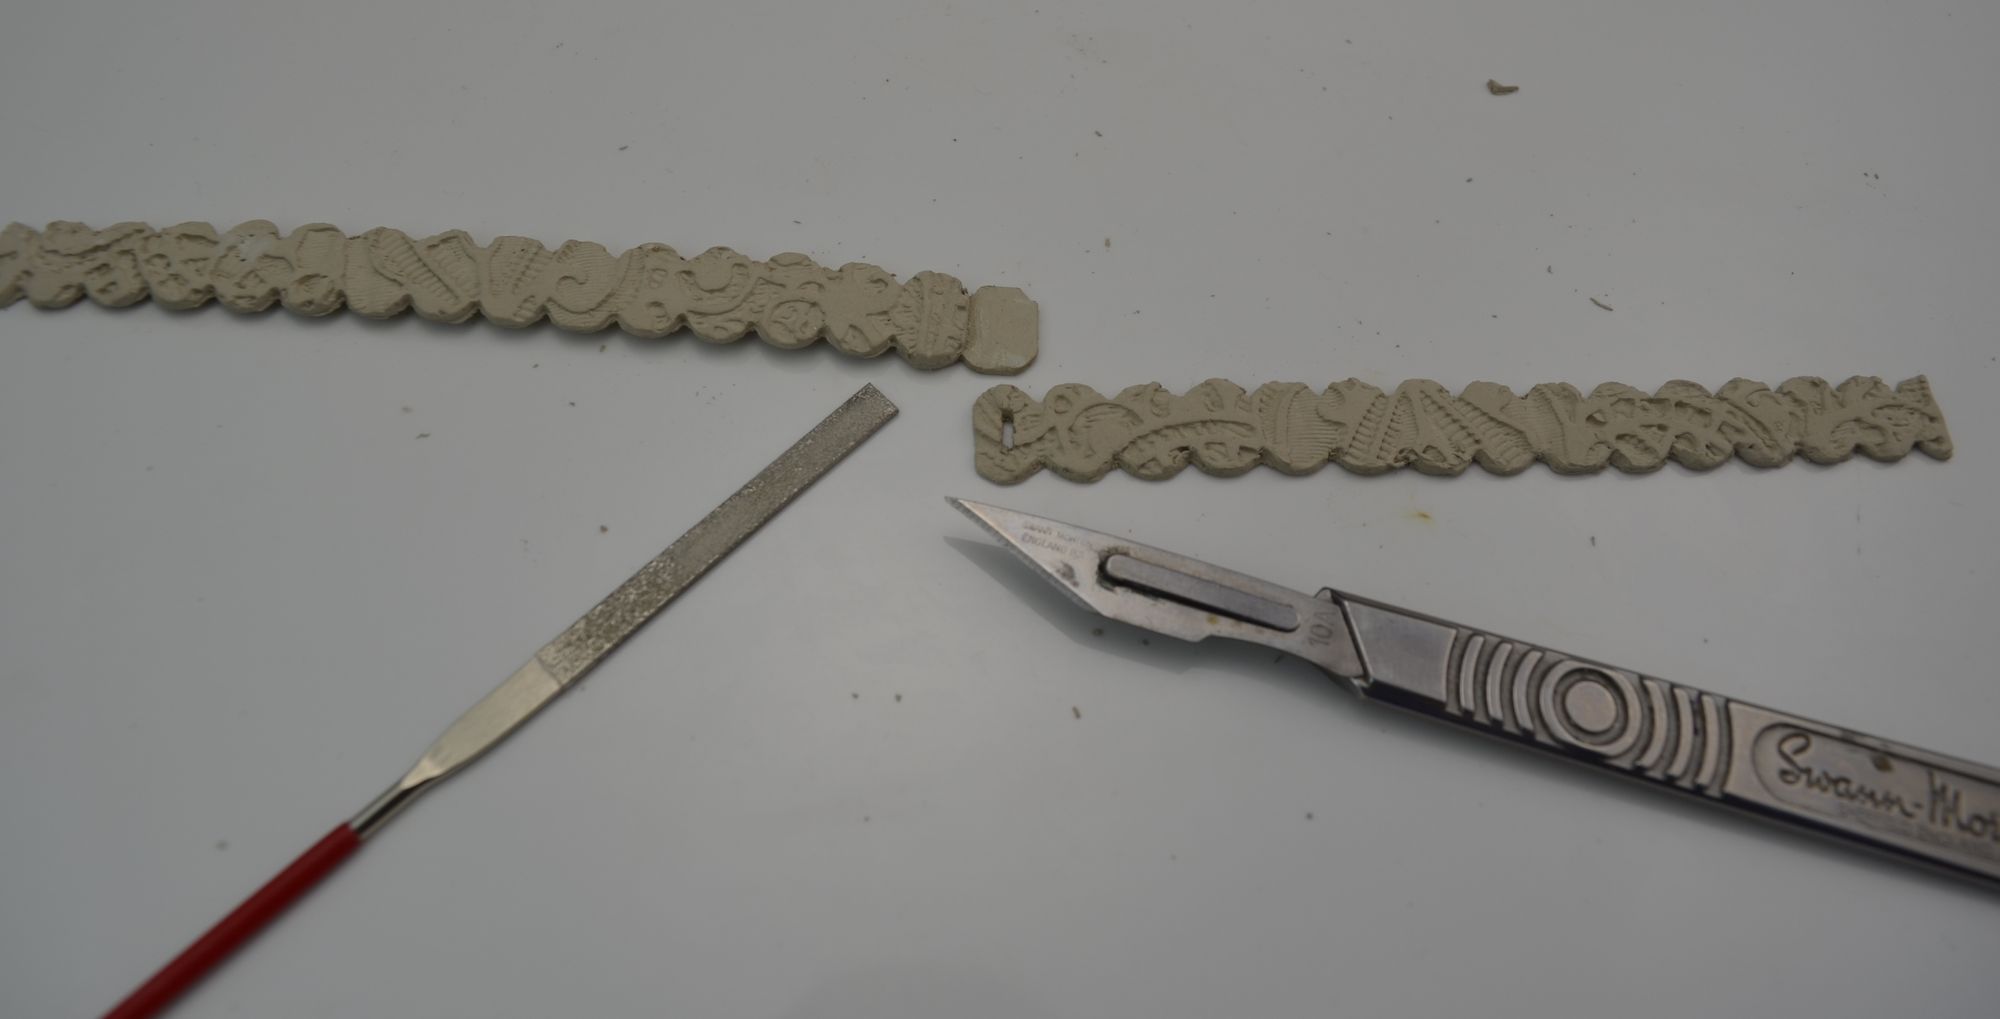
6. Once all the component parts are dry, use files or sanding grits to tidy up around the edges.
7. Under one end of one of the strips, use a little paste to join the clasp fastening tab to the reverse side of the bangle strip, then set to dry.
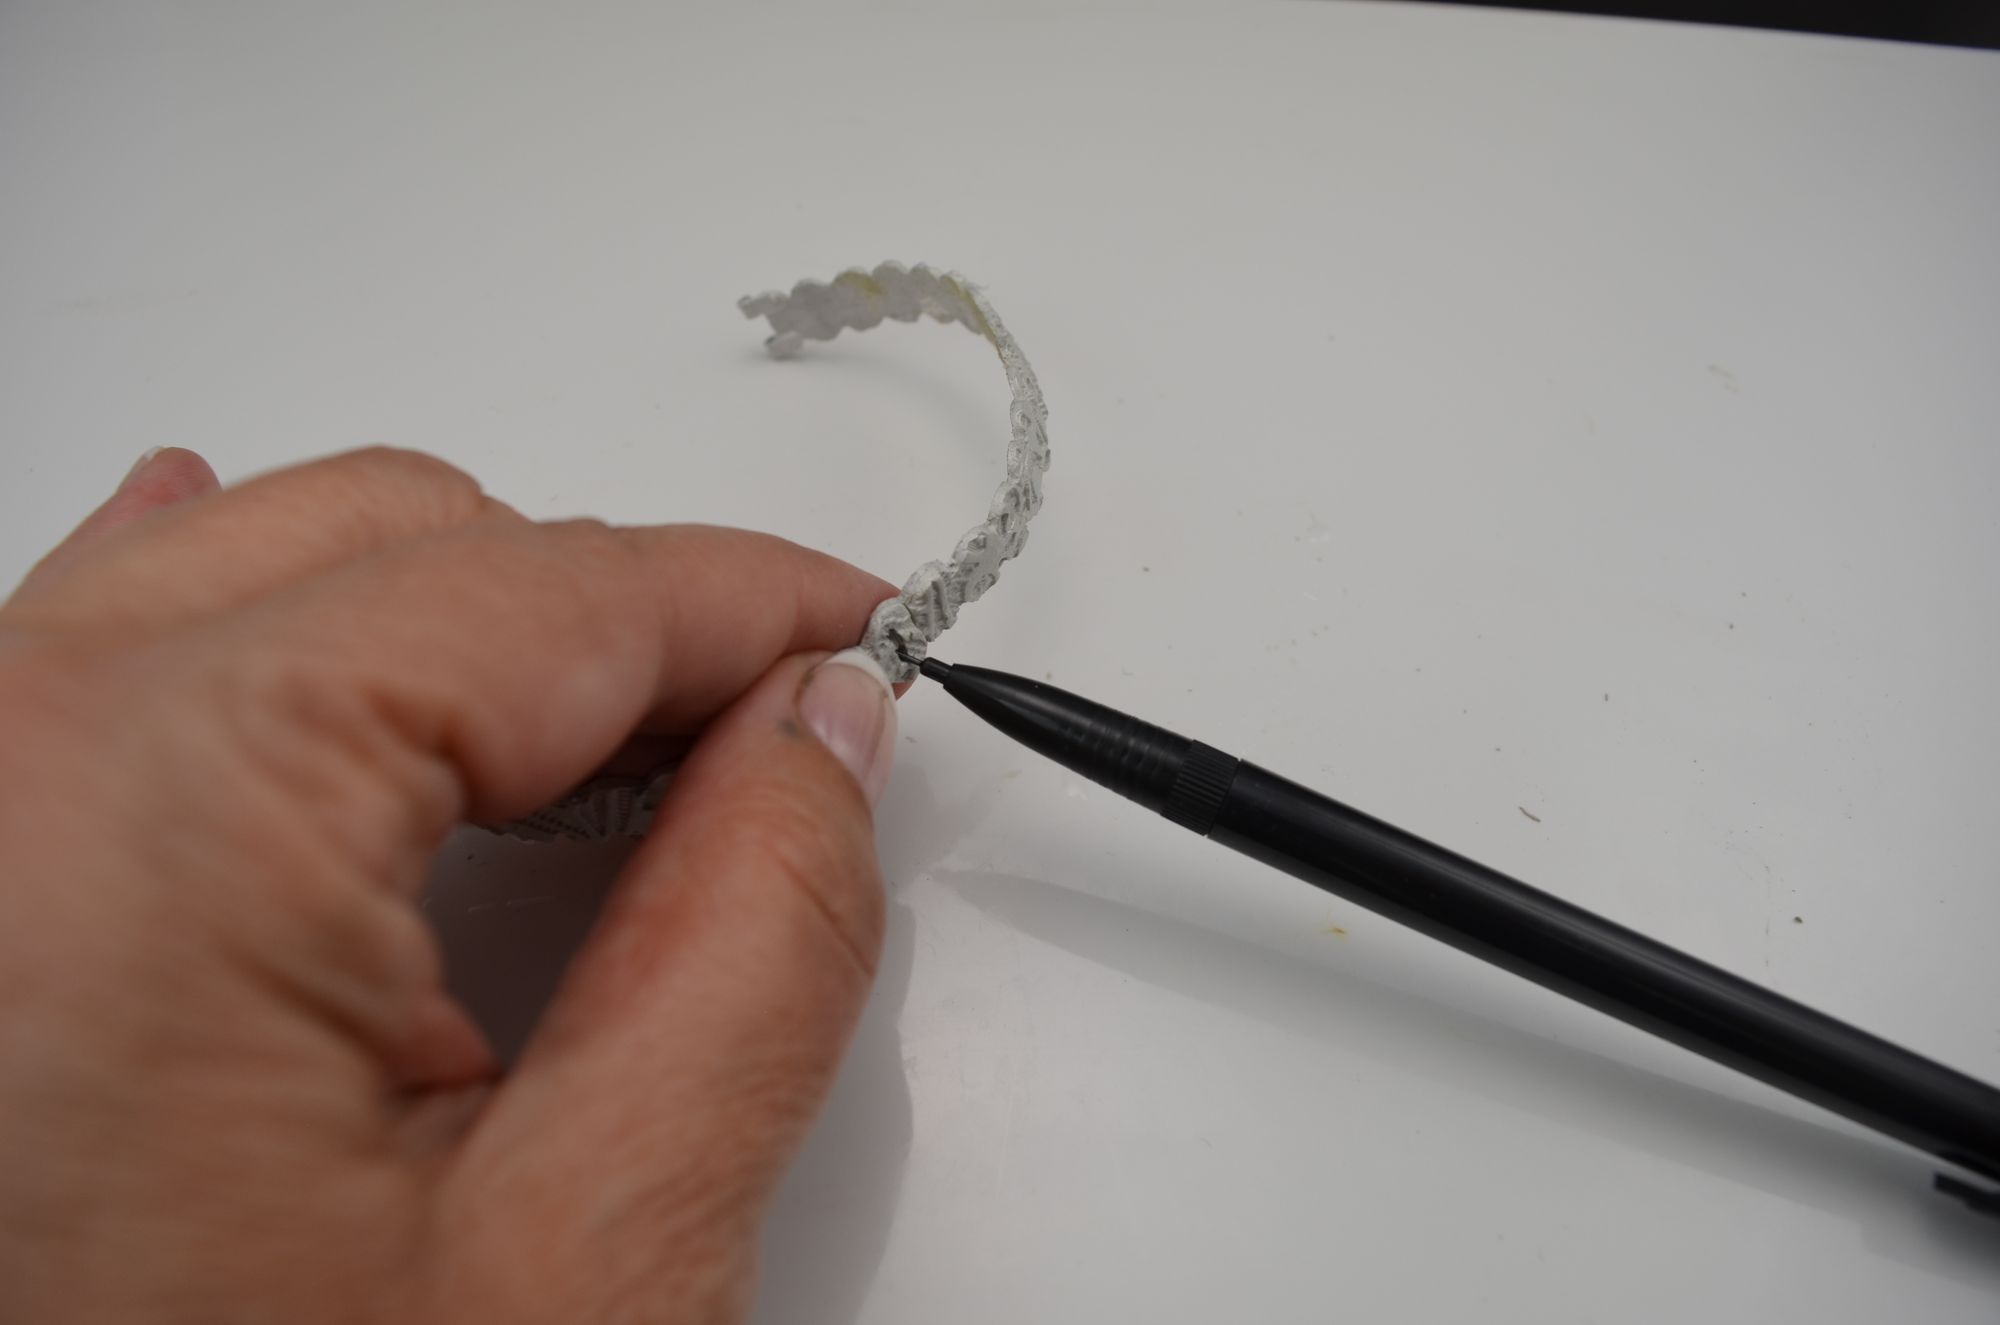
8. On the opposite side use files to file a small aperture approximately 1mm wide x 4mm long into the piece. This will later help to form the clasp fastening.
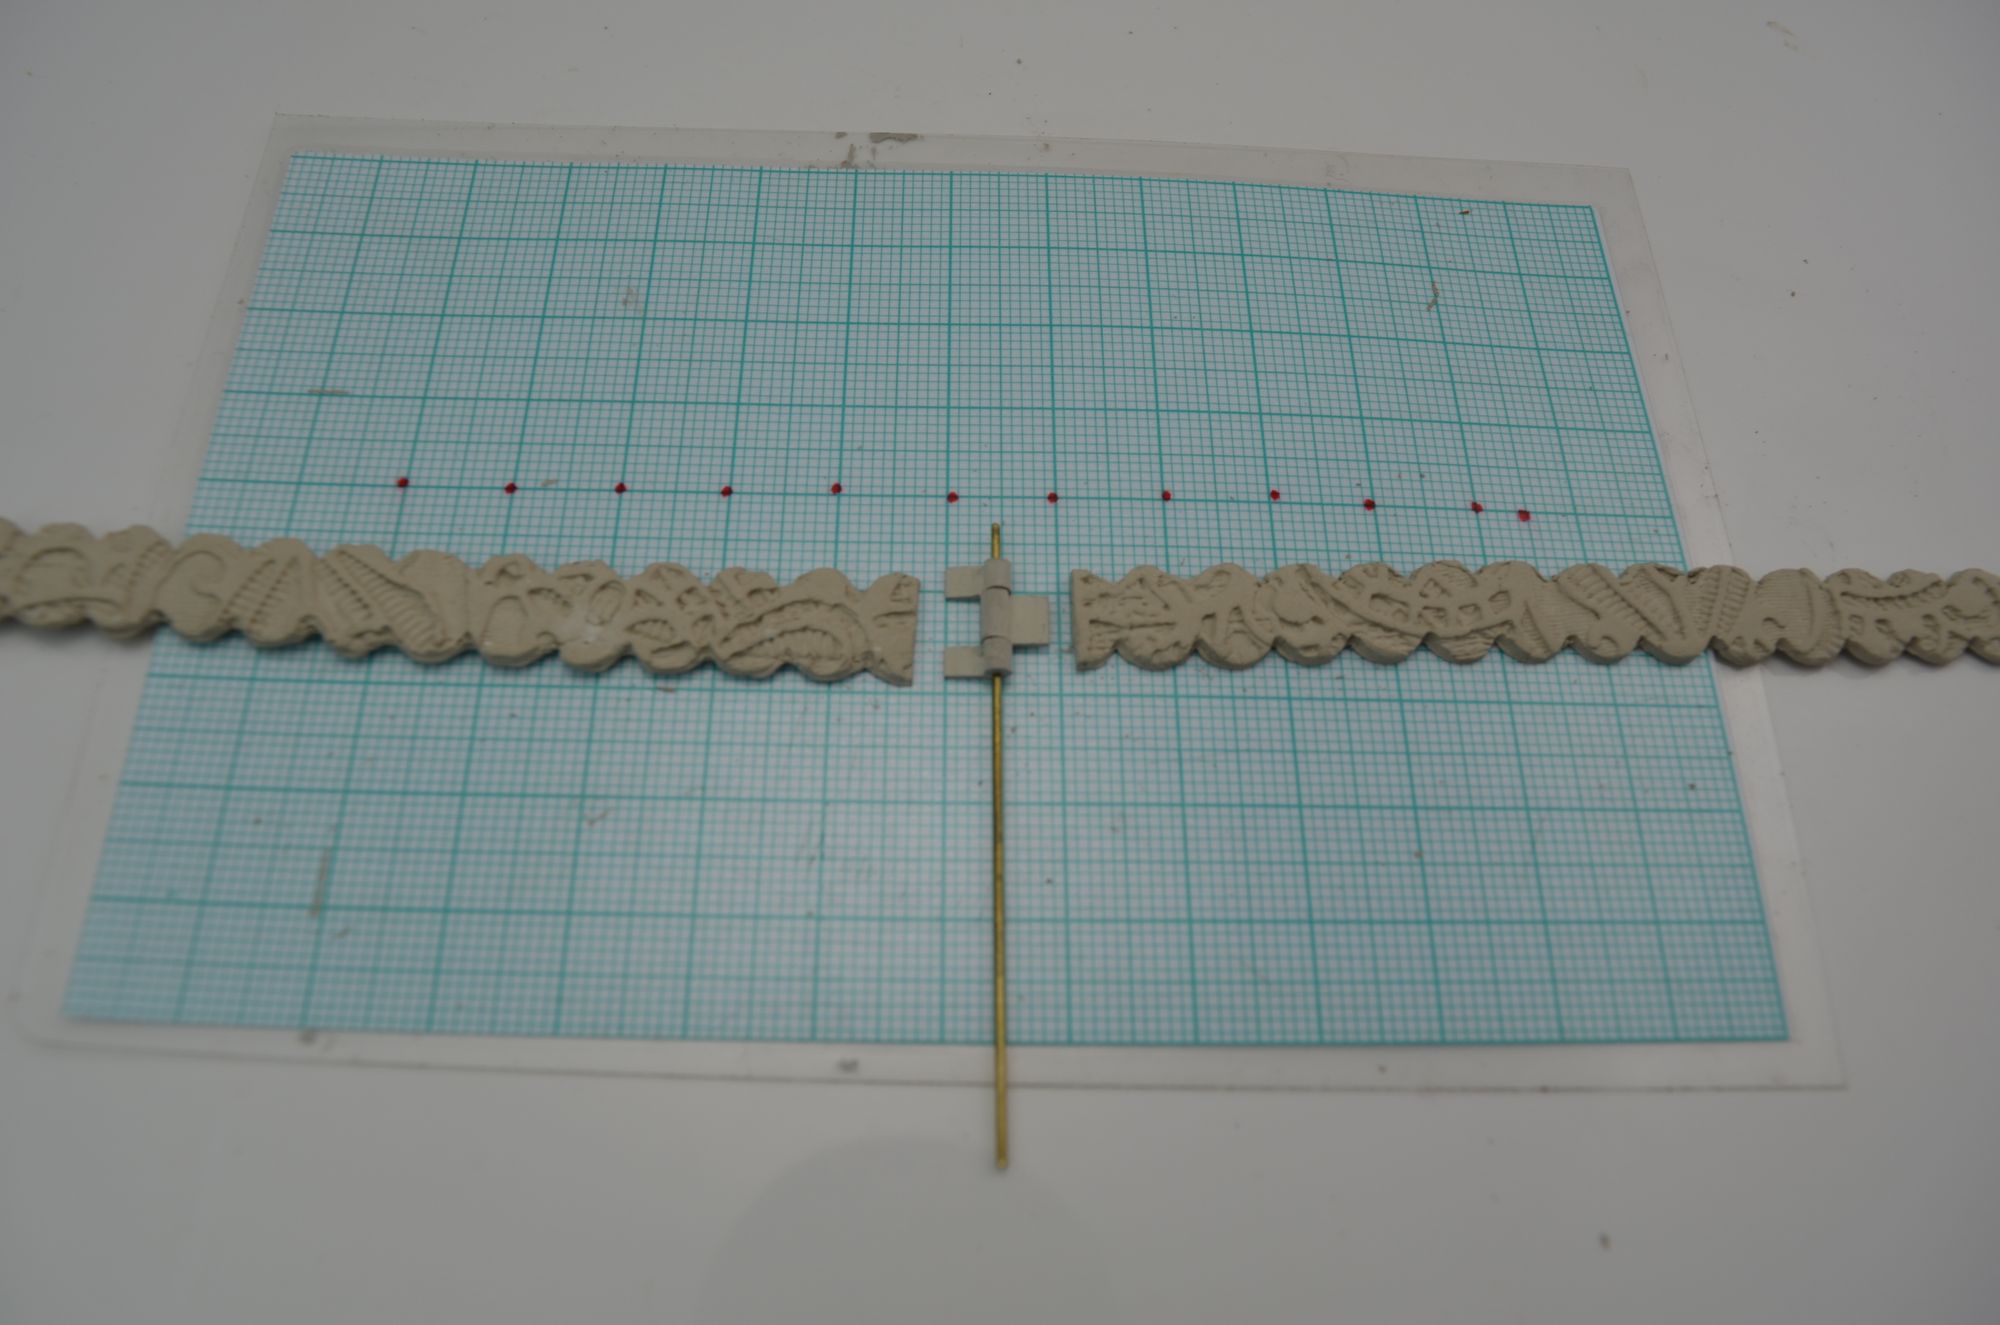
9. Select the best centre section of the hinge and cut and remove the excess. The hinge will need dividing into three equal pieces. Use a craft knife or razor blade to accurately cut the pieces perpendicular to the hinge pin.
Rotate the middle section of the hinge 180°. Reinsert the hinge pin. The knuckles of the hinge should all be protruding up.
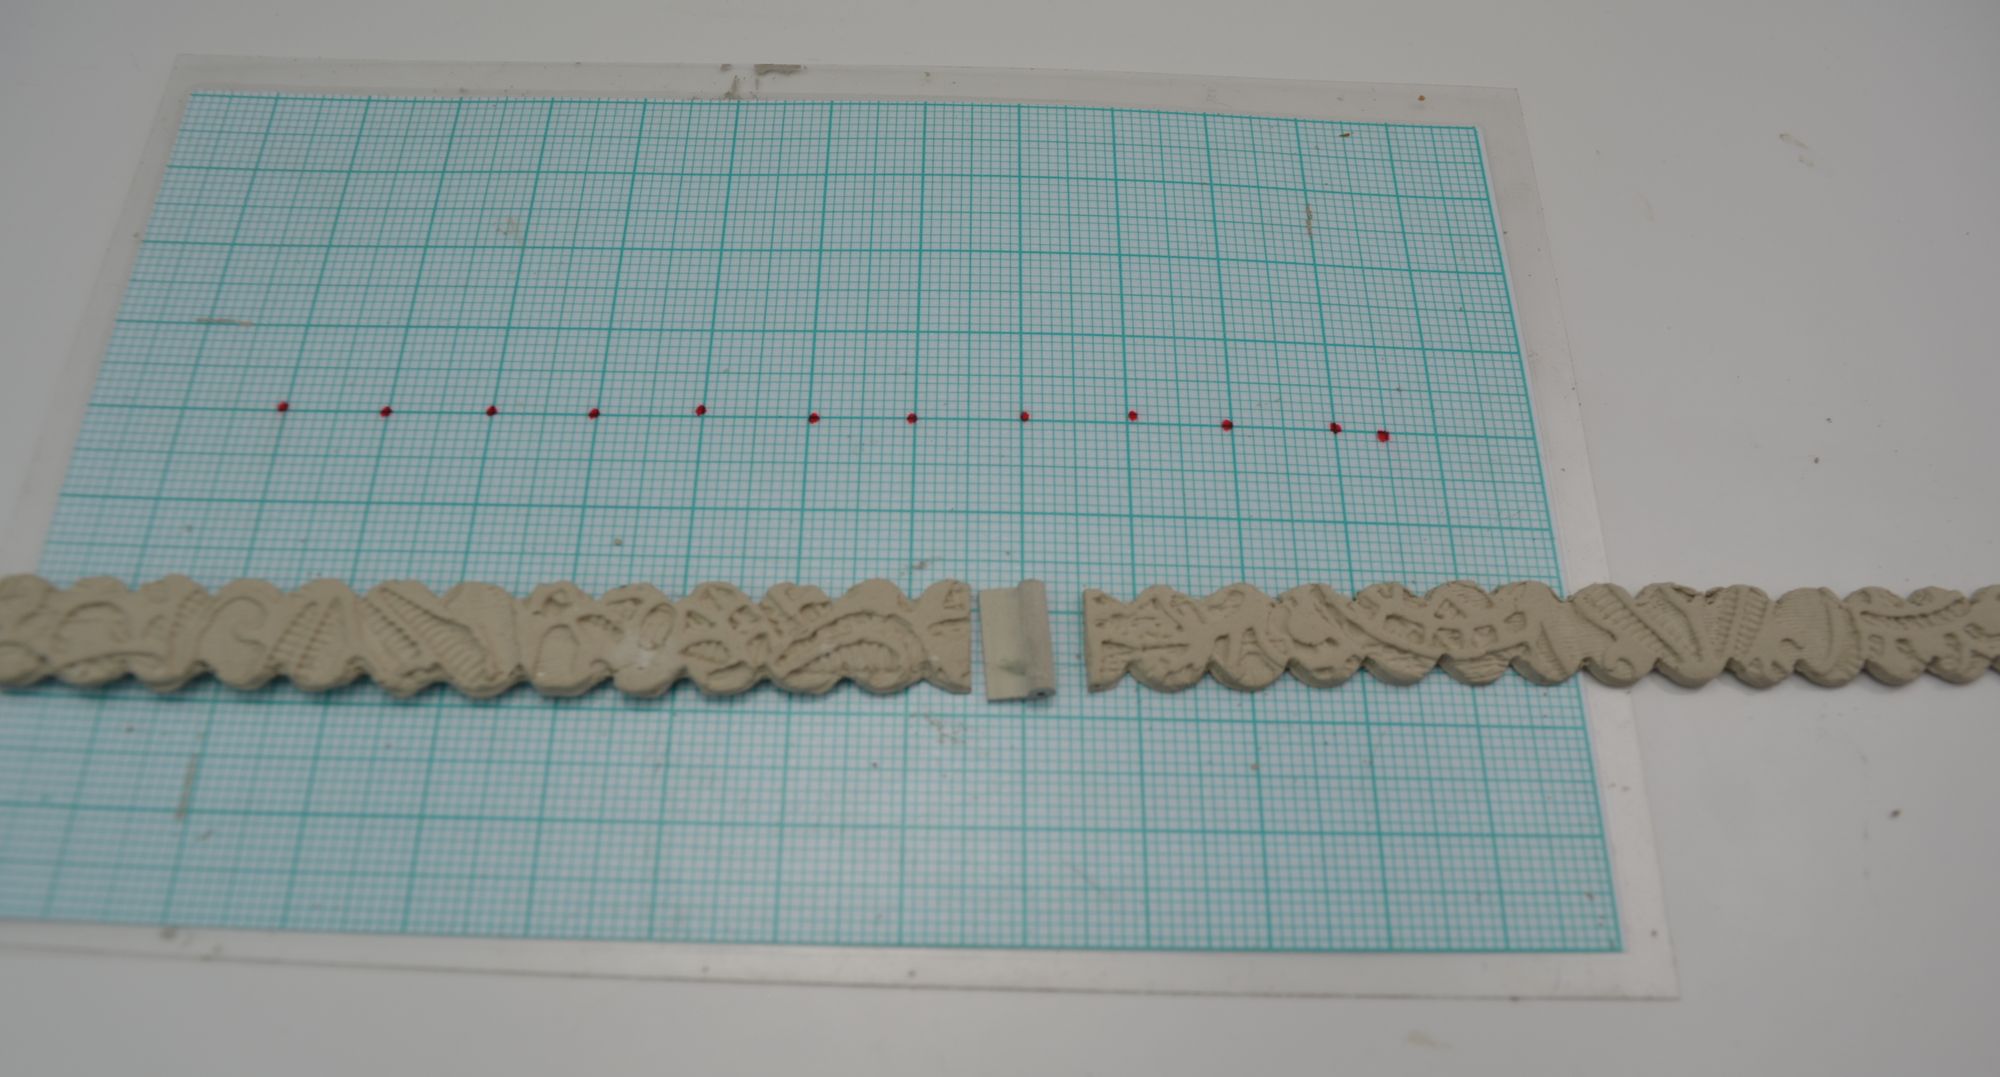
10. Use a little paste to join the hinge tabs to the back or underside of the bracelet strips. Check you are keeping all of the knuckles lined up perpendicular to the bangle strips. Place to dry.
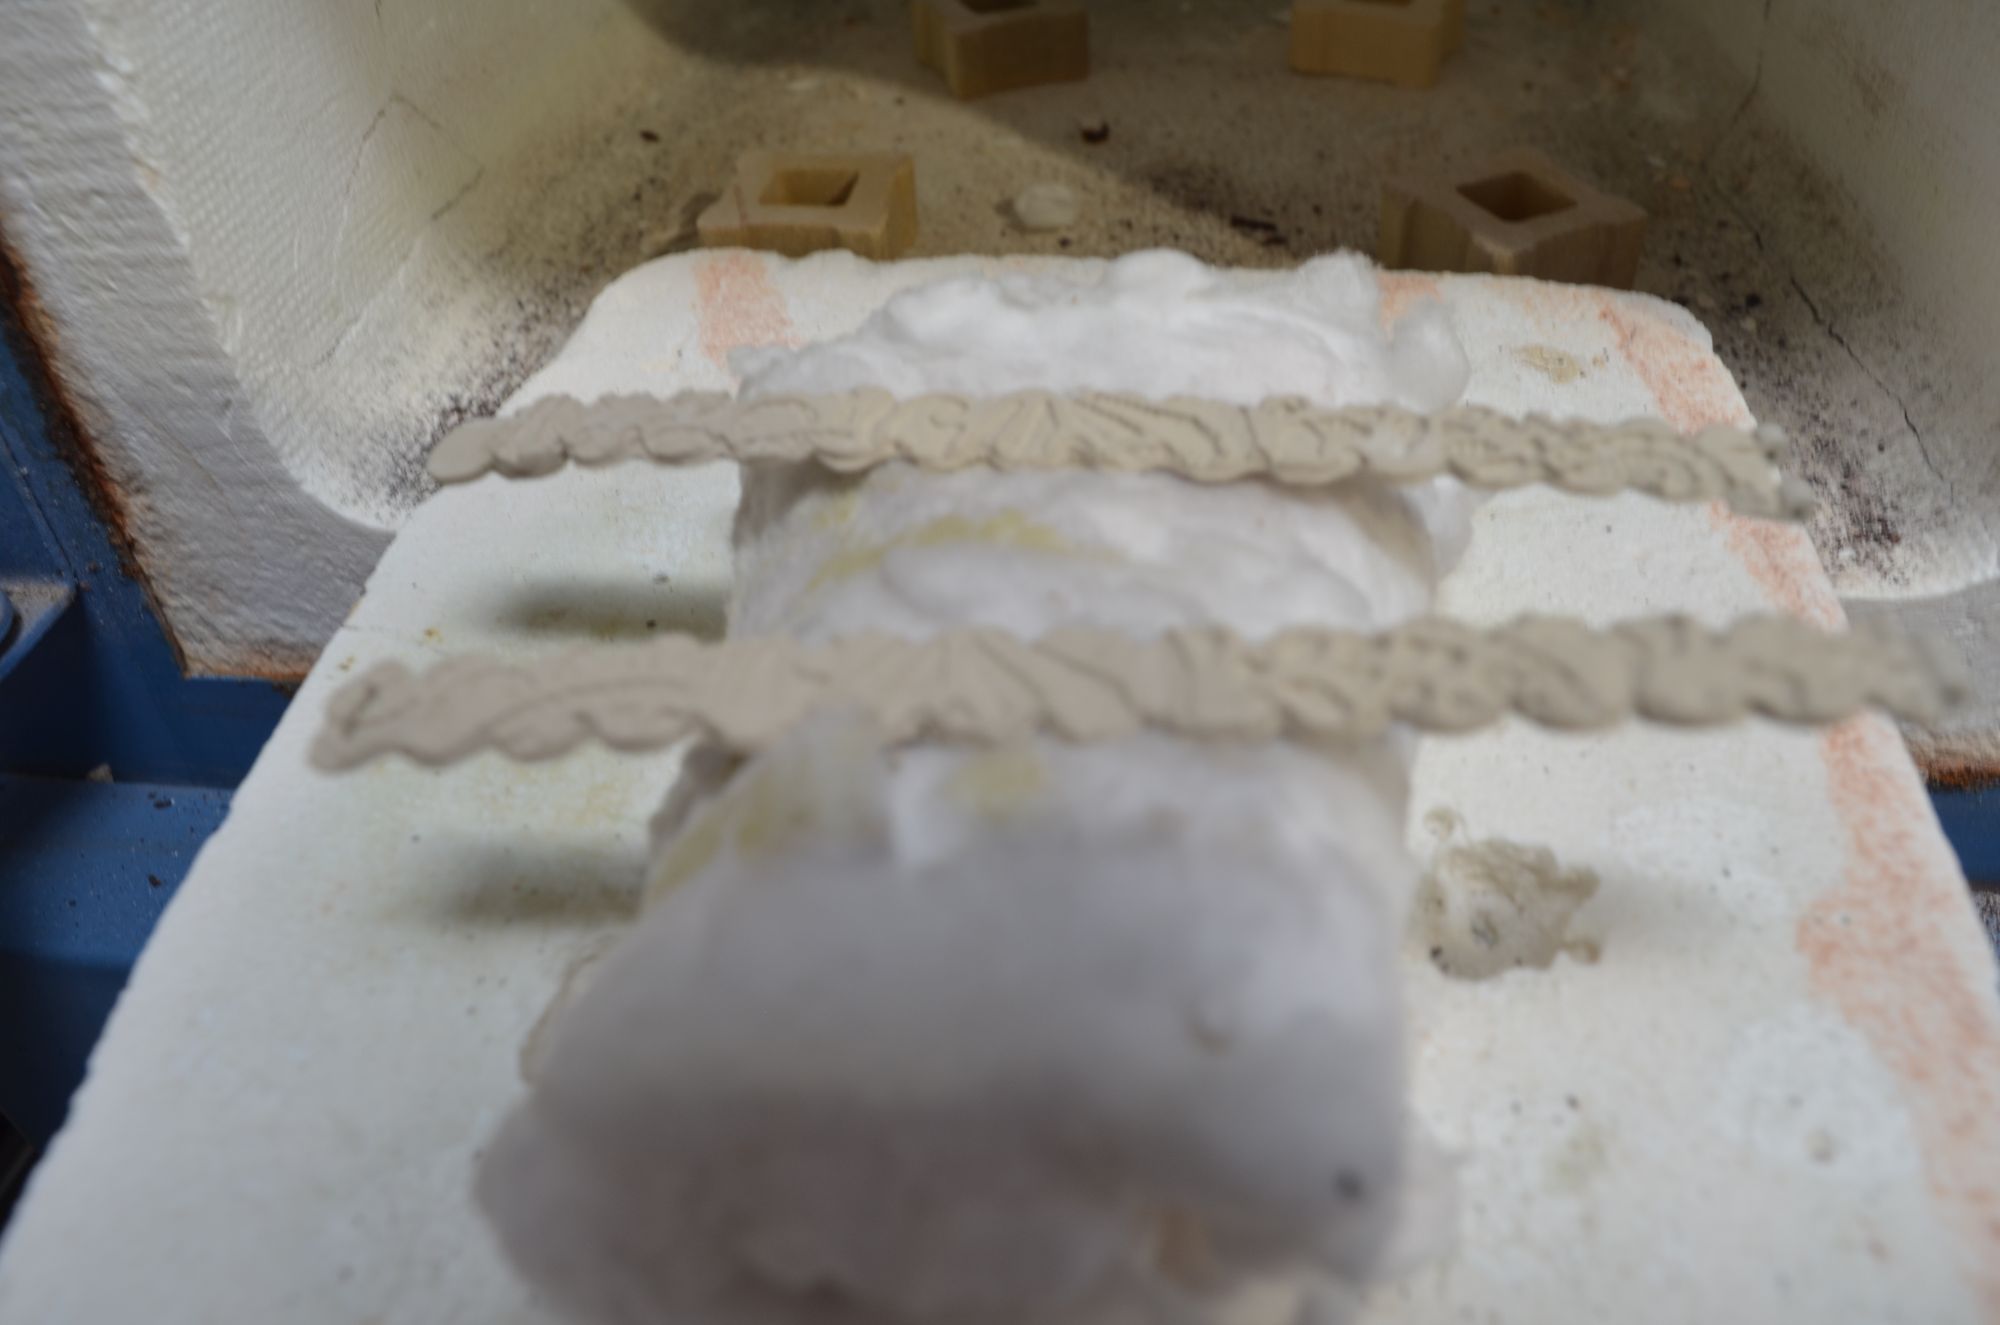
11. Once dry, the pieces can be fired. Place the pieces onto a rolled-up section of fibre blanket. Fire in a kiln at 870°C for 1 hour. The pieces will slump during firing forming an arced shape. After firing, begin to polish the pieces either with a tumbler or using rotary tools.
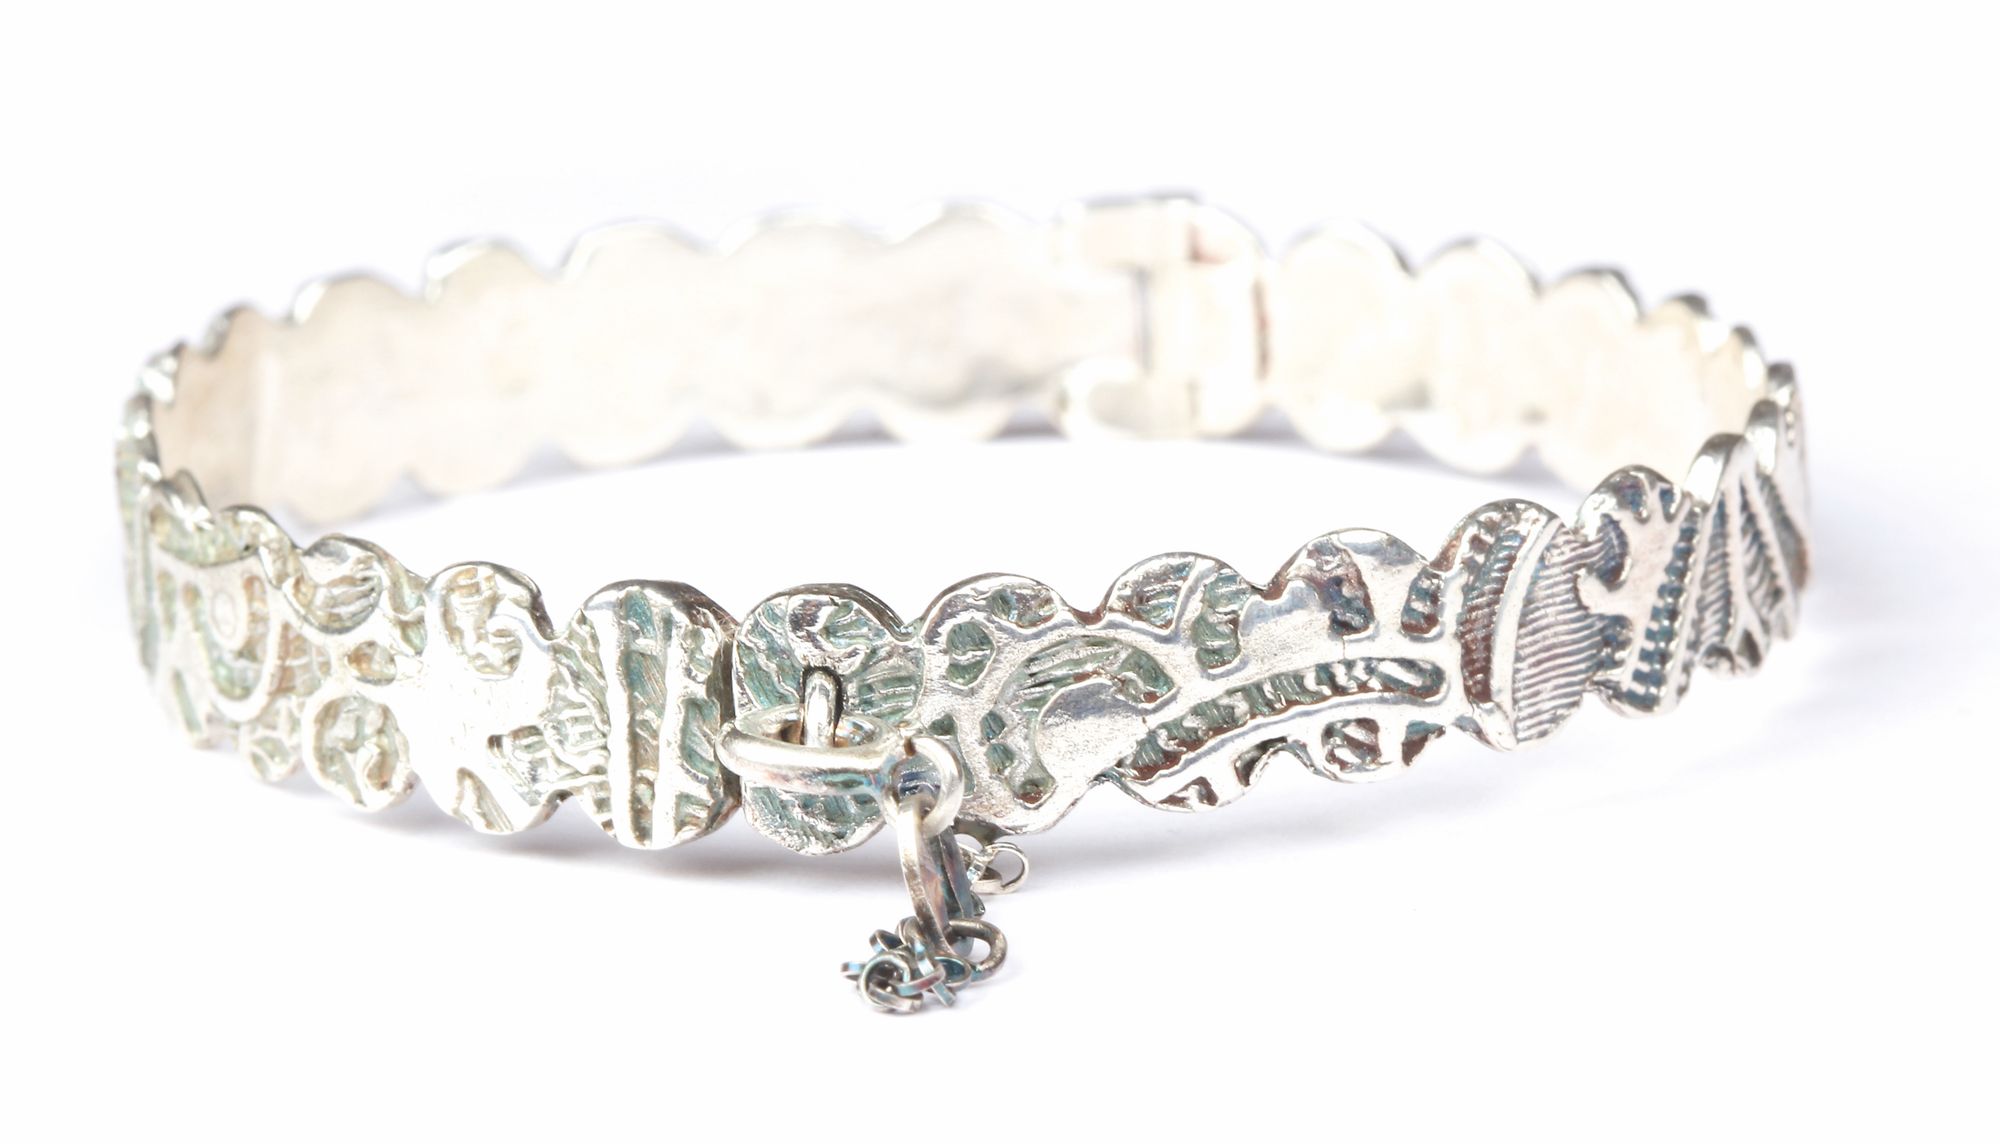
12. Place the two clasp edges of the bangle together. Use a pencil to mark a position on the clasp tab. Drill a 1mm hole through the tab.
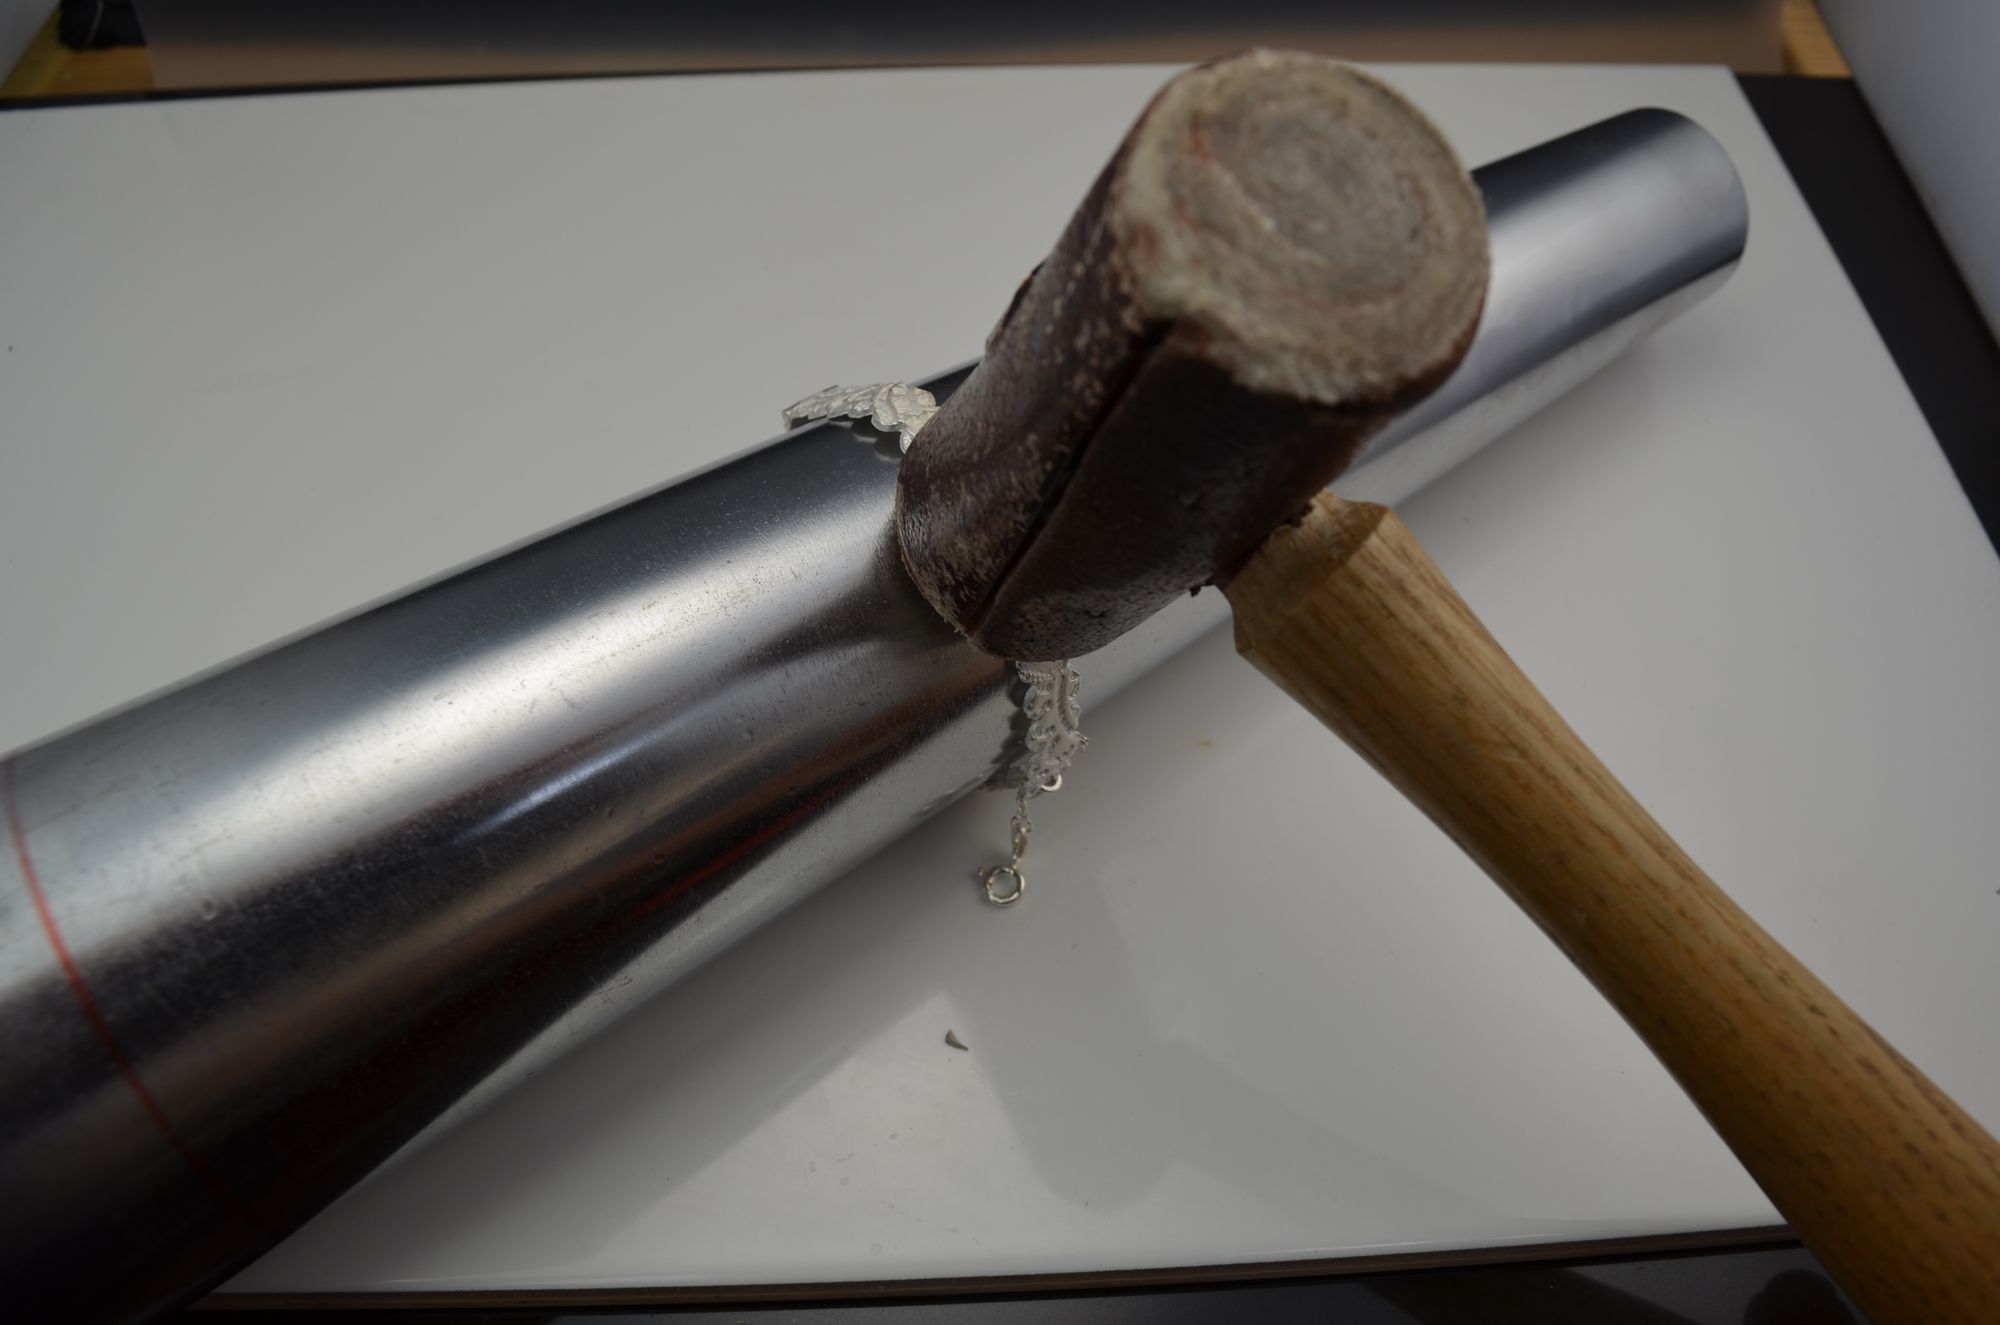
Insert a large fine silver screw eye into the hole and solder into position. On the opposite side of the bangle, solder on a small piece of chain and a bolt ring clasp.
13. Begin to assemble the sections of the bangle. Insert a length of 0.8mm ster- ling silver wire through the hinges. Trim the wire to within 1mm of the edge. File the edges of the wire flat. Use a riveting hammer to gently flatten the edges of the wire.
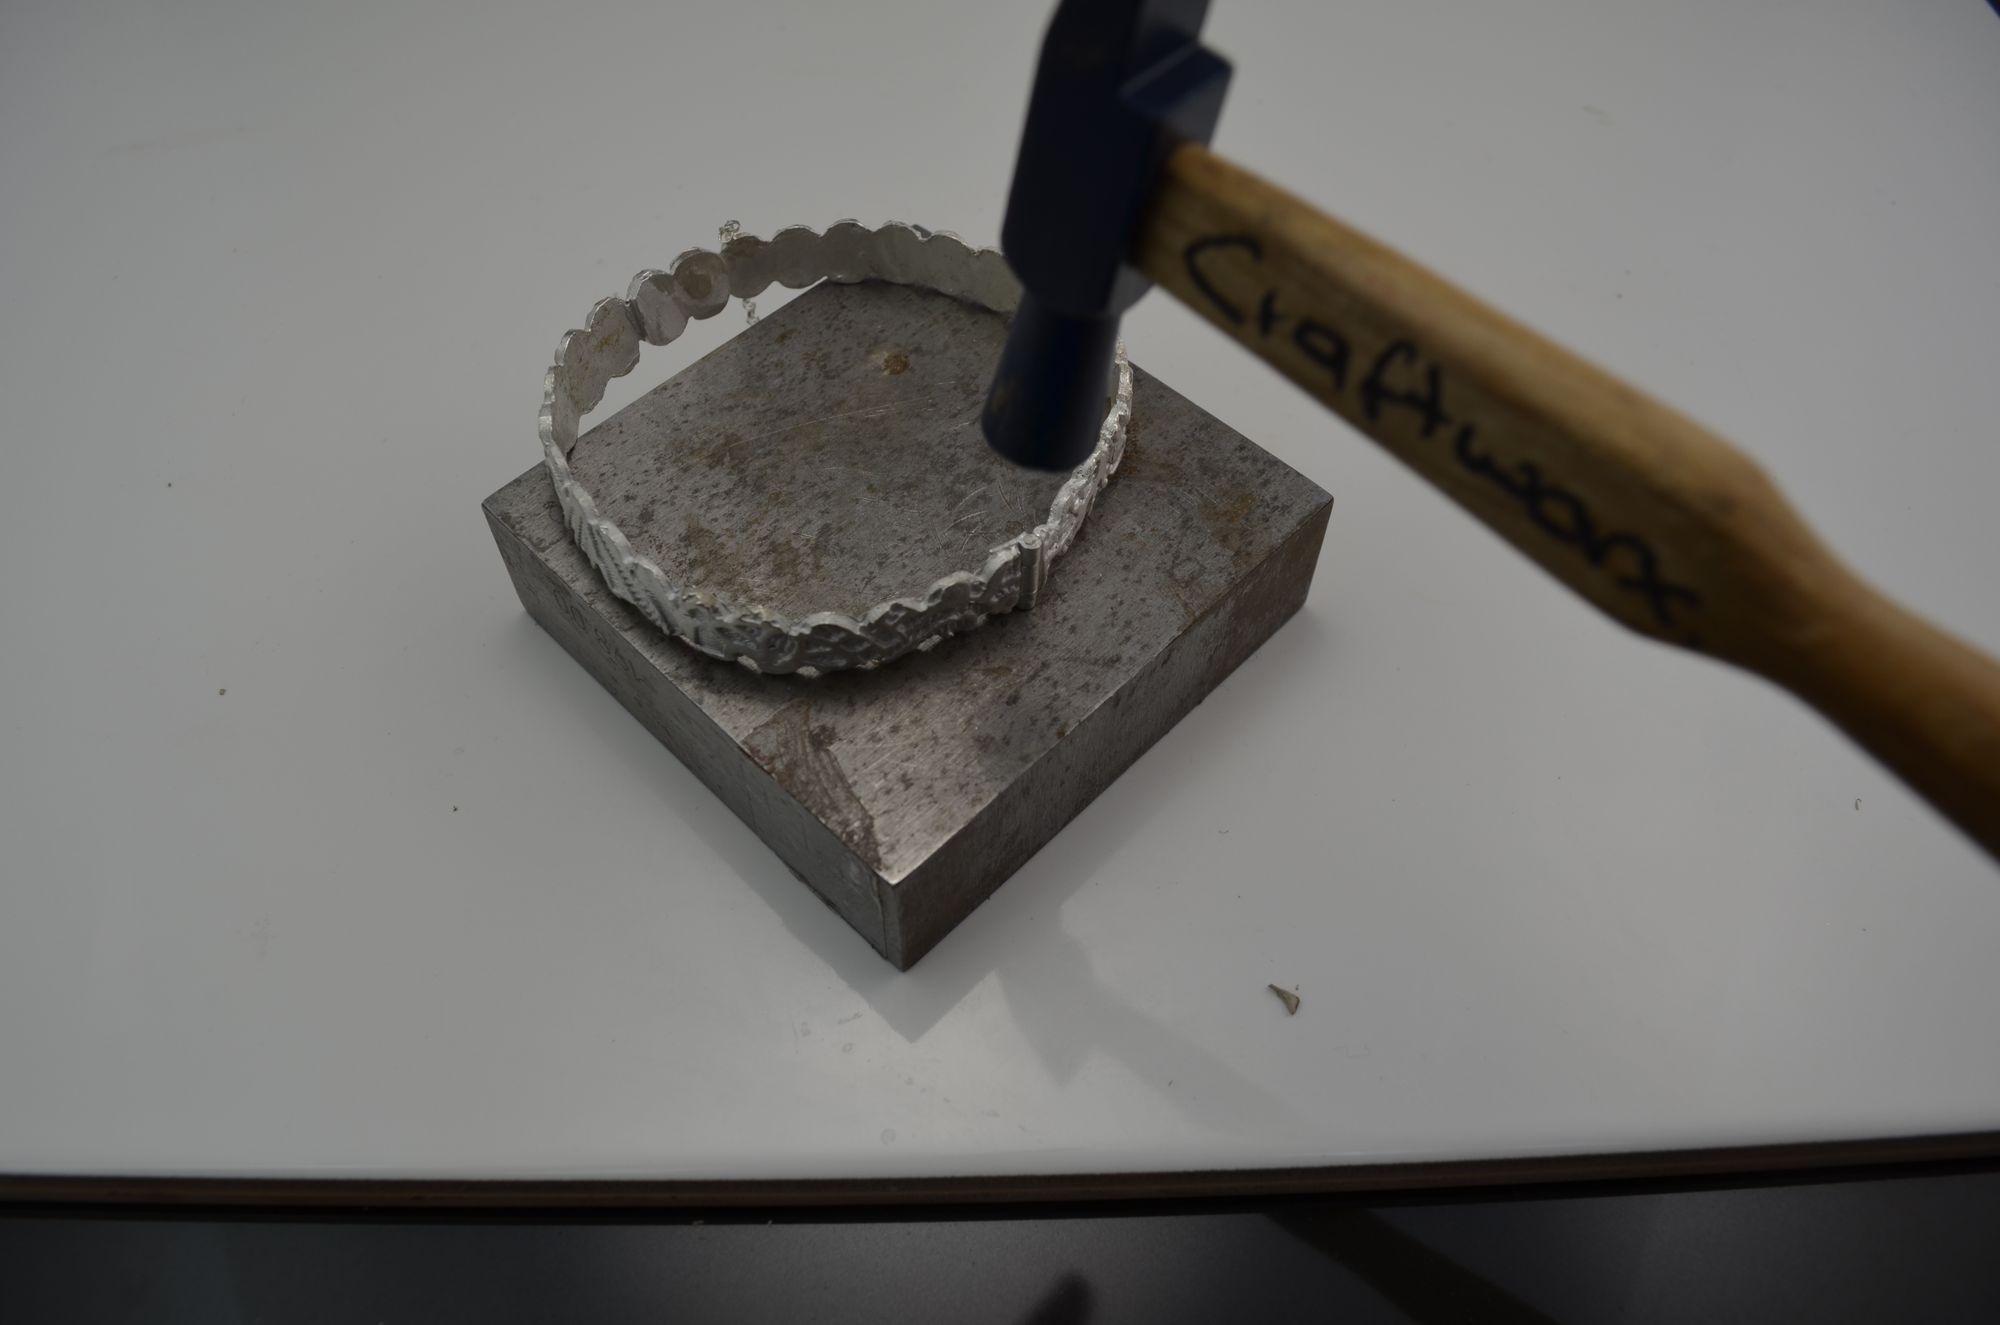
14. Place the bangle on a steel bangle man- drel and gently tap into shape.
Finally use tools or devices to continue polishing to a high shine.
Oxidation is an option. Add a drop of liver of sulphur to hot water. Immerse the piece for a few seconds then dry before using a soft cloth to buff to your desired finish.
BEADLINK: www.craftworx.co.uk