
Can you start by telling us a little bit about yourself? I fell into beading about 13 years ago, when I attended a class, not really knowing what I let myself in for, and was instantly hooked! I love to spread the beady word by teaching workshops, and publishing patterns. I approach beading as if it was a Lego set. You can put all the pieces together in many ways, and if you don’t like the results, you can cut it up and start again. Let’s experiment!

What inspired you to do the 60-day bezel challenge? I had seen other people doing various challenges on social media, these are fun to follow from day to day and see how they come out, so I wanted to do my own that pushed me to be creative every day. A way of generating new ideas, and a new type of stash-busting exercise! Also, I really enjoyed compiling a top ten “Most voted for” bezels at the end.
Where did you get all your ideas from? There’s nothing like a little (self-imposed) pressure to make me creative! Set up the problem, and the solutions will come! Before I started, I realised that I was using the same approach when devising new bezels for patterns. I called it “The Universal Bezel”. Most of the challenge bezels were made in this way, except for a few which use netting stitch, which I find very useful because it is so stretchy!
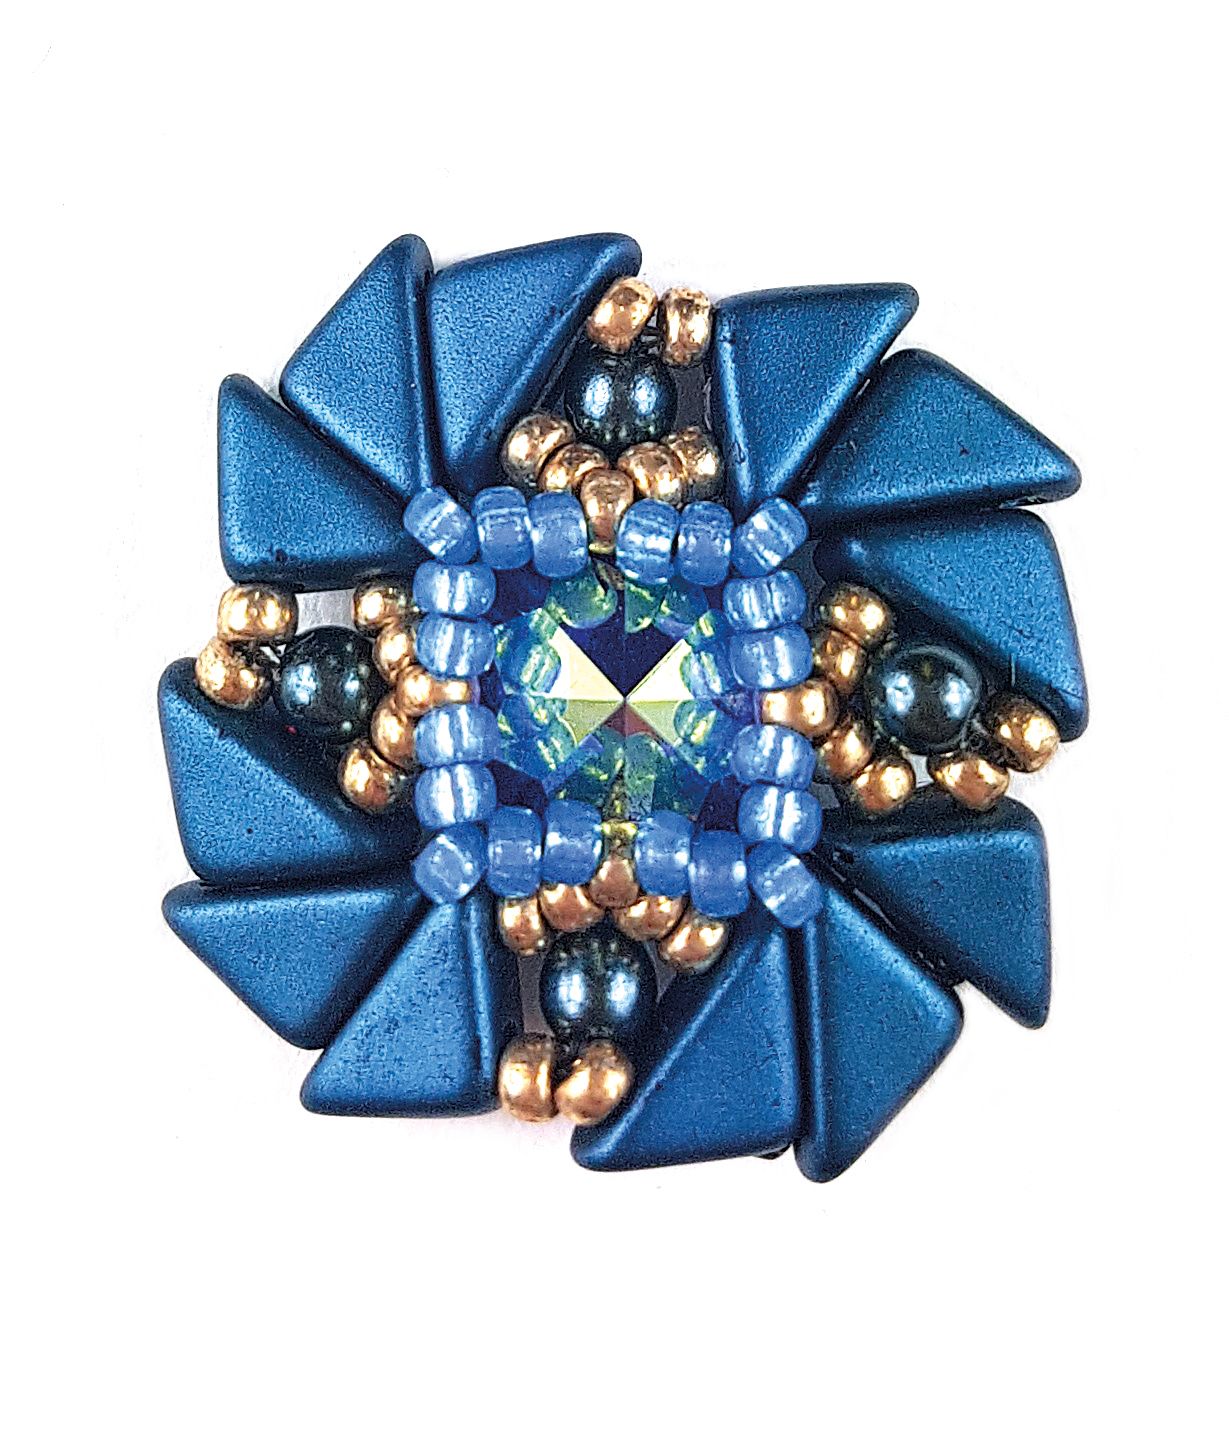
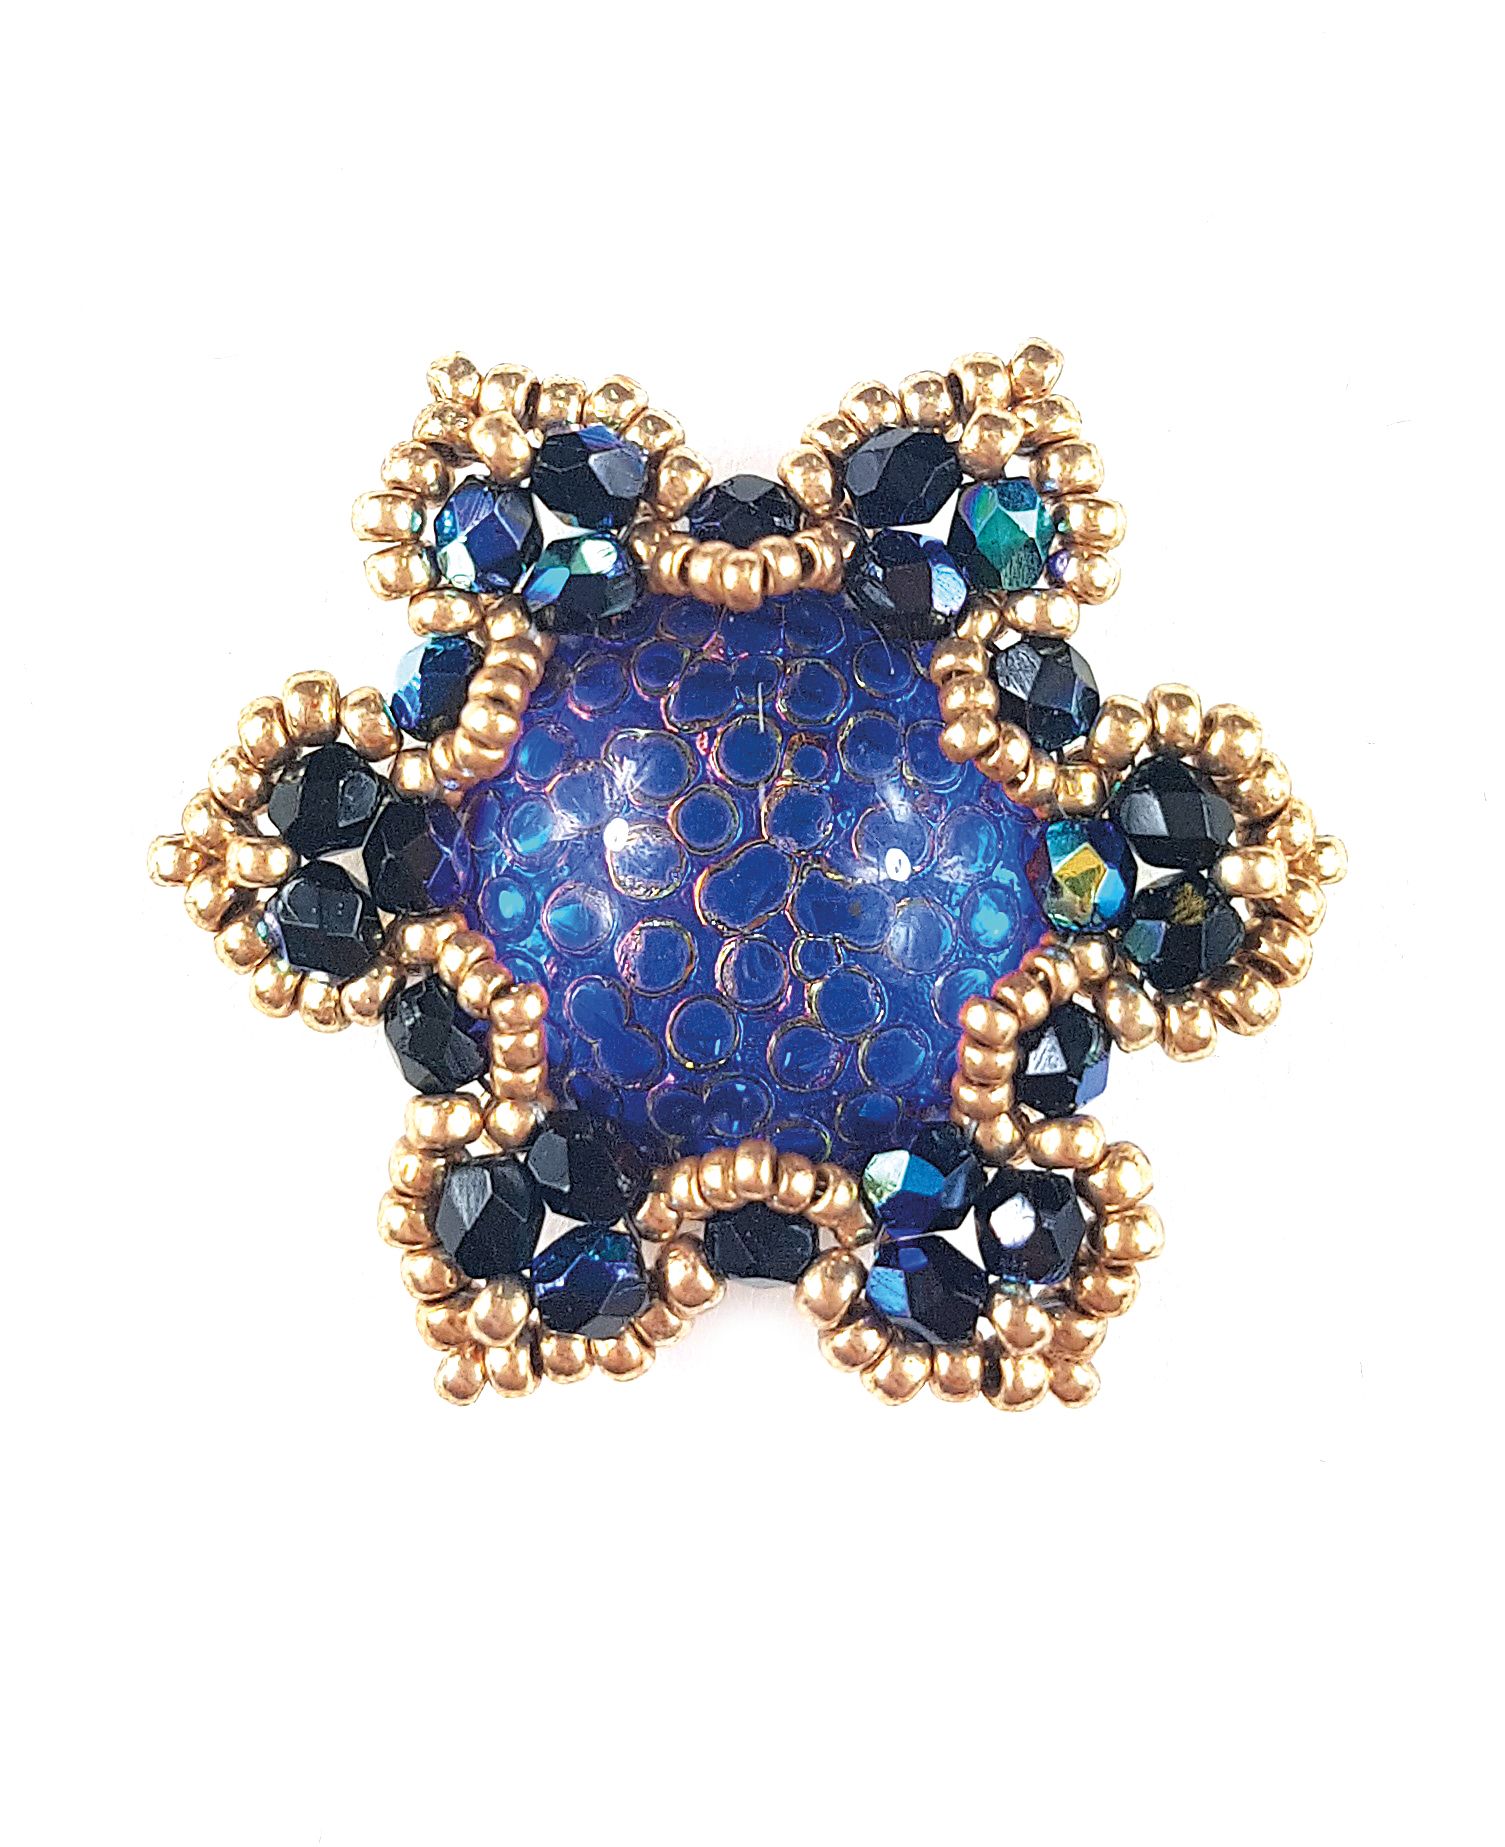
What materials did you use and were there any unusual or harder ones to bezel? My shaped and multi-hole beads are stored in a series of plastic boxes, I decided to work my way through each in turn, making something new with each type of bead in the box. For the centres, I had a selection of various cabochons, Rivolis, and buttons to use, plus other things that I found along the way. I tried to keep to the same palette of blues, greens, and just a bit of purple, and combined these with two sizes of seed beads, in just two colours for consistency. An additional challenge was the time constraint, I could not spend all day puzzling over a detail and had to make decisions quickly. I am now able to fully explore these bezelling ideas, as I take each one to another level, by making it into a full project. One of the hardest was the Tango bead (day 38). Just geometrically challenging, due to the triangle shape, but my patience paid off!
The one that beat me was the “Prong” bead, it just looks like it wants to hold onto
a bezel, but I just can’t make it! (I’m still tempted to have another go!). The most
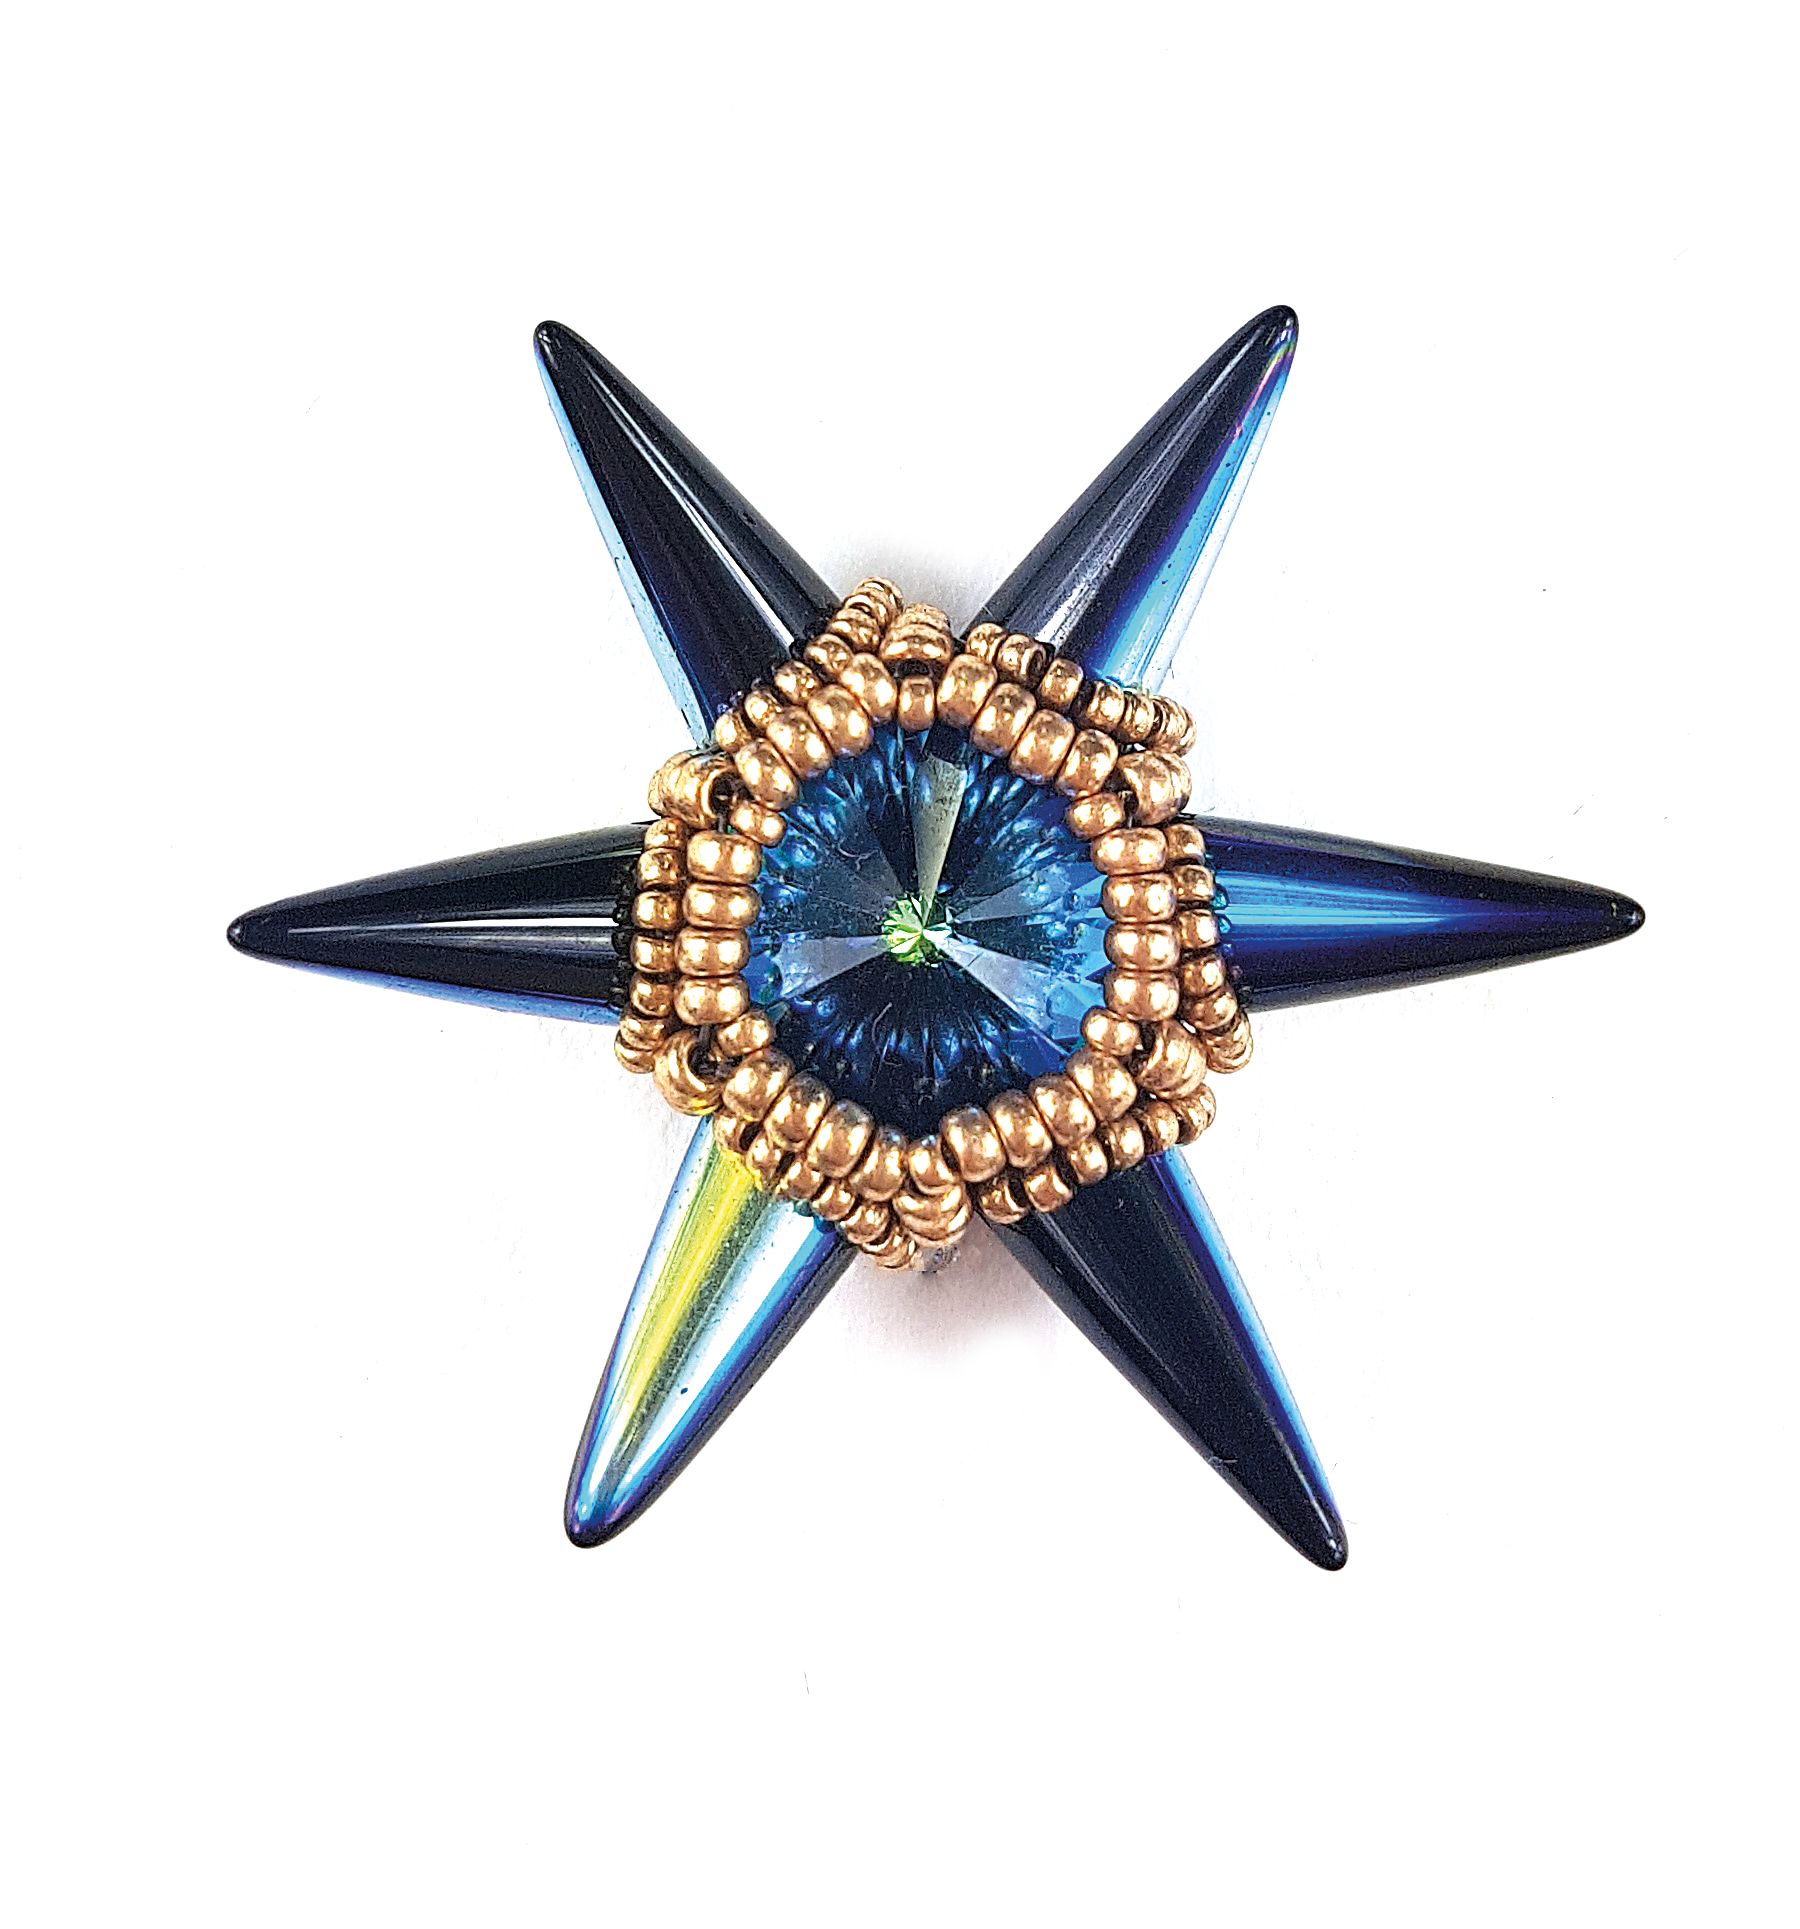
unusual, I think, is the cup chain as I have placed it around the outside edge of the
bezel, a bit of lateral thinking!
Did you have any particular favourites? I’m so pleased with how they all came out, but a couple that I love more than the others are:
Day 58: 3mm crystals, and a cabochon that I picked up on holiday in San Francisco. I love this one because, apart from the cab, it uses easily available materials. I have now developed this into a workshop called “Ivy”.
Day 14: Two-hole rounds, and 8mm Swarovski chessboard, from a sale bin. I
always love a bargain! This is an unusual “X” shape.
Day 37: Cali beads and an 8mm Chaton. This makes a necklace link, so it is a really unusual shape.
Day 40: Rose monteé, and Super-8 beads - the tiniest. I keep losing it, then
finding it again, it is very naughty!
What shaped bead would you invent? I really like crescent beads, and have enjoyed designing with them, but when they are used, the ridged seam along the back isvisible and looks messy. I would design one that was pressed in the other direction, made to be seen from the non-hole side.
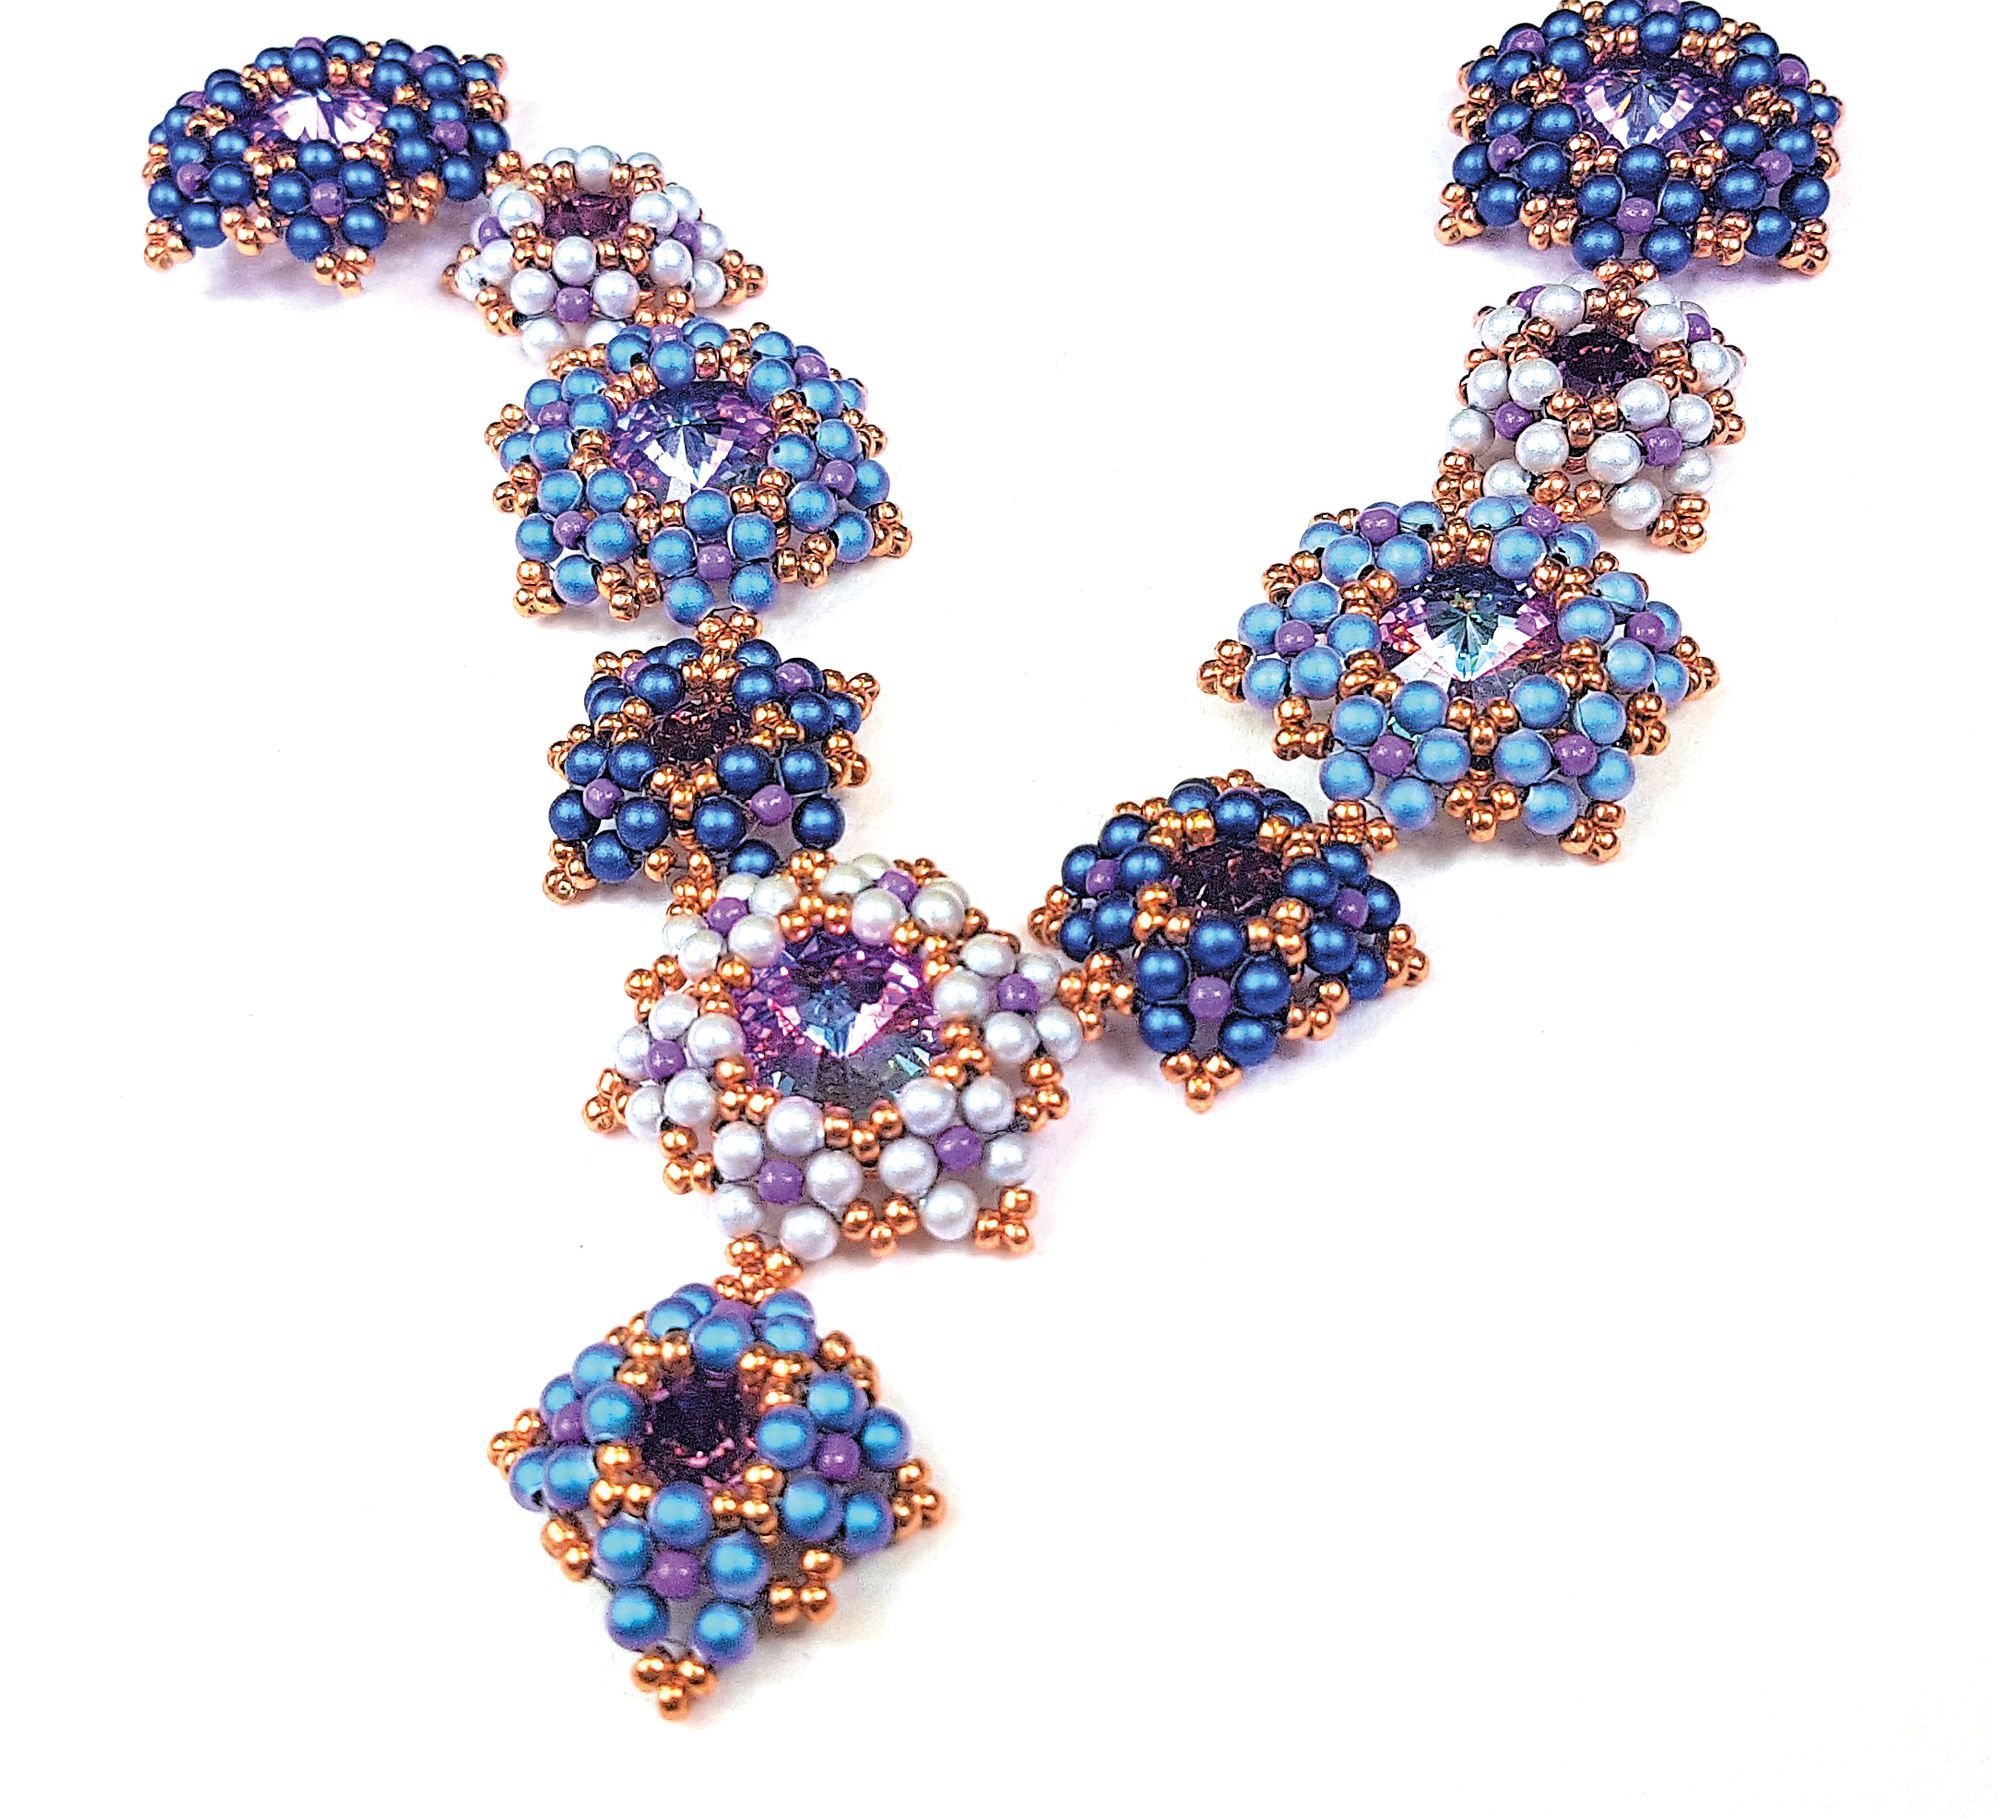
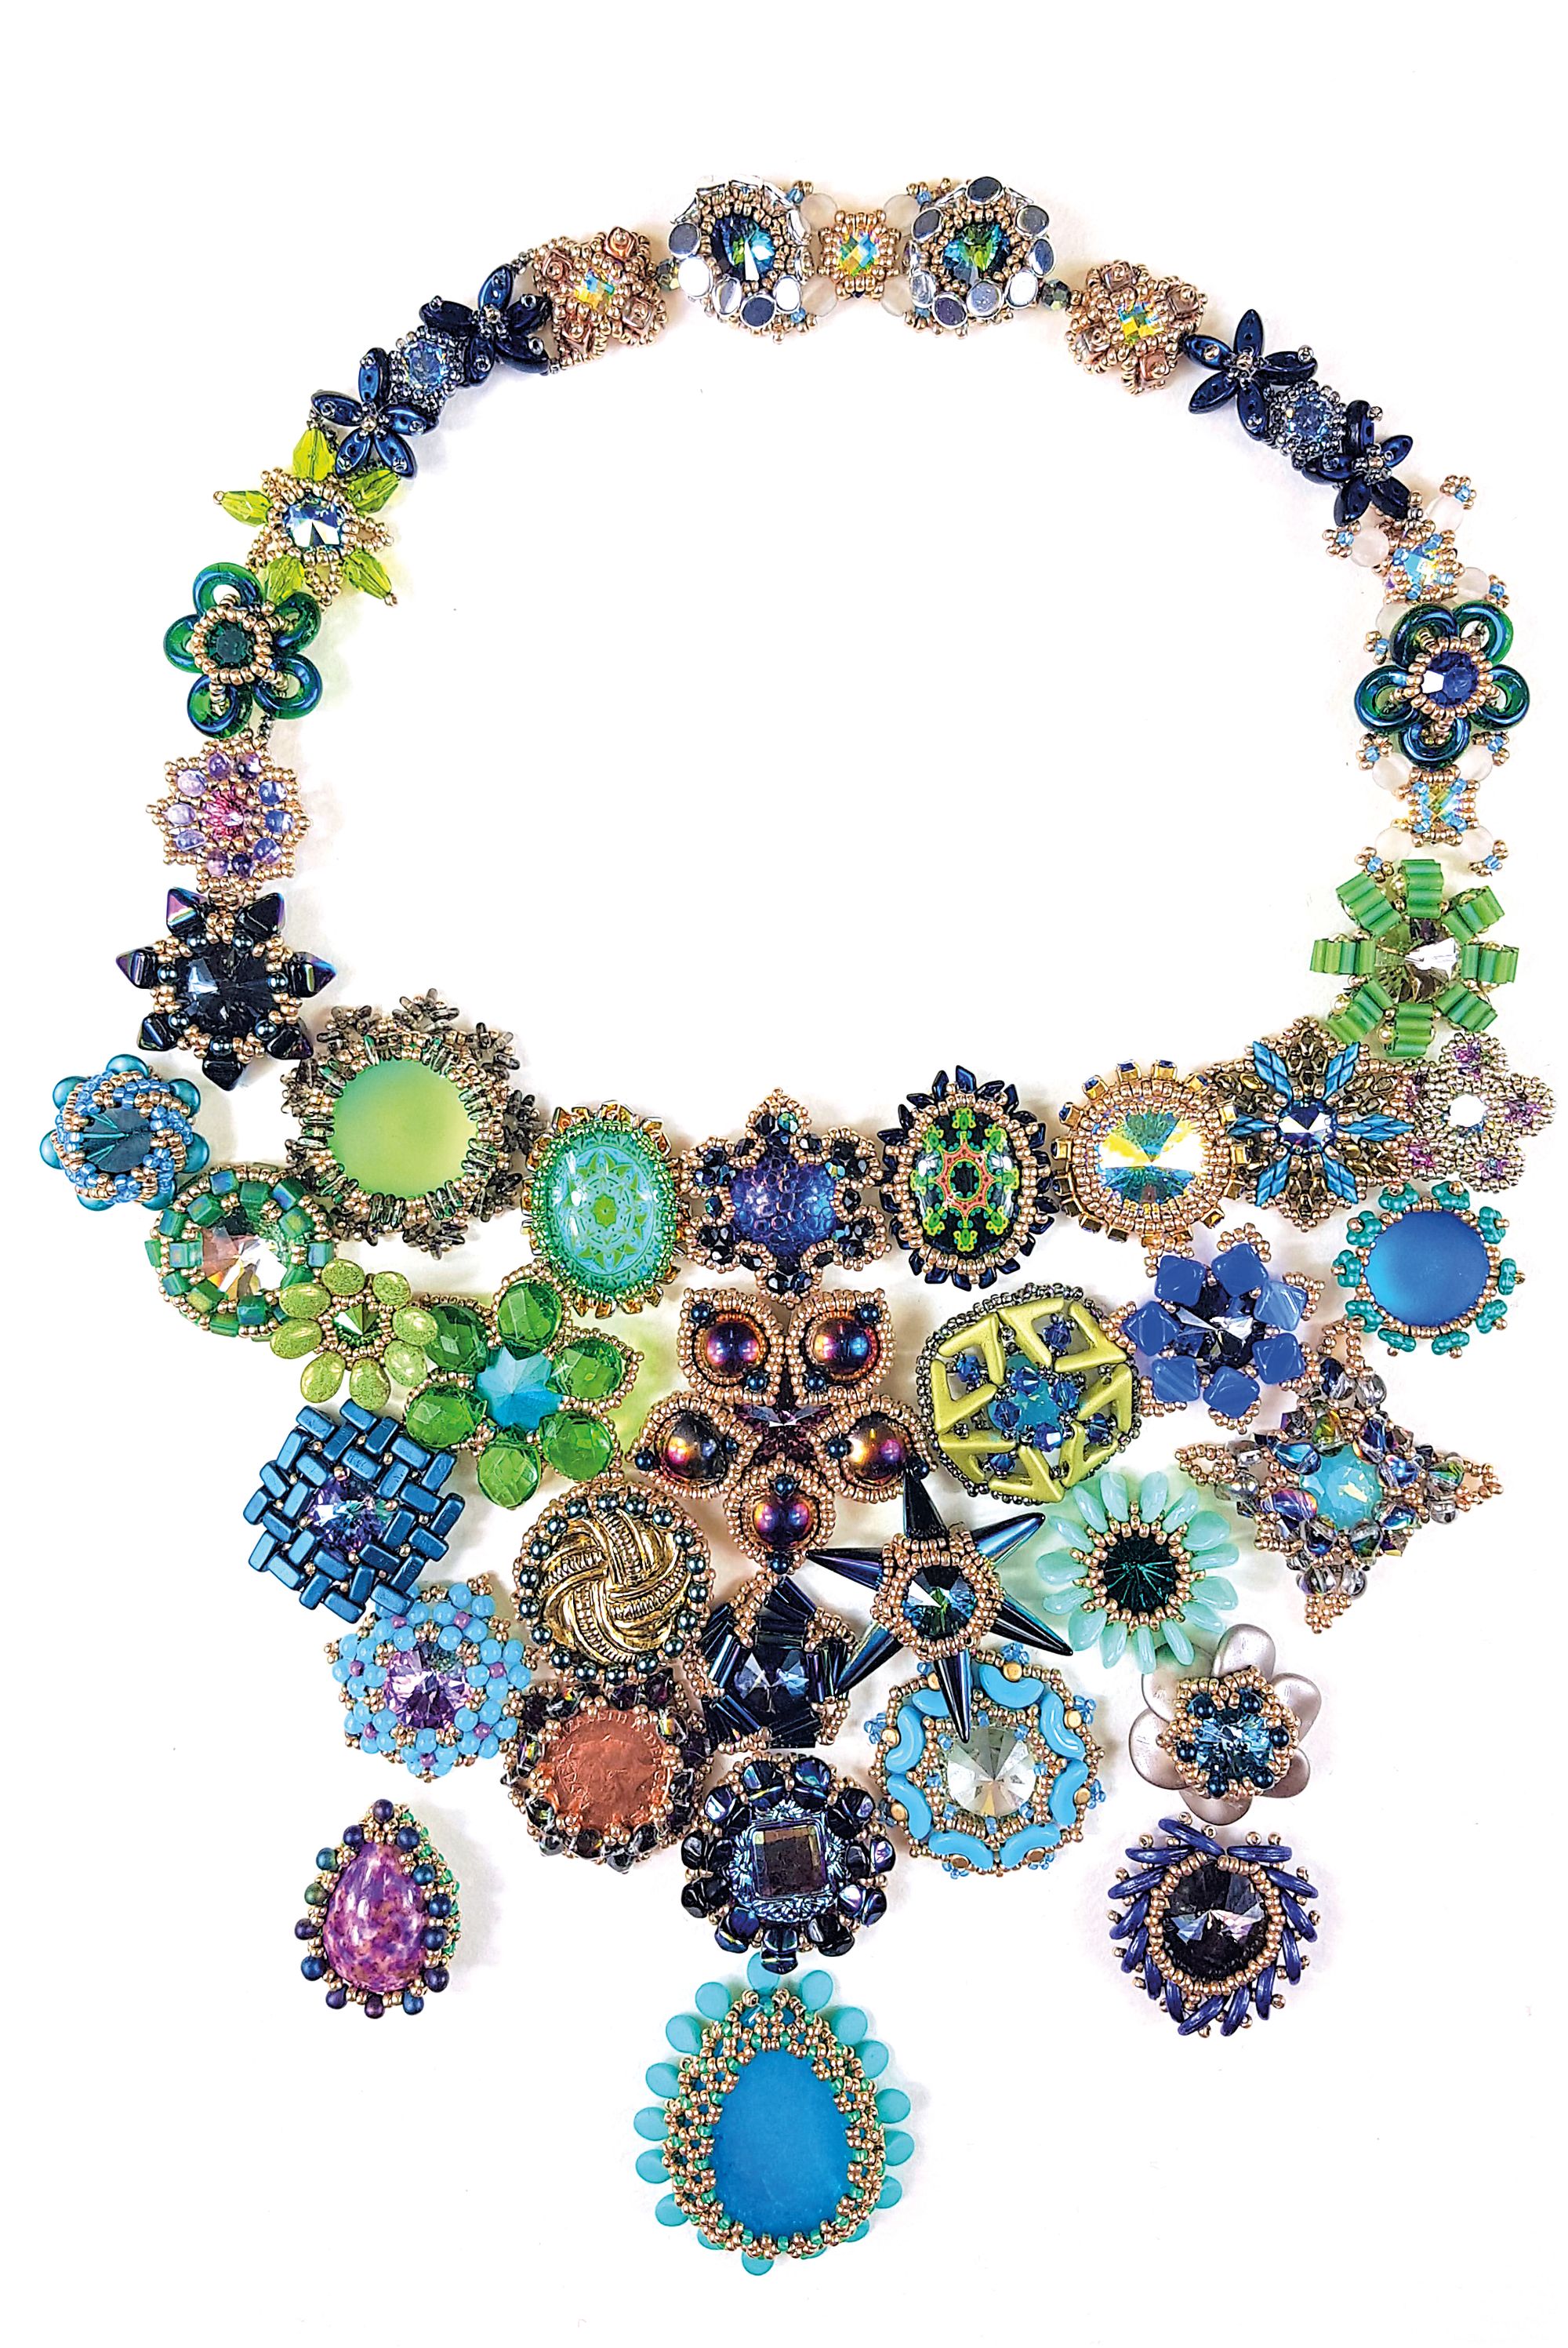
What will you do with them all now you’ve made them? I have already started constructing all of them into a “Statement” necklace. I hope to finish it in time for those glamorous Christmas parties I will be invited to! More seriously, I will use these as starting points for future workshops.
Did you have any moments of not knowing what to do next? Sometimes, I found that that day’s bead was similar in shape to one that I had already used. For these I had to think more creatively, to get something new. Turn the bead around, or sideways, twist and turn, use three dimensions. For example, Days 49 and 51 both use bugles, in different sizes, but the result is very
different!
Will you consider doing more challenges like this in the future and if so, do you know what they will be? Definitely, but I just have to wait for the muse to strike! It was well worth the effort, and people have been so complimentary about the bezels. I have a couple of times taken the box of bezels to a bead meeting so that people can look through them, it’s a bit like Granny’s button box. Everyone has their favourite!
Anything else you wish to share that might be of interest, or inspiration for any bead makers, beaders or jewellery makers who may read the finished article? Wherever possible, I fill in the back
of the bezel, usually with a decreasing peyote stitch. This makes the work double-
sided and protects the stones back from scratches.
When I’m making up a large project, such as this, I use my smart-phone to take pictures of the final layout. This helps first, to remember the chosen layout, and
second, it gives a degree of separation and allows you to view the work more objec-
tively. If you get the chance, take a small box of beads on holiday. Choose a “Capsule
Wardrobe” of complimentary colours and shapes. You will be surprised how a change of scene affects your creativity and imagination! Can you see my Greek holiday reflected in these bezels? If you decide to Bezel a button, choose one either with four holes, for symmetry, or one with a shank that can be cut off. You can fill in the holes with seed beads if they are the right size.
All beads can be used (except perhaps Prong beads!), you just need to ask them
what they want to be! Set yourself a challenge! Push it to extremes! Who knows where it will take you!