
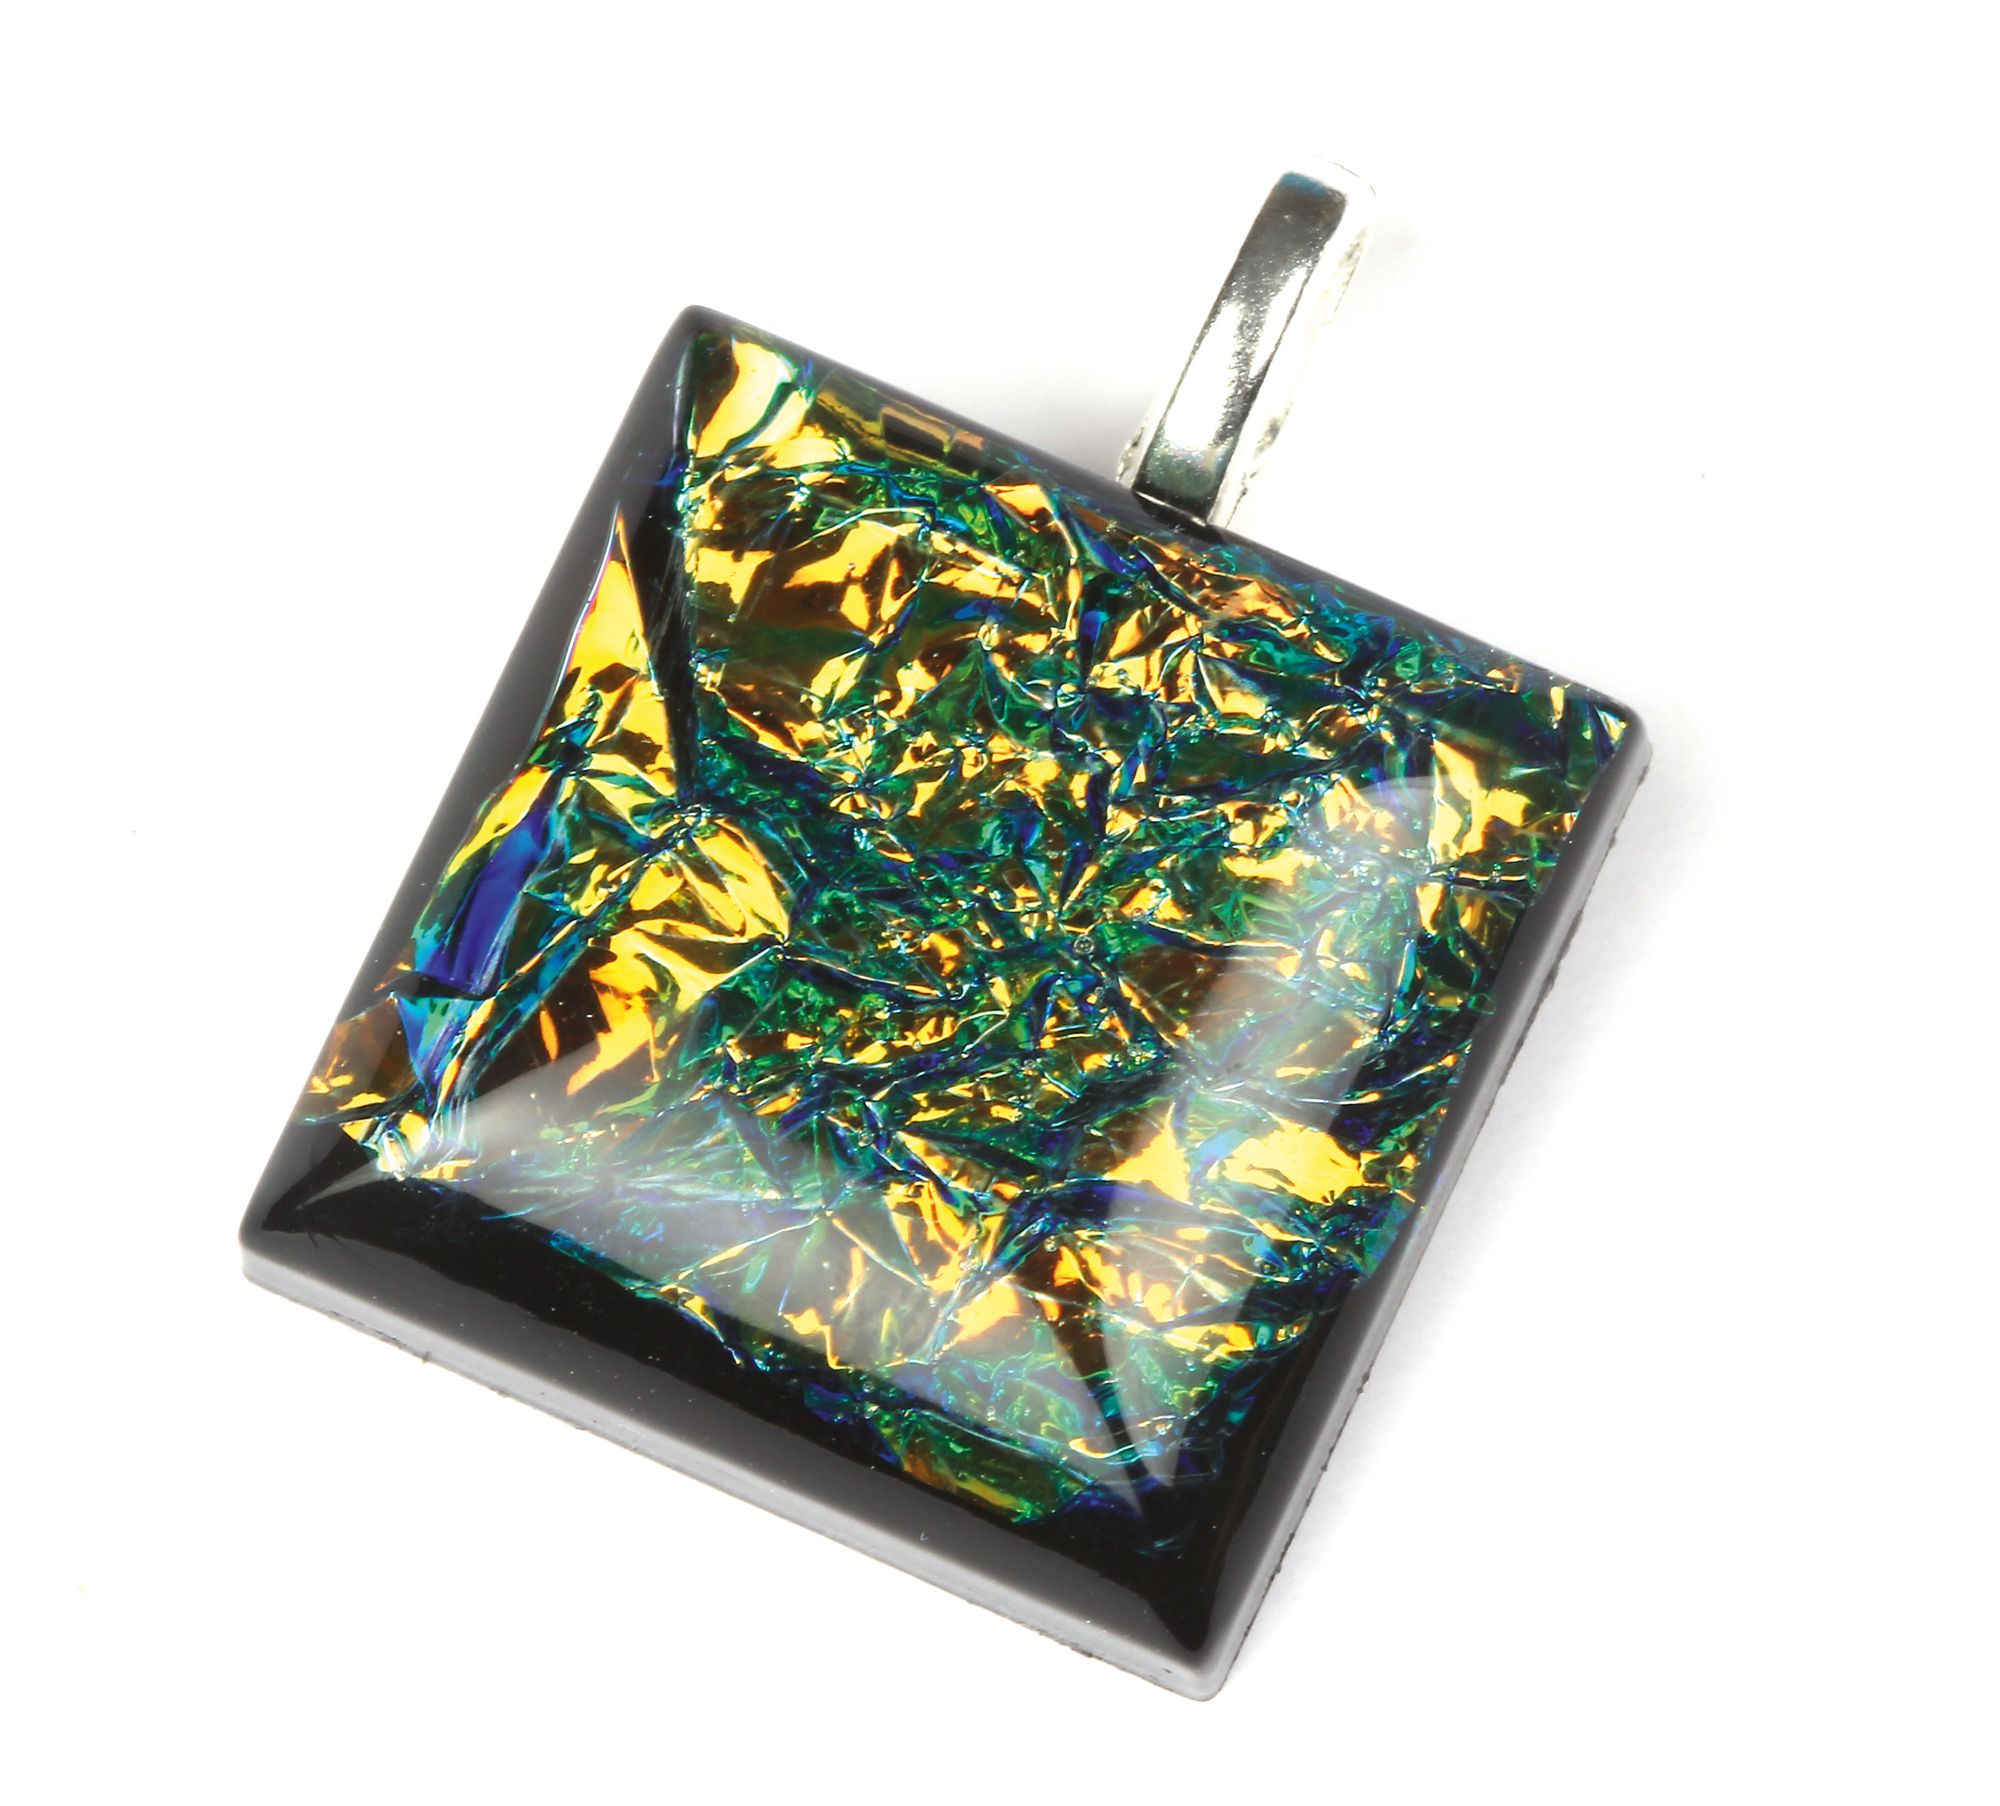
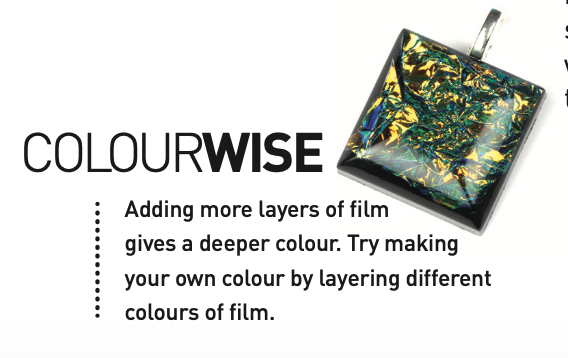
Lisa shows us how to make this beautiful dichroic pendant without the need for fused glass or a kiln. Using cold enamelling with Chemset resin, opaque colour paste and irides- cent film, you can get this stunning effect. You can create a range of designs with the iridescent film. Use flat shapes for a geometric look or combine small and large crinkled pieces placing them at different angles to take advantage of the reflected light and colour. This piece can be made in about two hours, but the enamel will need to cure overnight in 2 stages. Dichroic Resin Kit - Cost £25 and £8 for the digital scales if you don’t have them already.
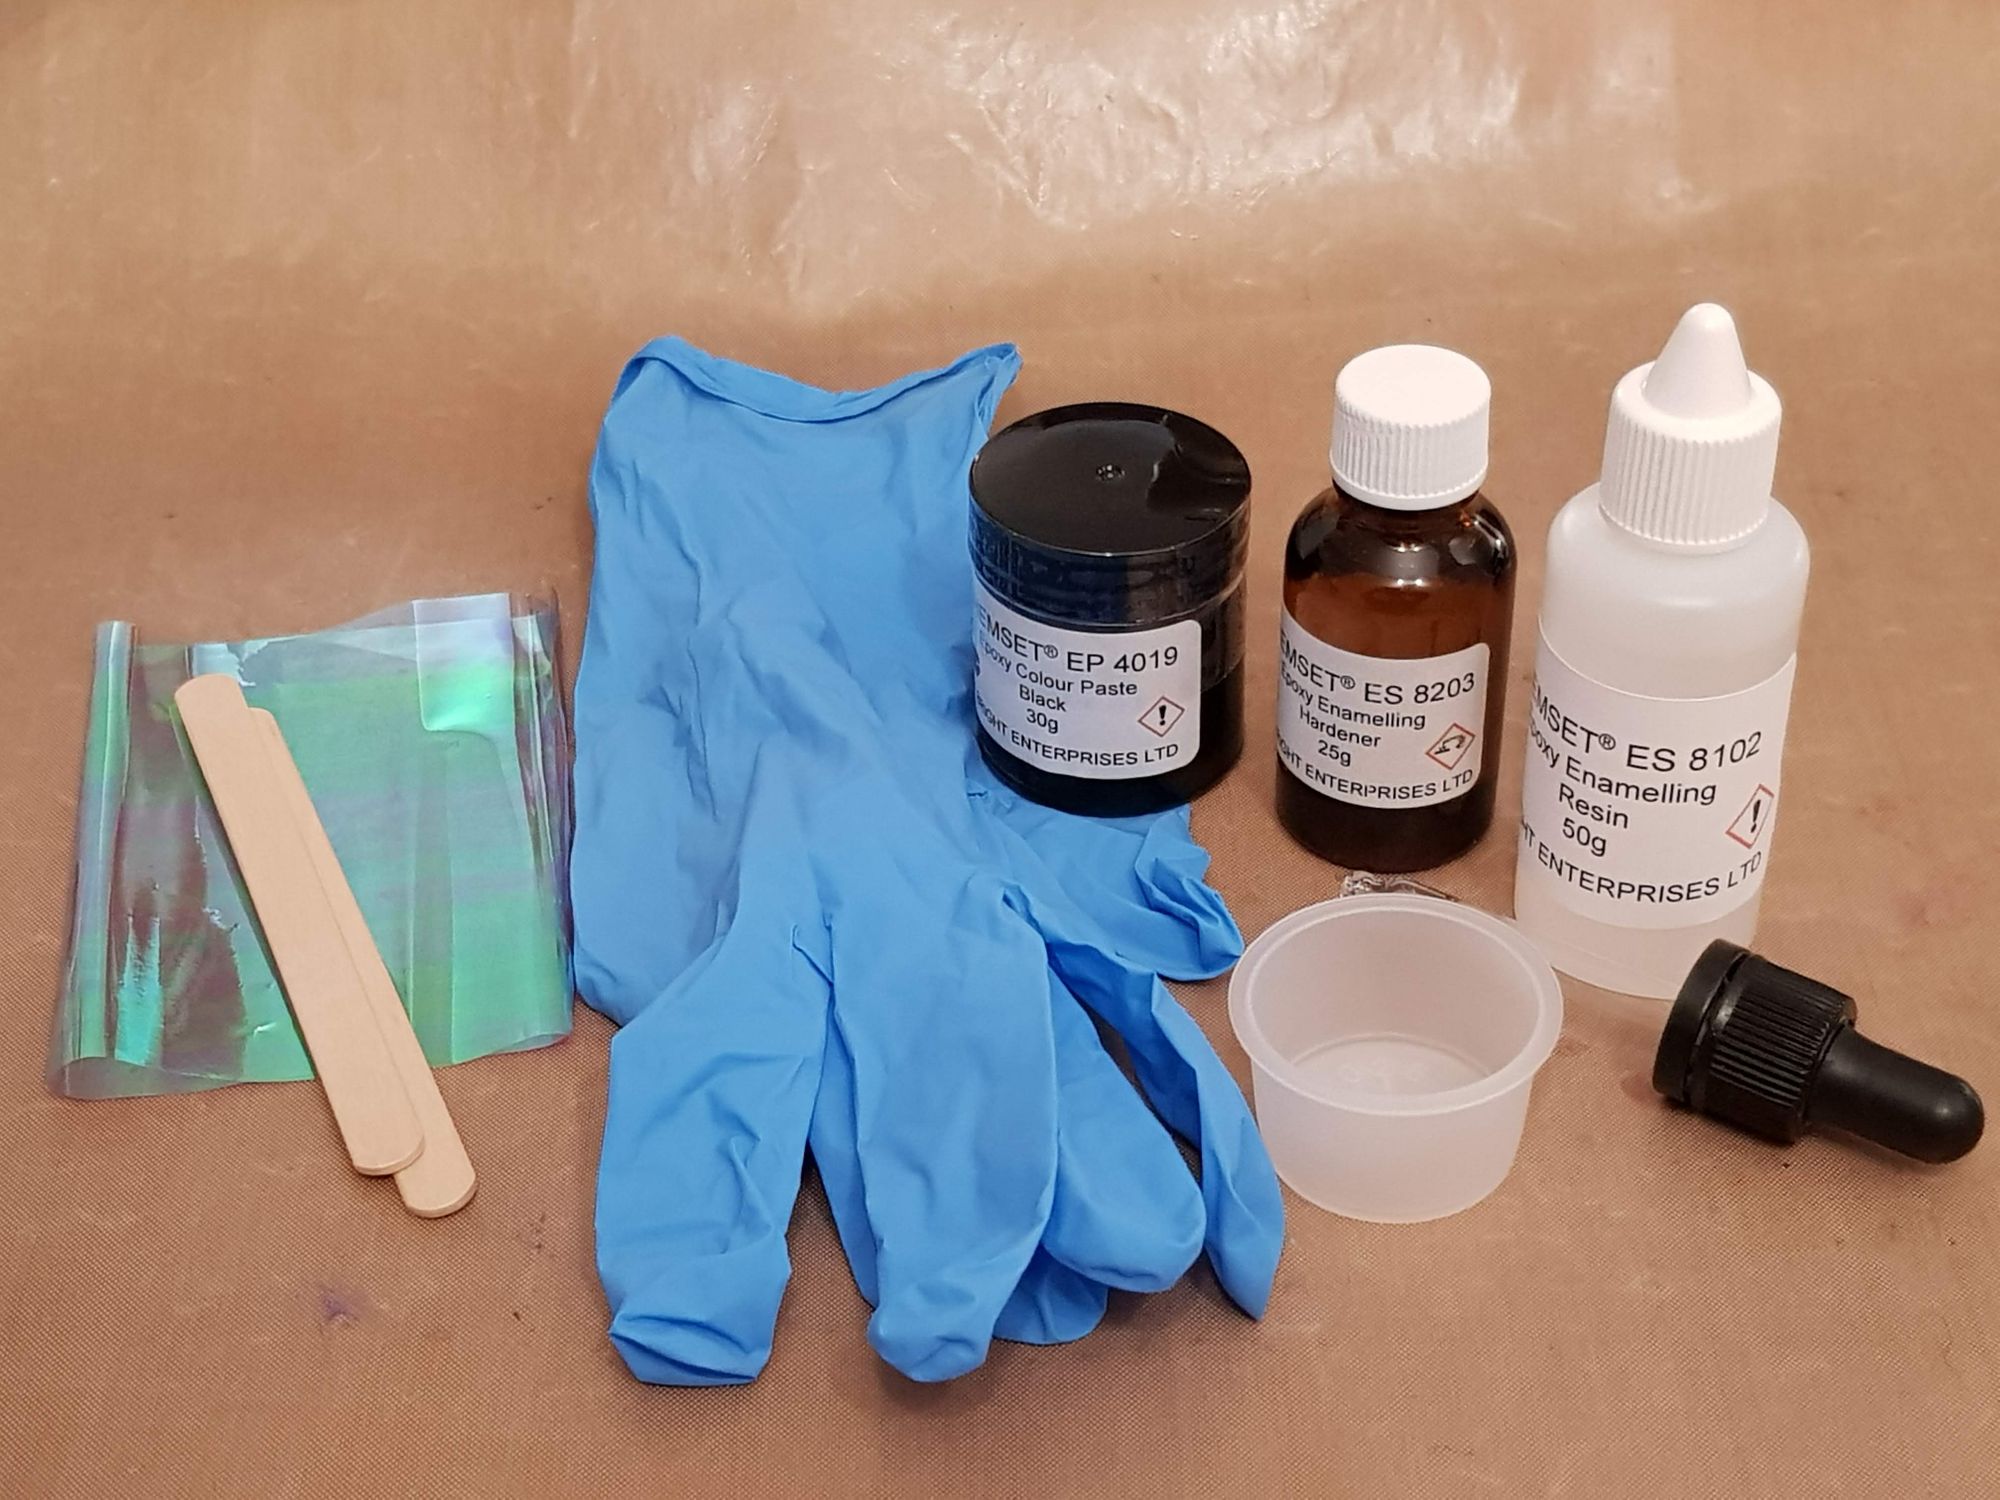
Before you start, you will need to prepare your working area by protecting the surface with disposable sheets or a wipe clean mat. Be careful of your work surface and clothes when using enamel as they will be difficult to clean if they come in contact. Remember to protect your hands with gloves or a barrier cream.
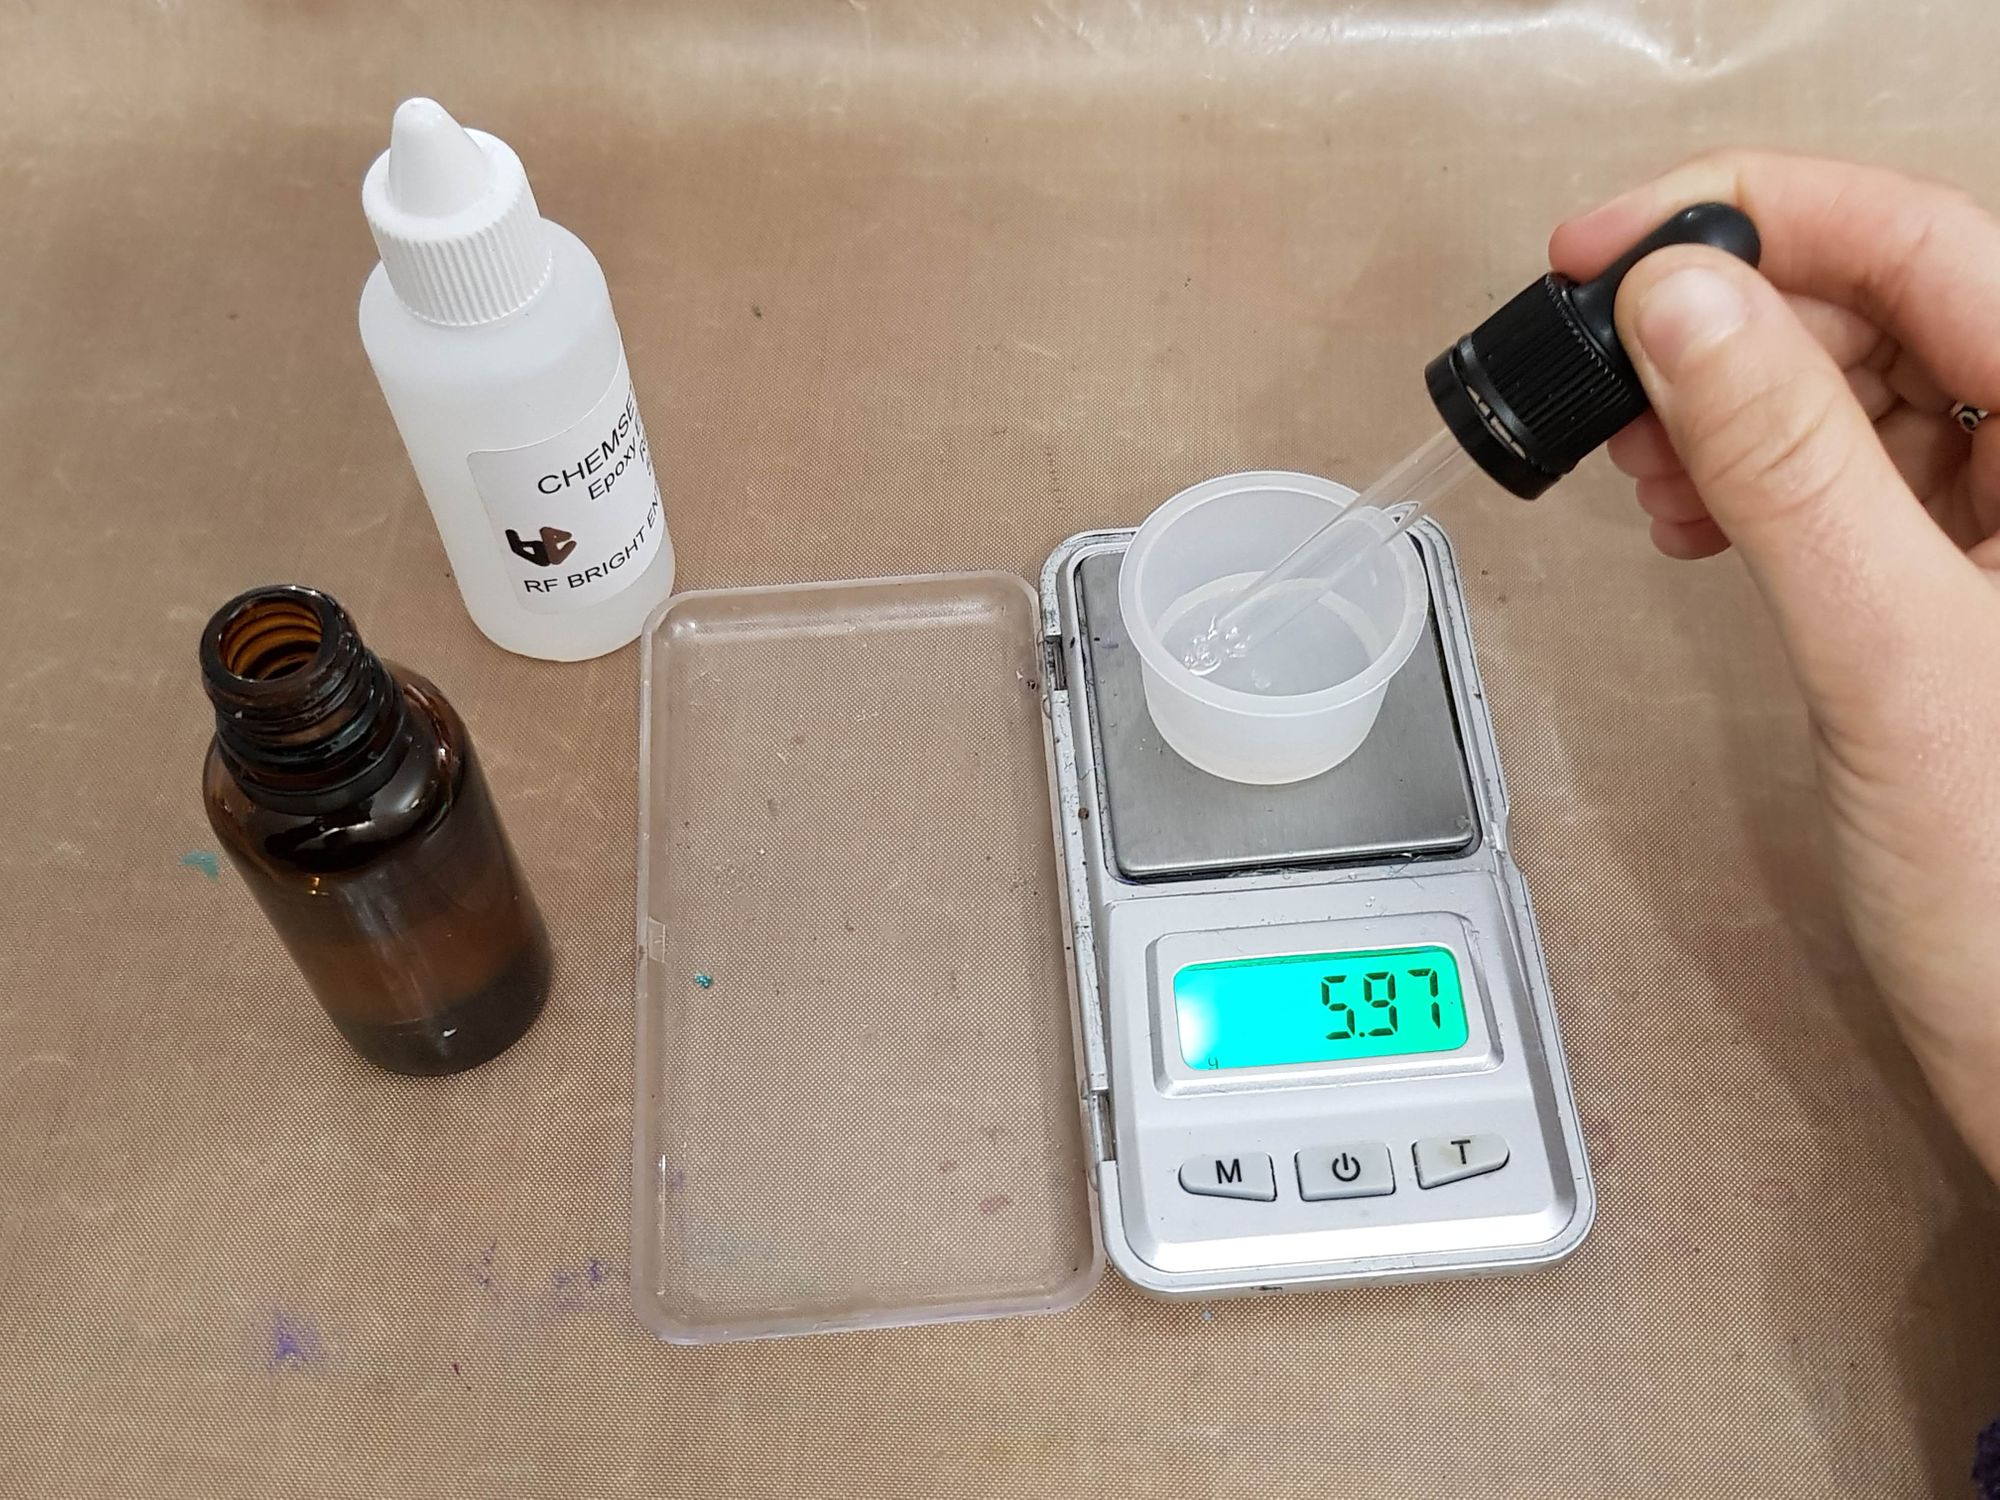
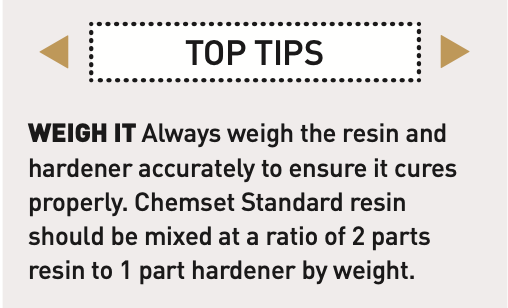
To make the clear enamel, place a mixing cup on your scales then re-zero the scales. Pour the amount of resin required into the mixing cup followed by the hardener, this should be 50% of the resin weight. For example, if you pour 4g of resin you will need to add 2g of hardener. Stir carefully with a lollypop stick until fully mixed making sure you get into the edges of the cup.
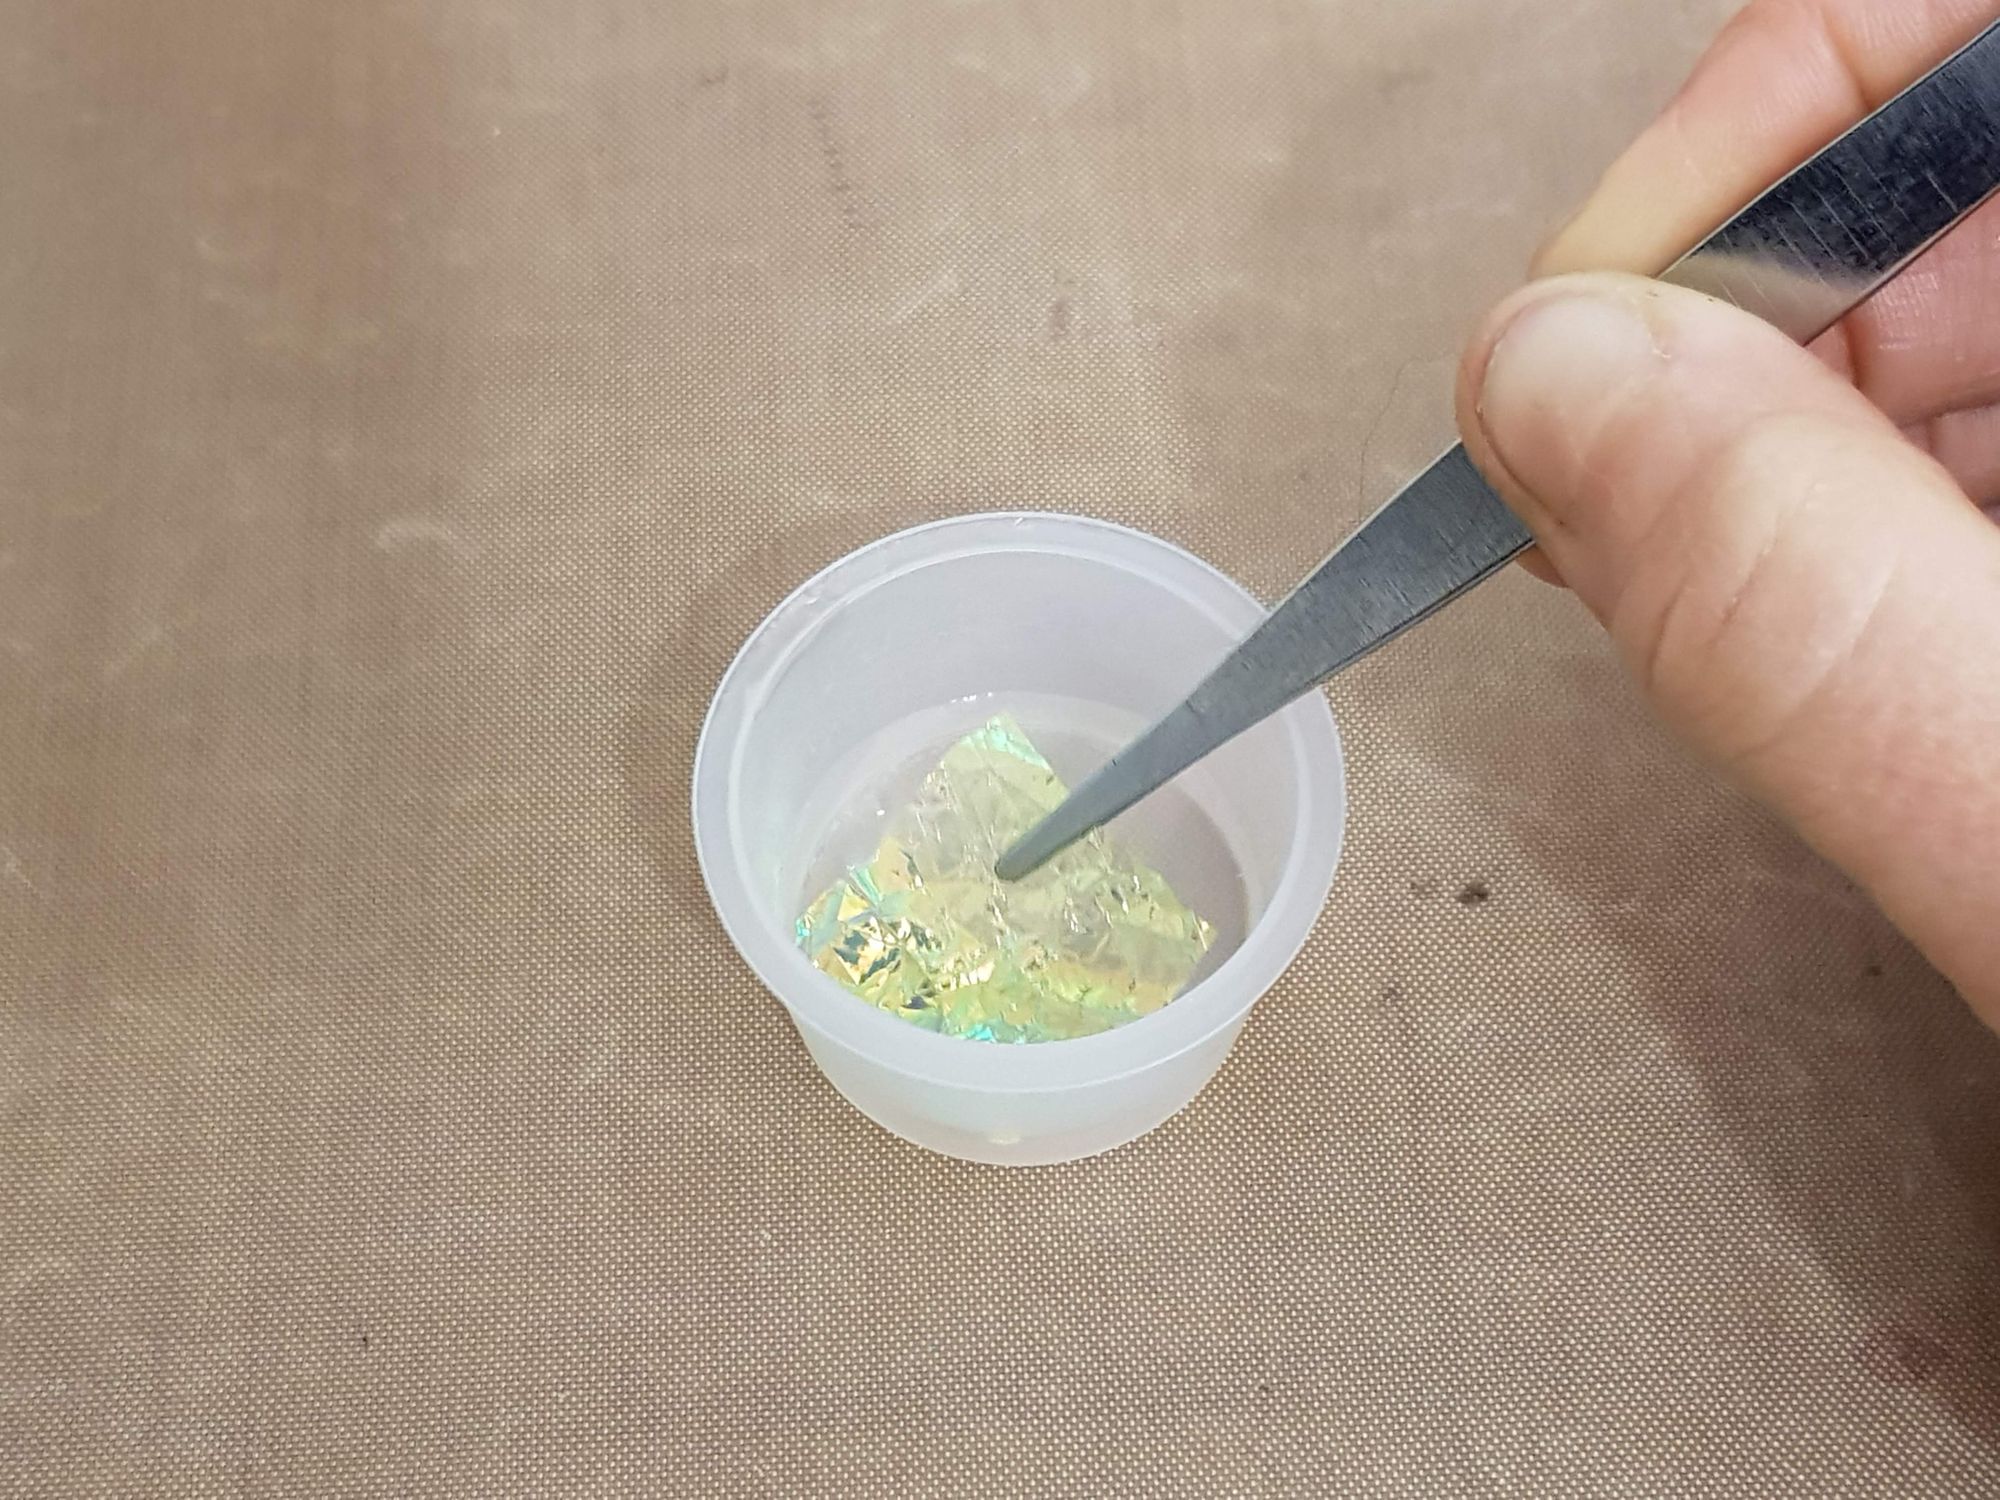
Crinkle up a small piece of fusible film, enough to fit into your silicone mould shape. Flatten it out a little and cut to the shape of your mould. Pour some of the enamel into the mould with your lollipop mixing stick. Dip the film into the remaining enamel in your mixing cup to avoid air bubbles sticking to the film. Place the crinkled film into the mould positioning it with a cocktail stick or tweezers.
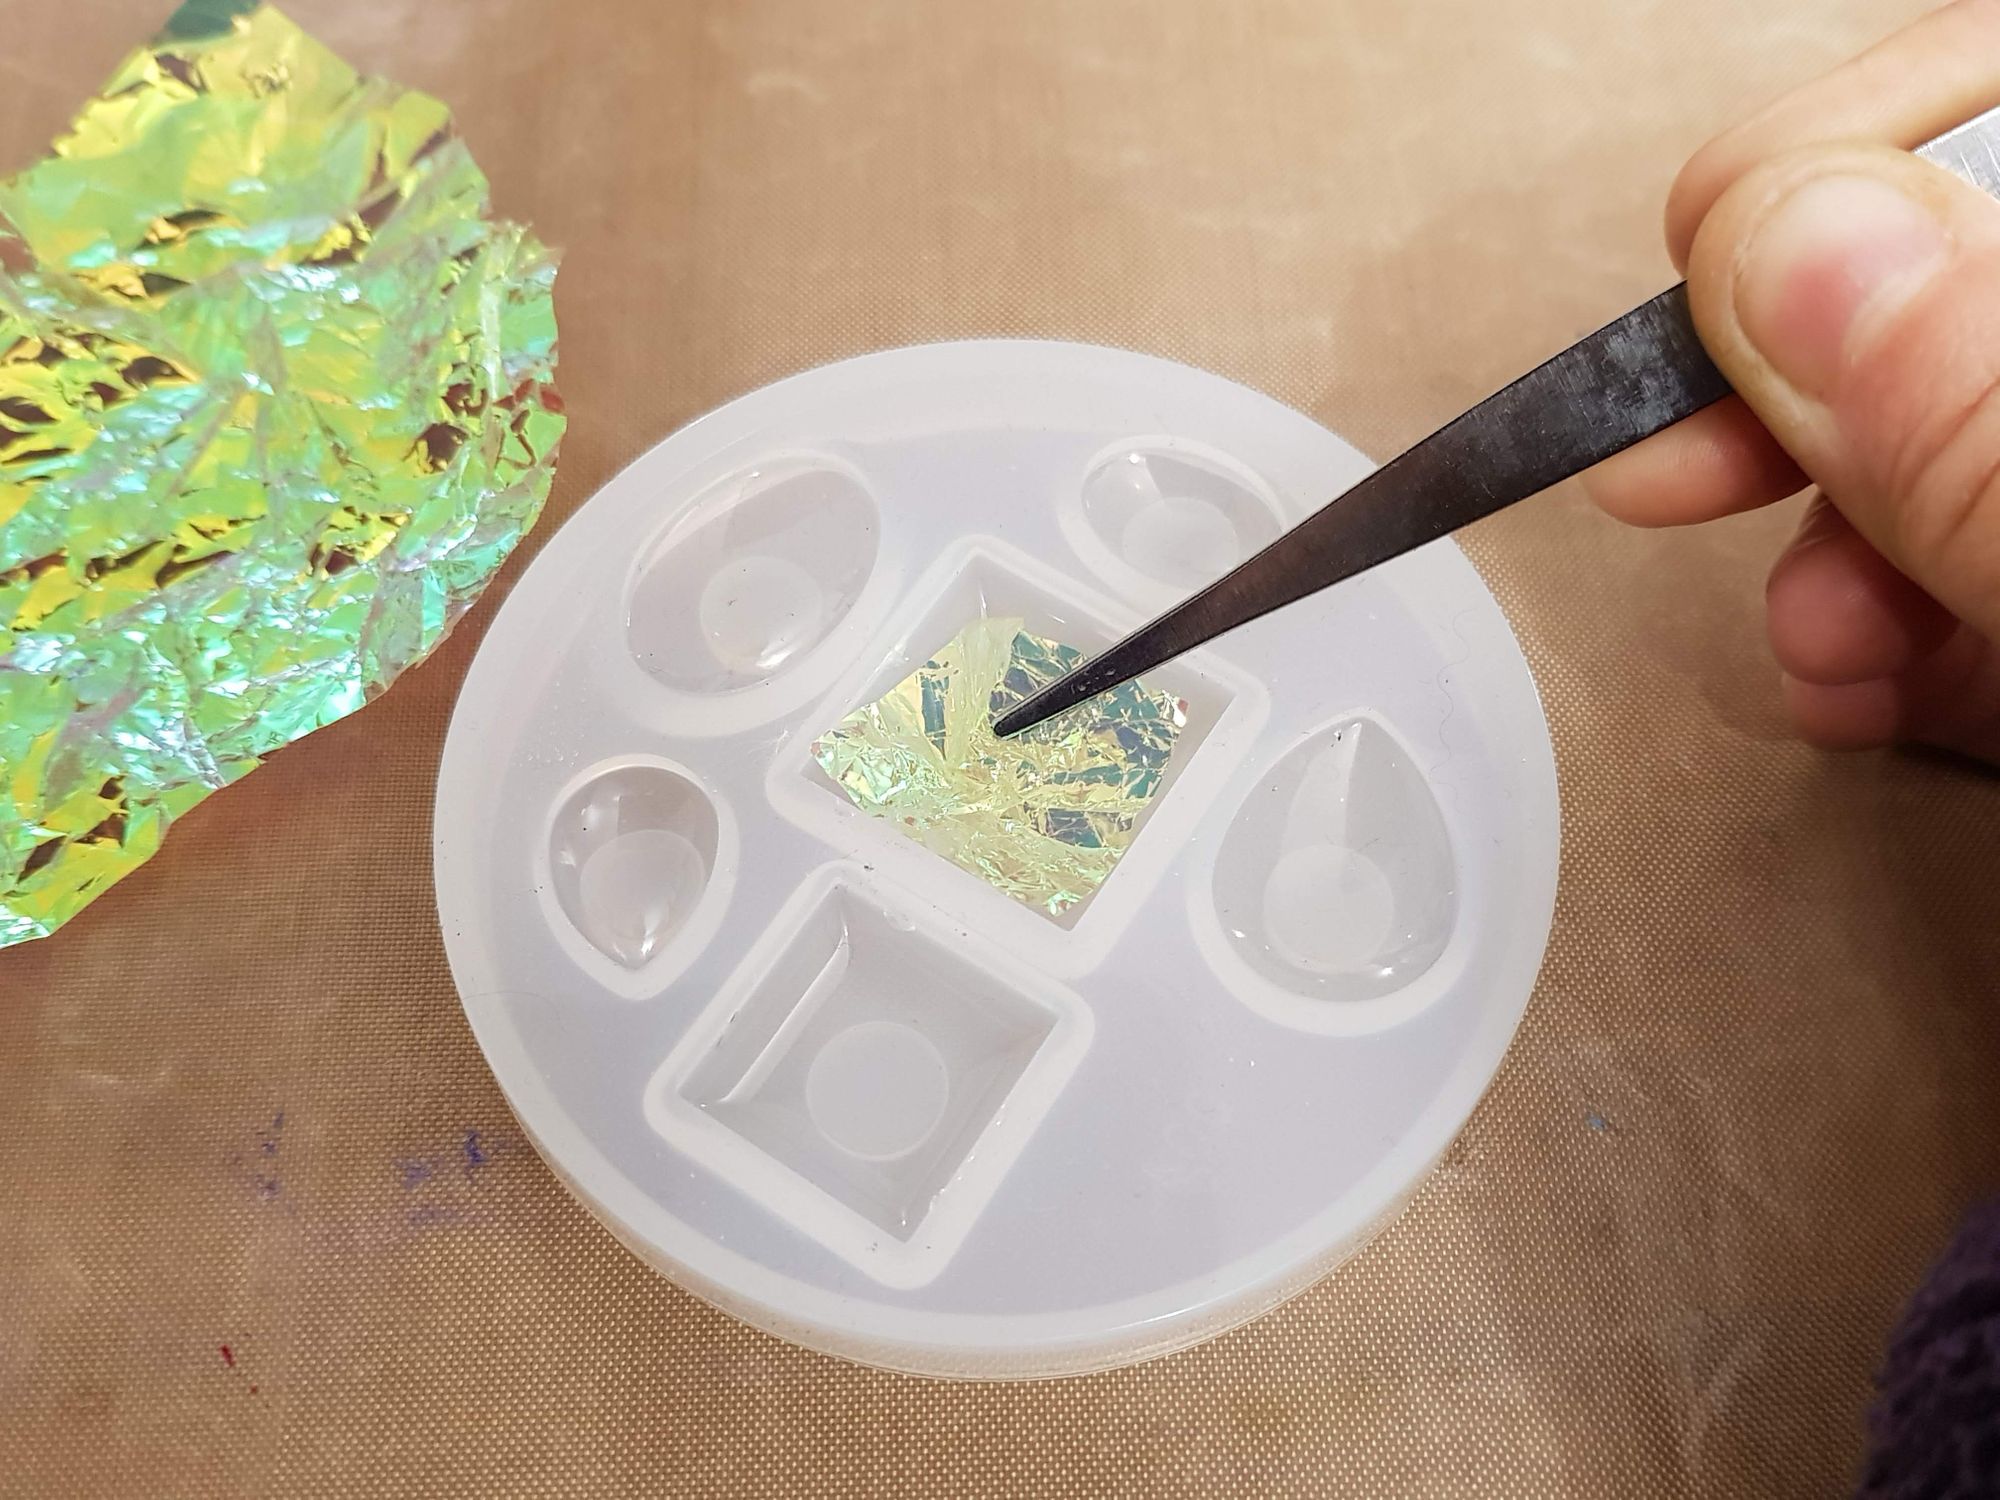
Place the crinkled film into the mould positioning it with a cocktail stick or tweezers. Add a little more of the enamel to cover the film but leave a gap at the top for a final layer. Cover the pendant (protecting it from dust) and leave to cure in a warm place overnight, the temperature should not drop below 18°C.

Once cured, the black layer forming the back of the pendant can be added. Mix some resin with a very small amount of black colour paste. Colour paste should not exceed 5%. For example, 0.95g resin plus 0.05g of paste. To complete your enamel mix, add 50% of your total resin weight of hardener (1g of total resin to 0.5g of hardener) and mix well.

Add a thin layer of this black enamel to the surface of the pendant filling the mould and leave to cure. Once cured, gently push your shape up out of the mould from underneath. If there are any sharp, uneven edges use some fine grit wet & dry sandpaper to gently smooth the edge.
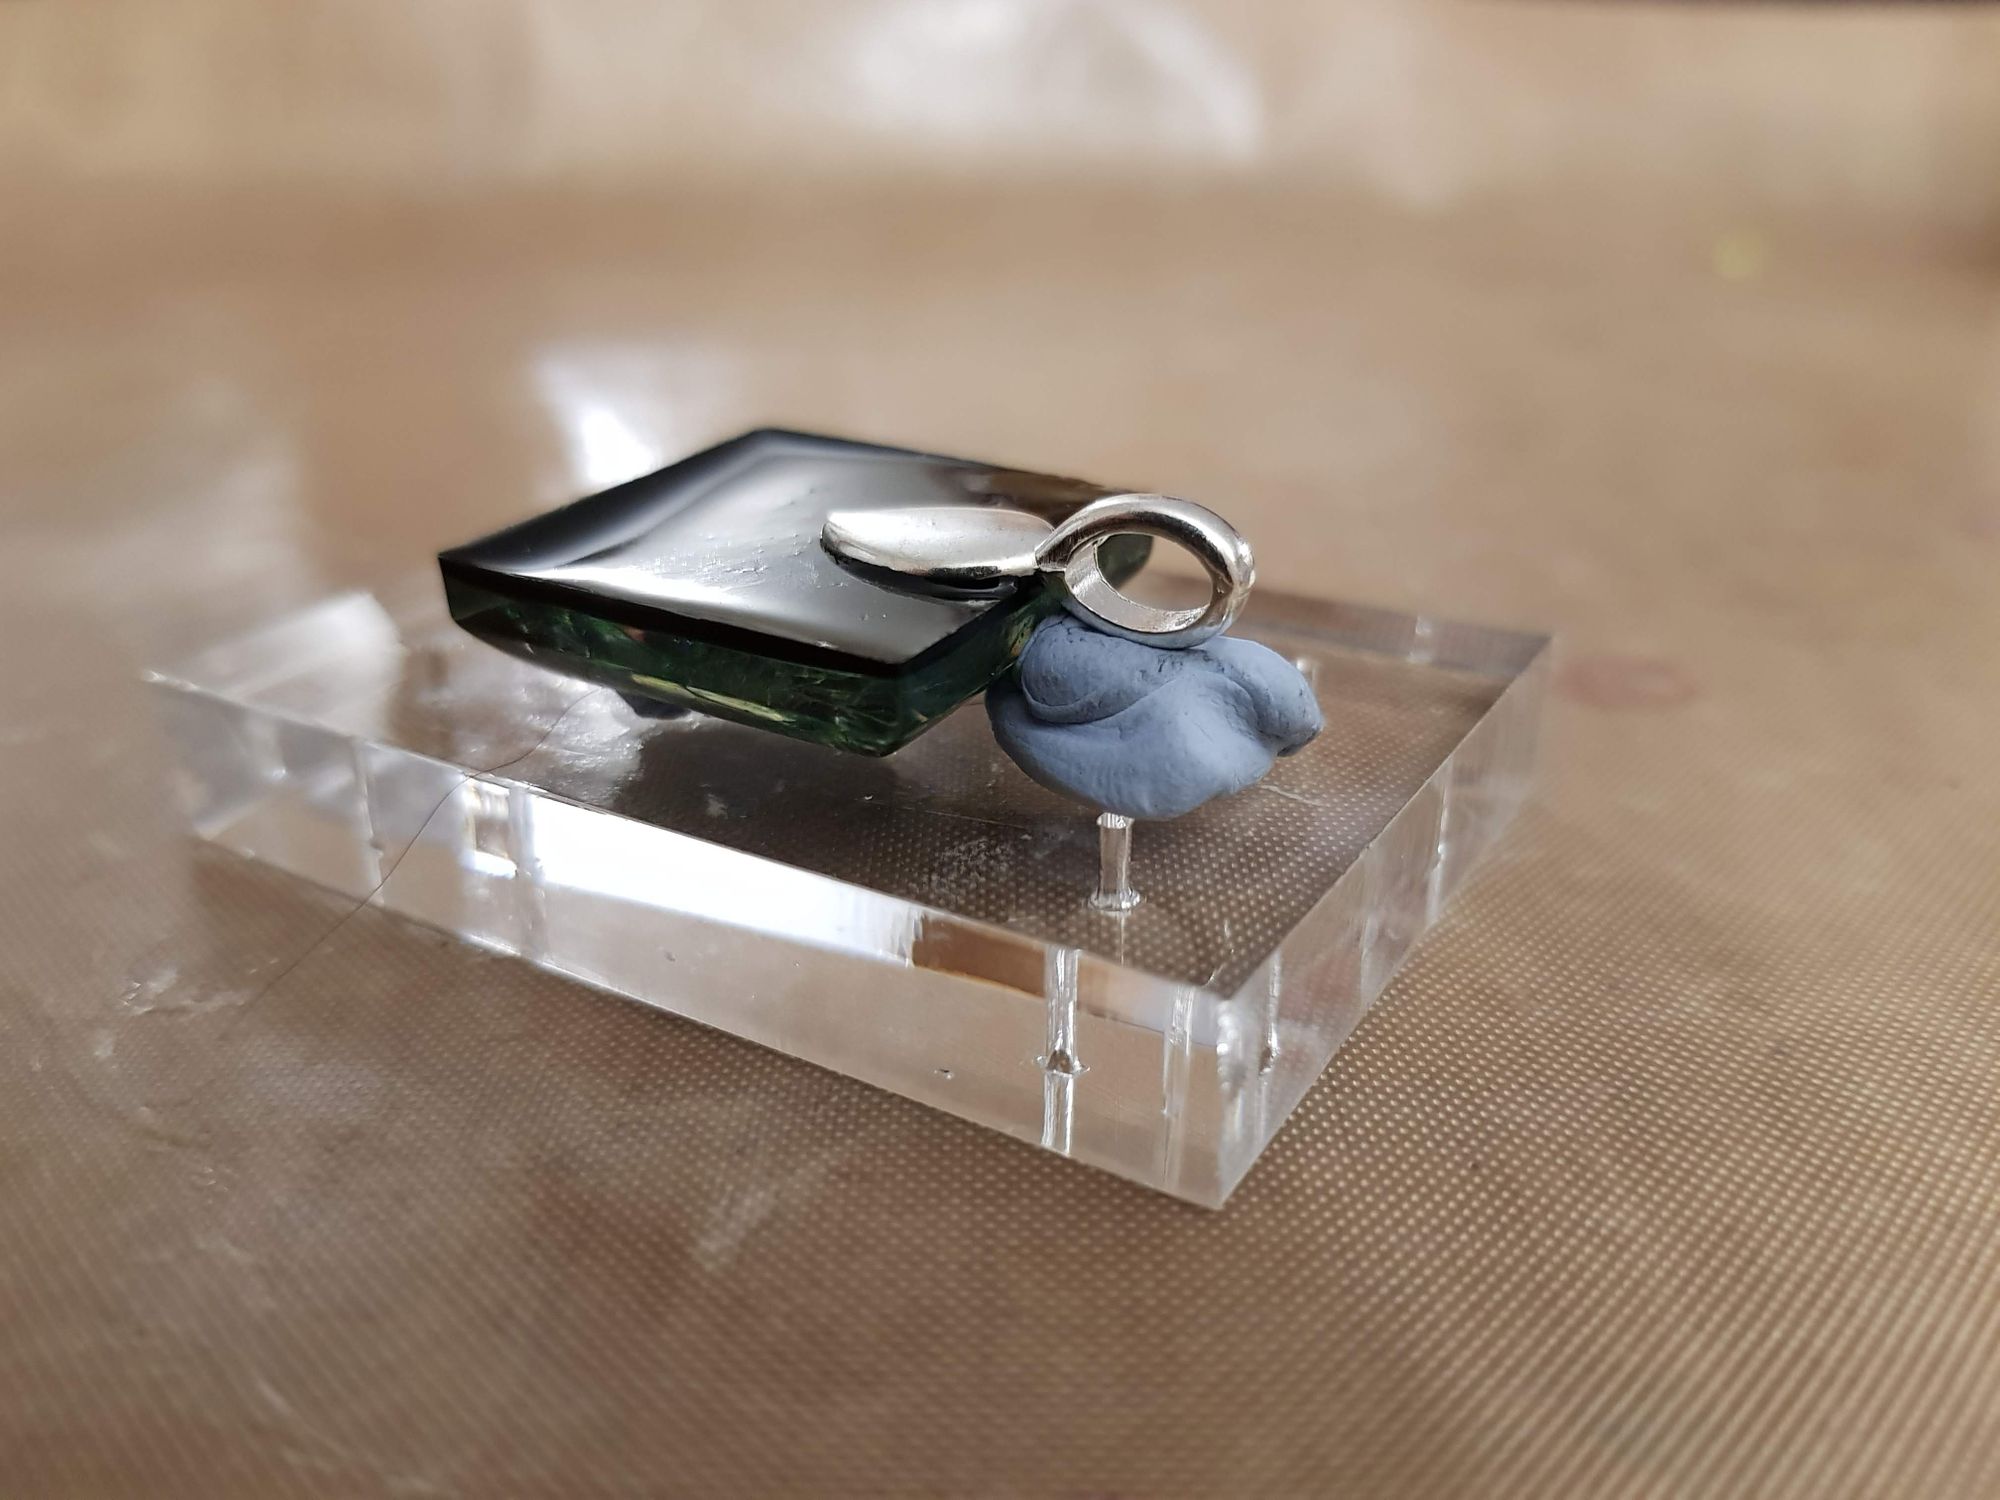
To finish the pendant attach a bail to the flat back of your resin shape. You can use a dab of enamel or jewellery glue. It’s a good idea to support the resin shape and the bail to ensure it sets in the correct place with full contact.
BEADLINK: www.beadingfantastic.com