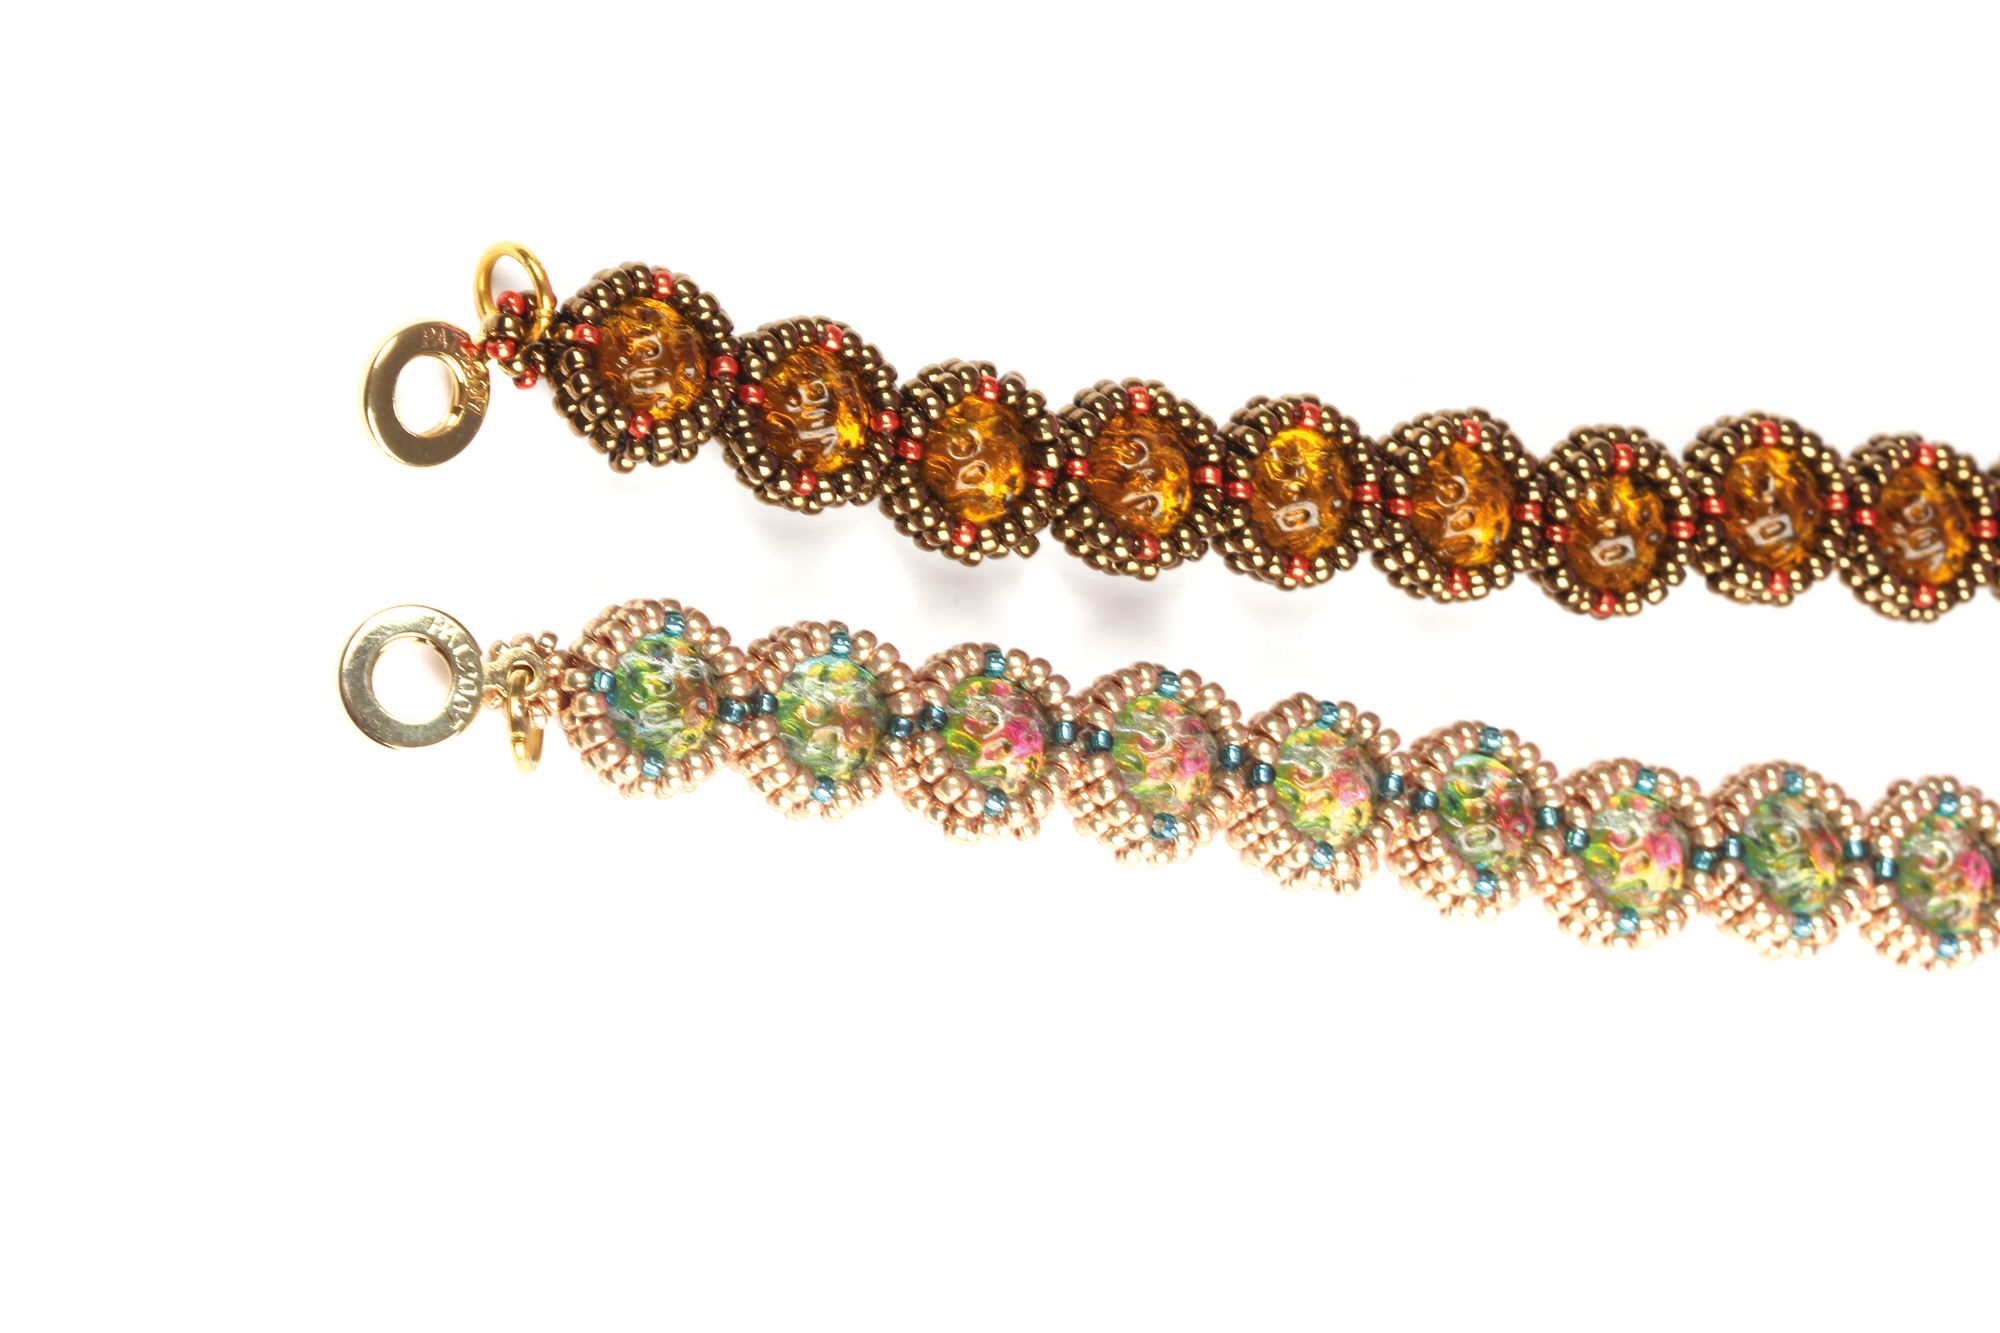
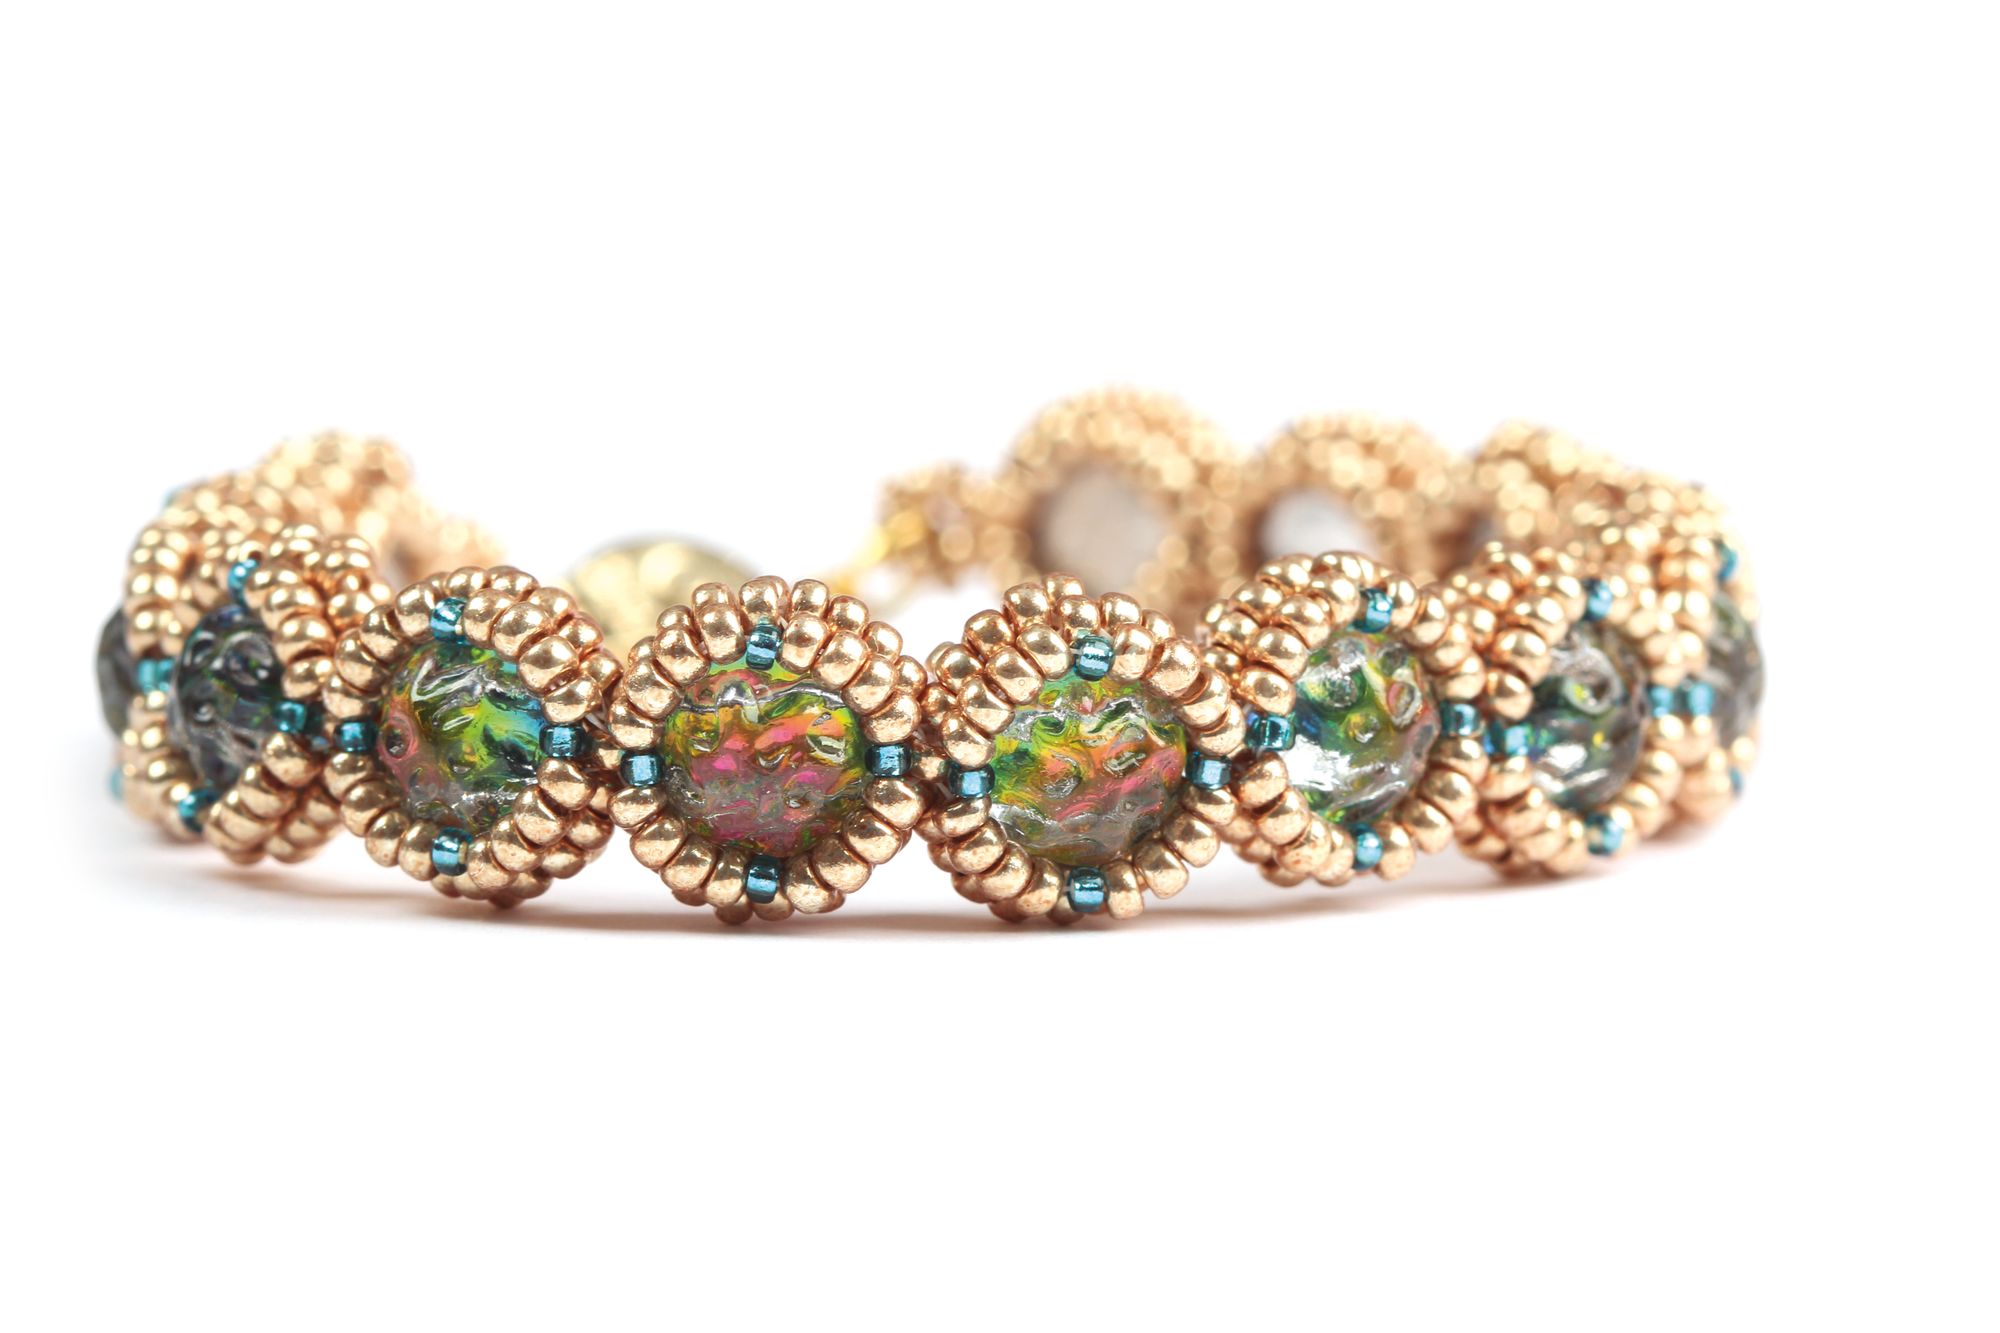
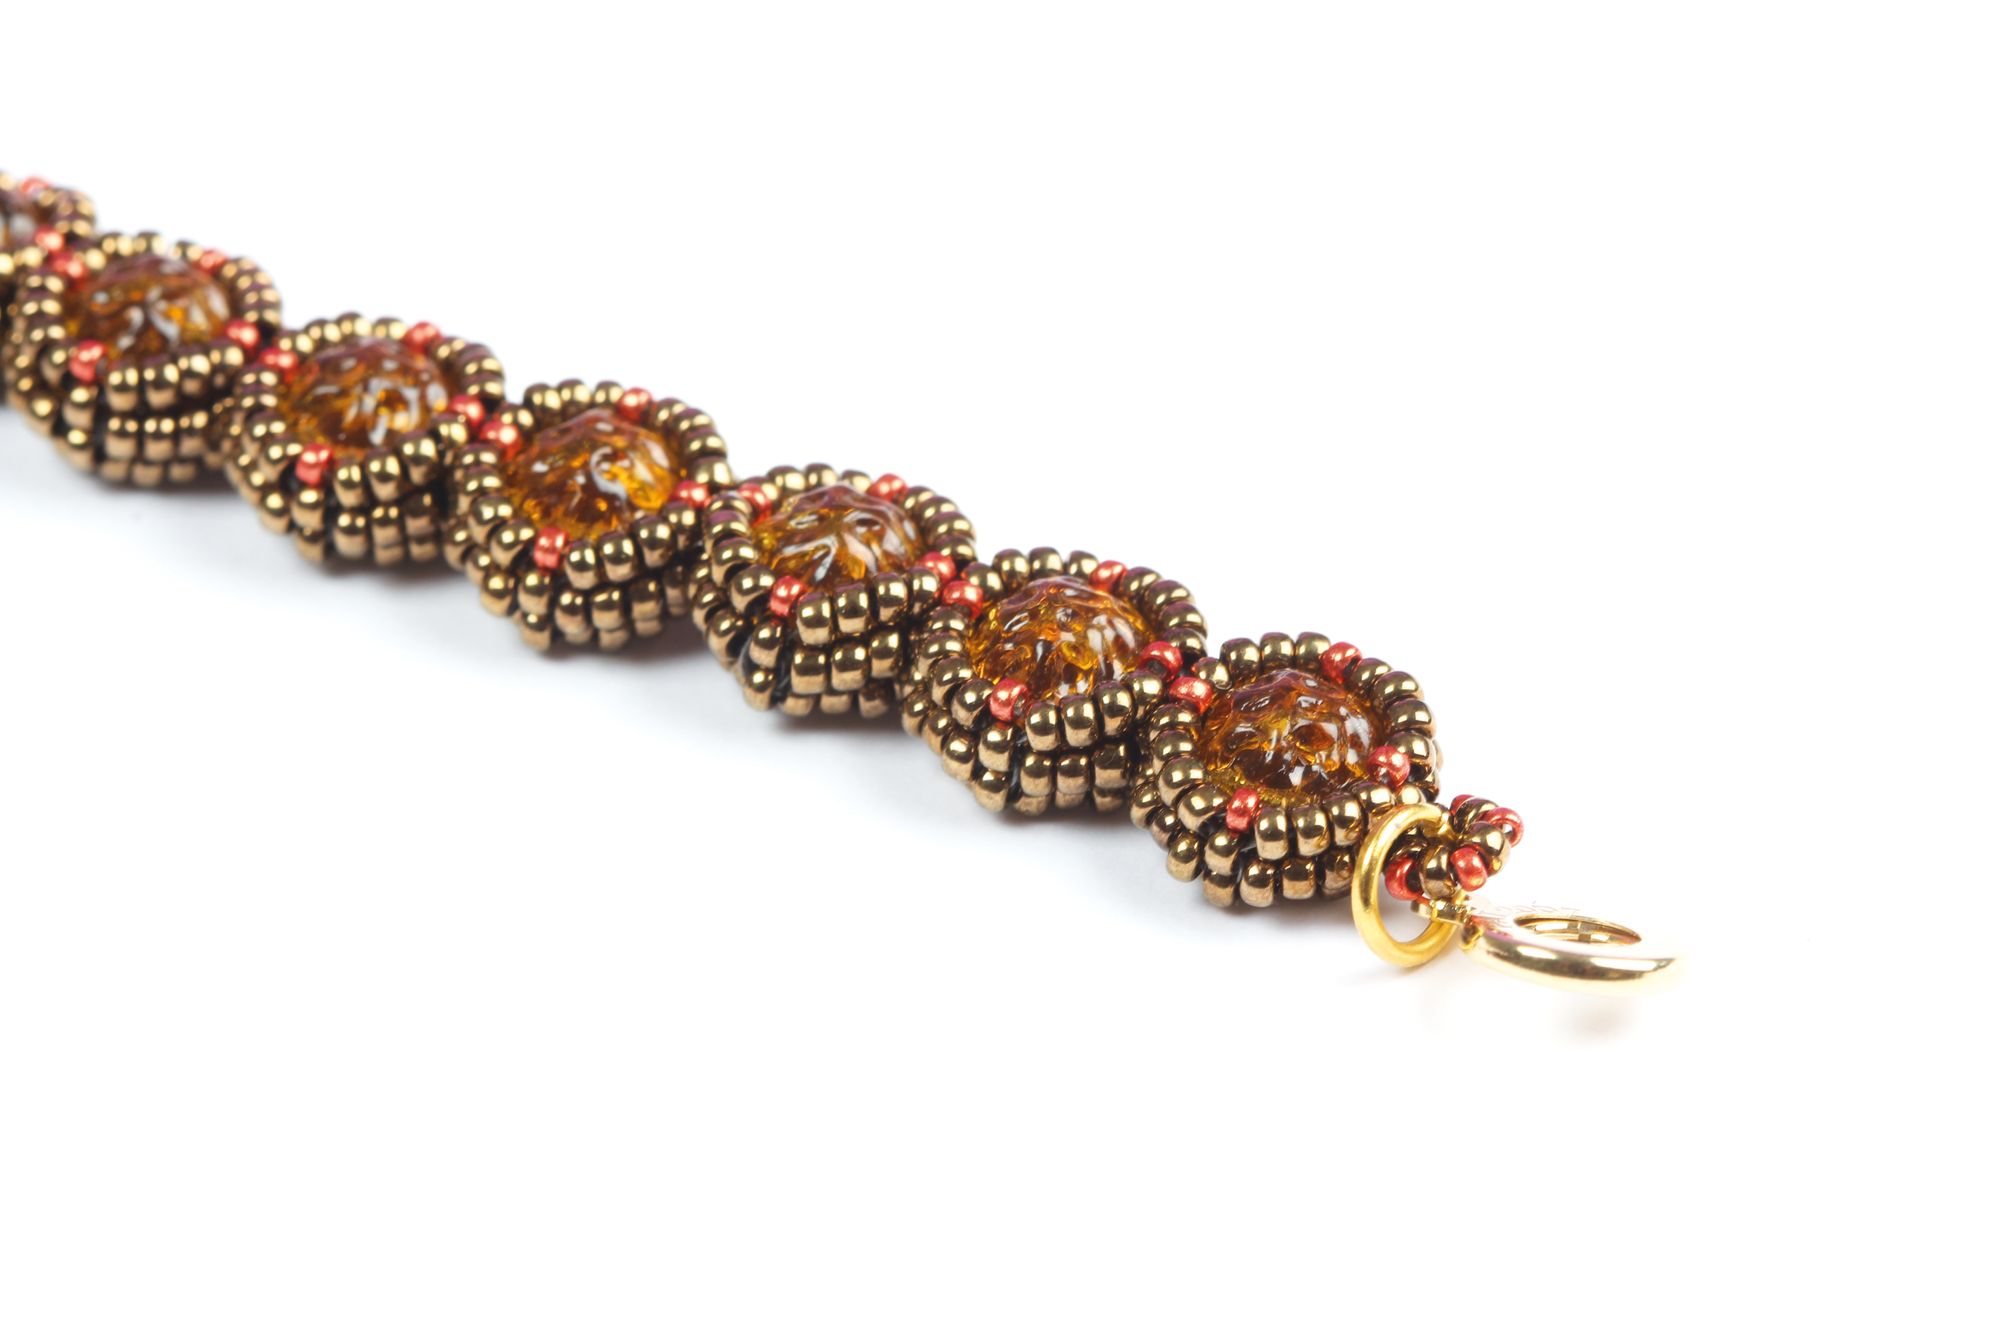
I was very intrigued by these baroque cabochons when they arrived from the lovely team at Beadsmith. The backlit ones that I have used in my project look as if they sparkle from within due to the crater moon effect. Also, let’s face it, who wouldn’t love a bead that looks as if a little green man might pop up any minute out of one of the craters and wave hello!
Now what to do with them... I decided I didn’t want a bracelet that would be my mgo-to component style, but something that grows as it goes. I started with the base, and before I knew it I had the most addictive bracelet that took roughly around 2 hours max to make - now I can’t stop making them! When you next see me, I’ll be the girl that looks like she has multi-coloured sleeves on, but I really just have bracelets up to my shoulders. I hope you enjoy them as much as I have.
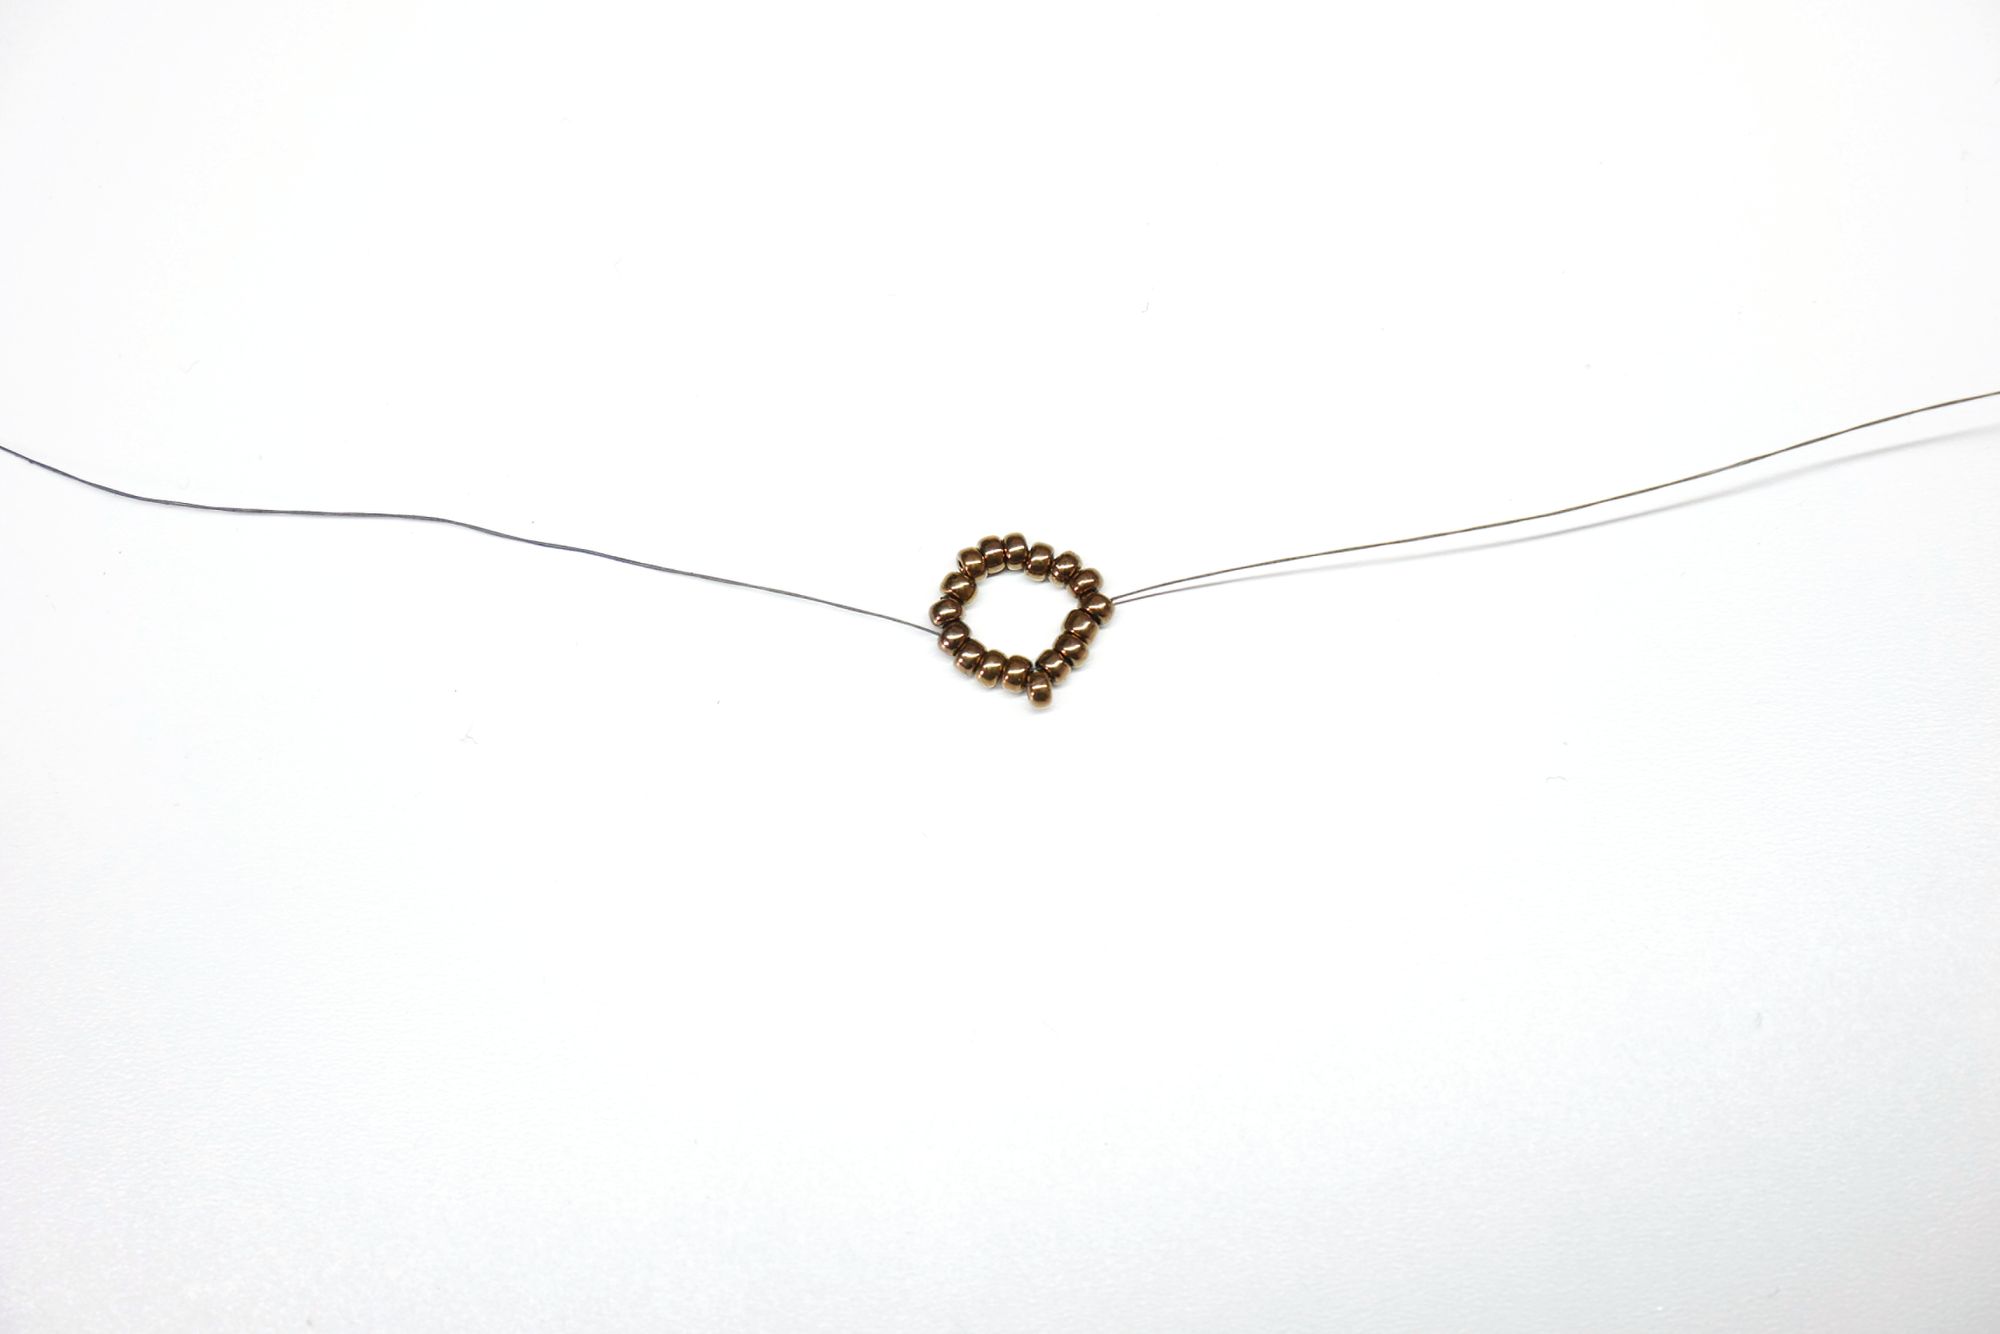
- Pick up 16(A) and go through them all again to create a ring.

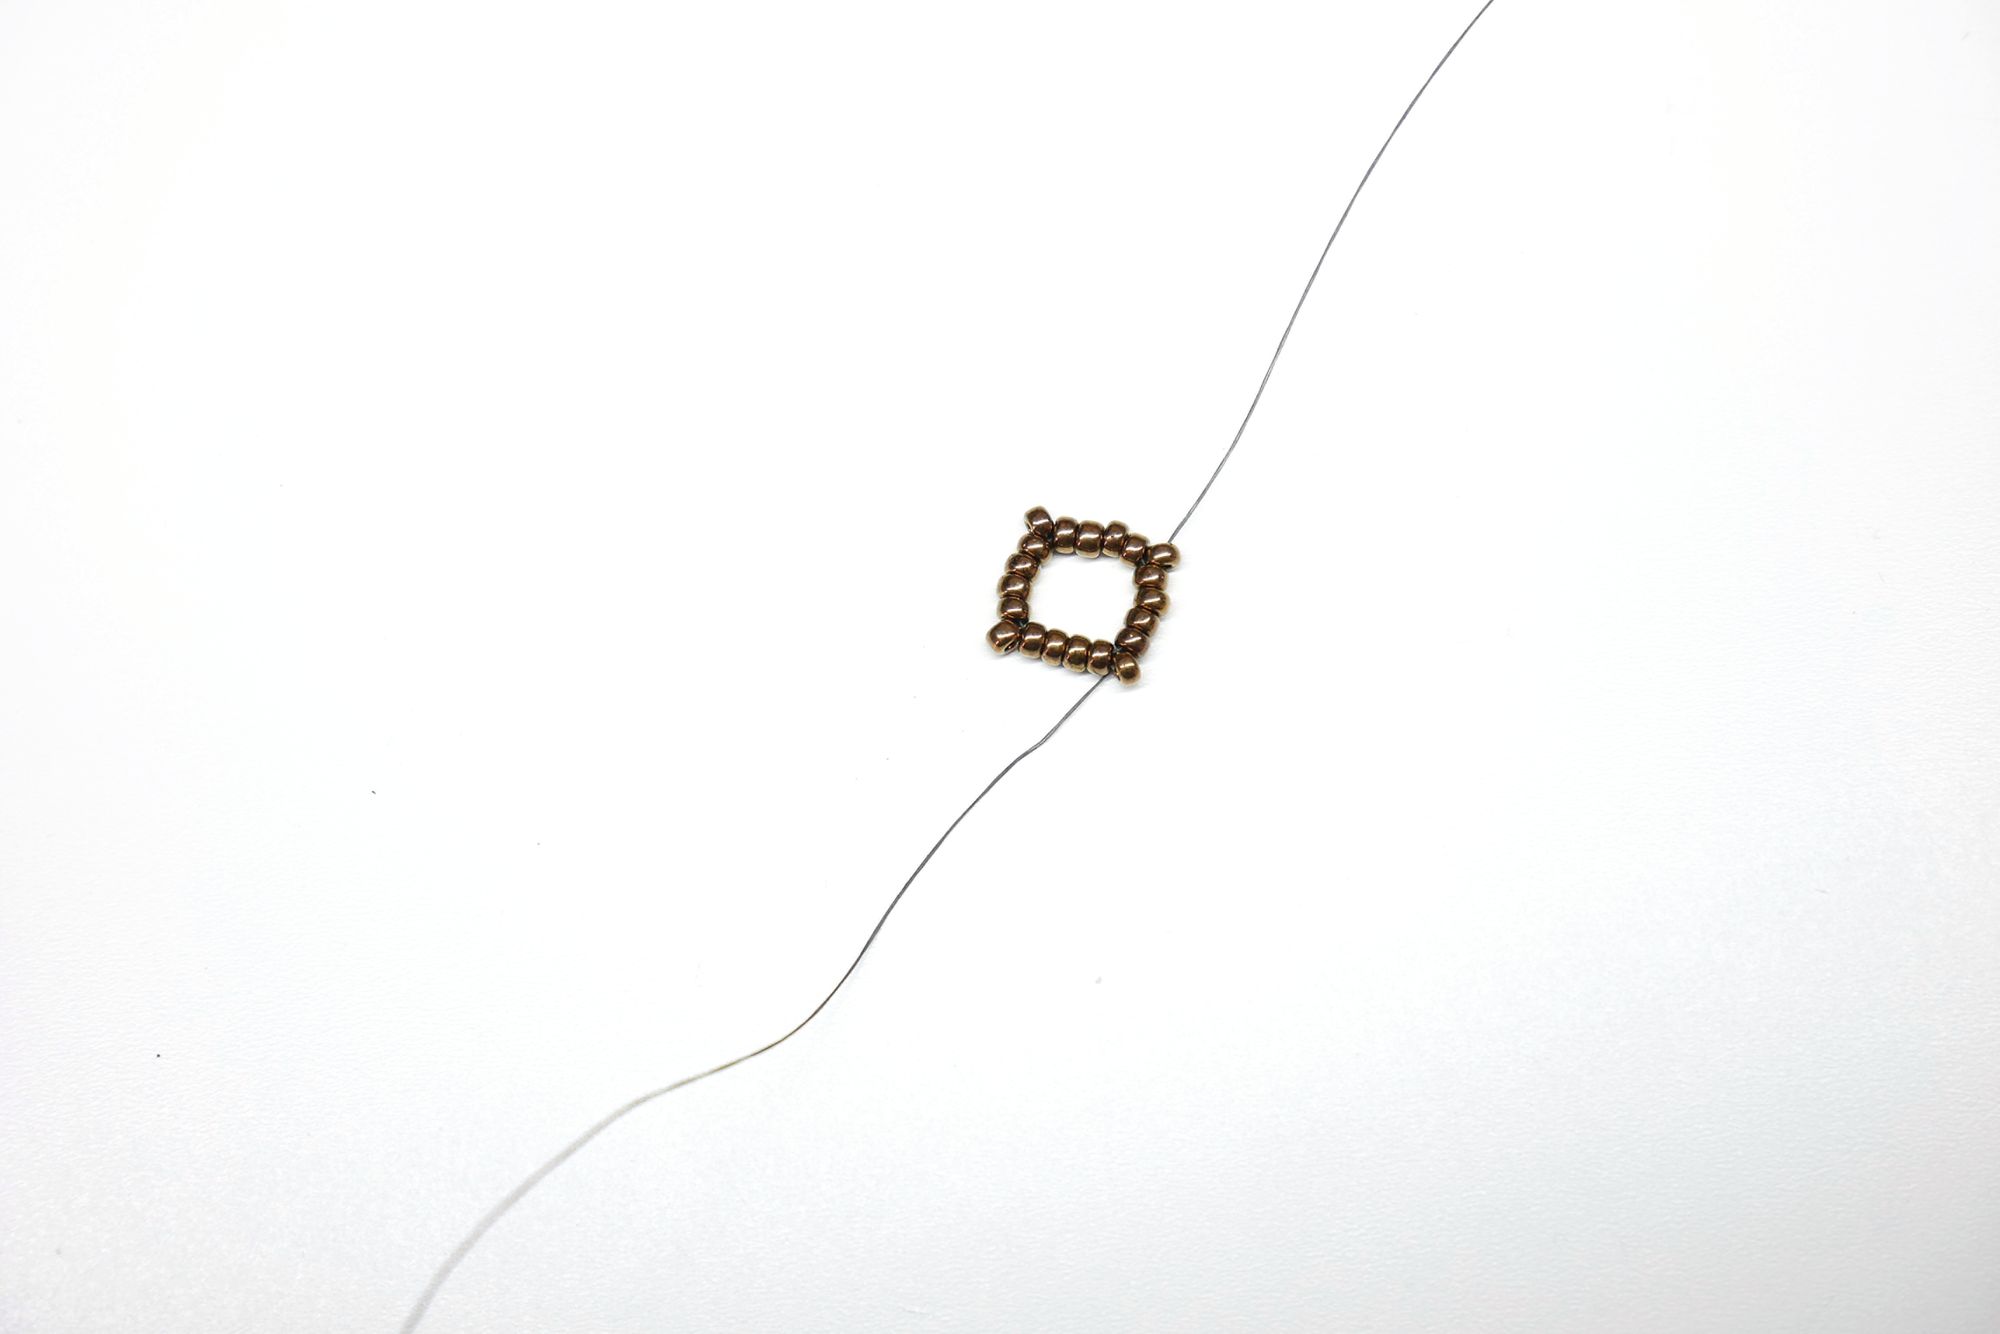
2. Coming out of an (A) on the ring, pick up 1(A) and go into the next (A) along.
3. Weave through 4(A), pick up 1(A) and go through the next 4(A). Repeat adding in an (A) twice more to give four corners.
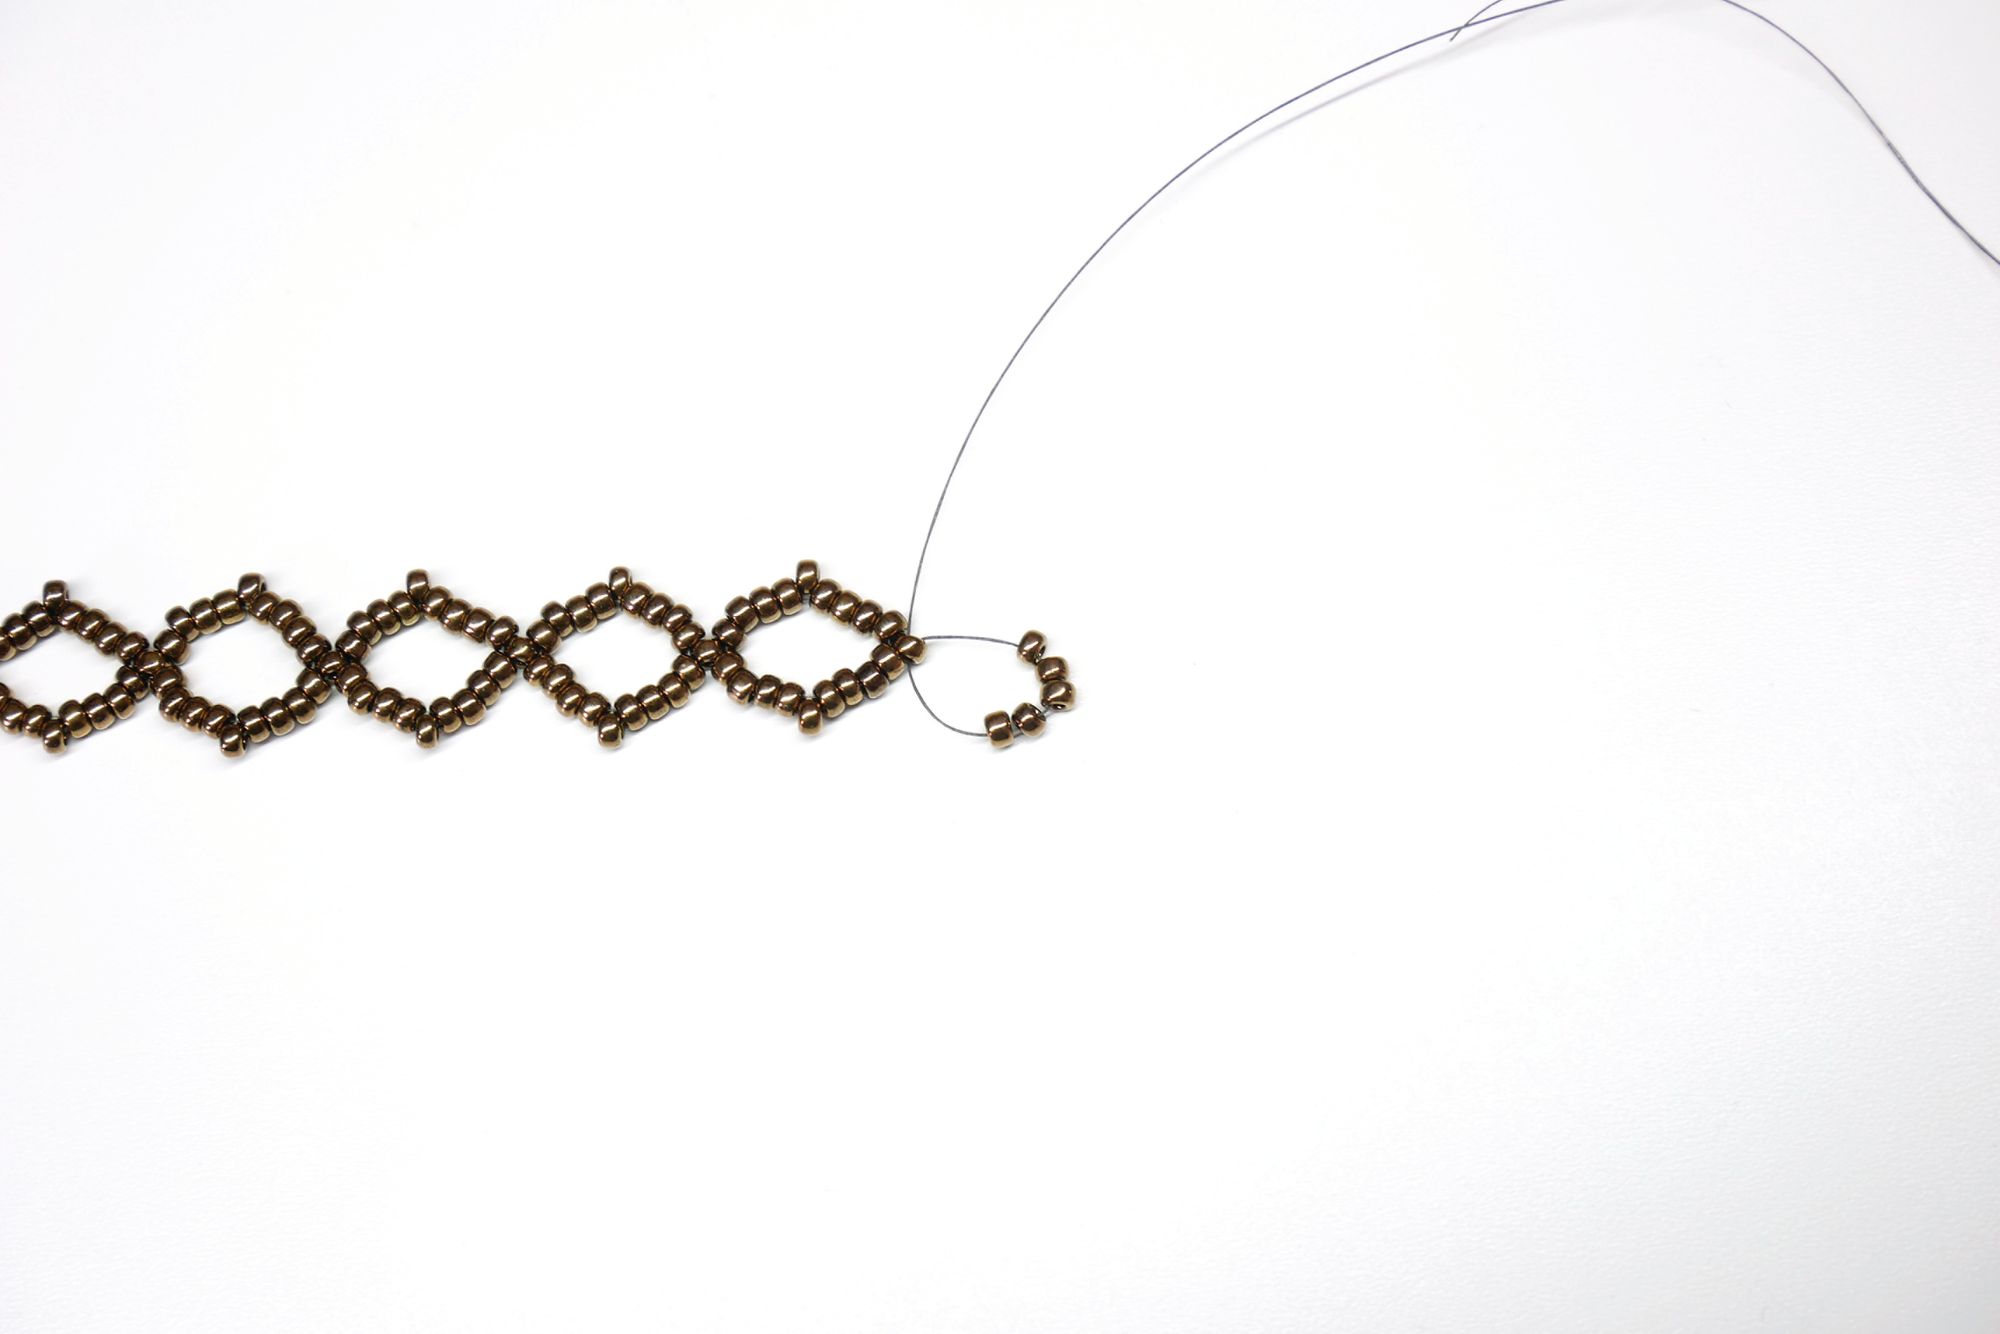
4. Coming out of a corner bead pick up 16(A) and go through the corner bead from the opposite side to create a new ring. Weave through 4(A) of the ring.
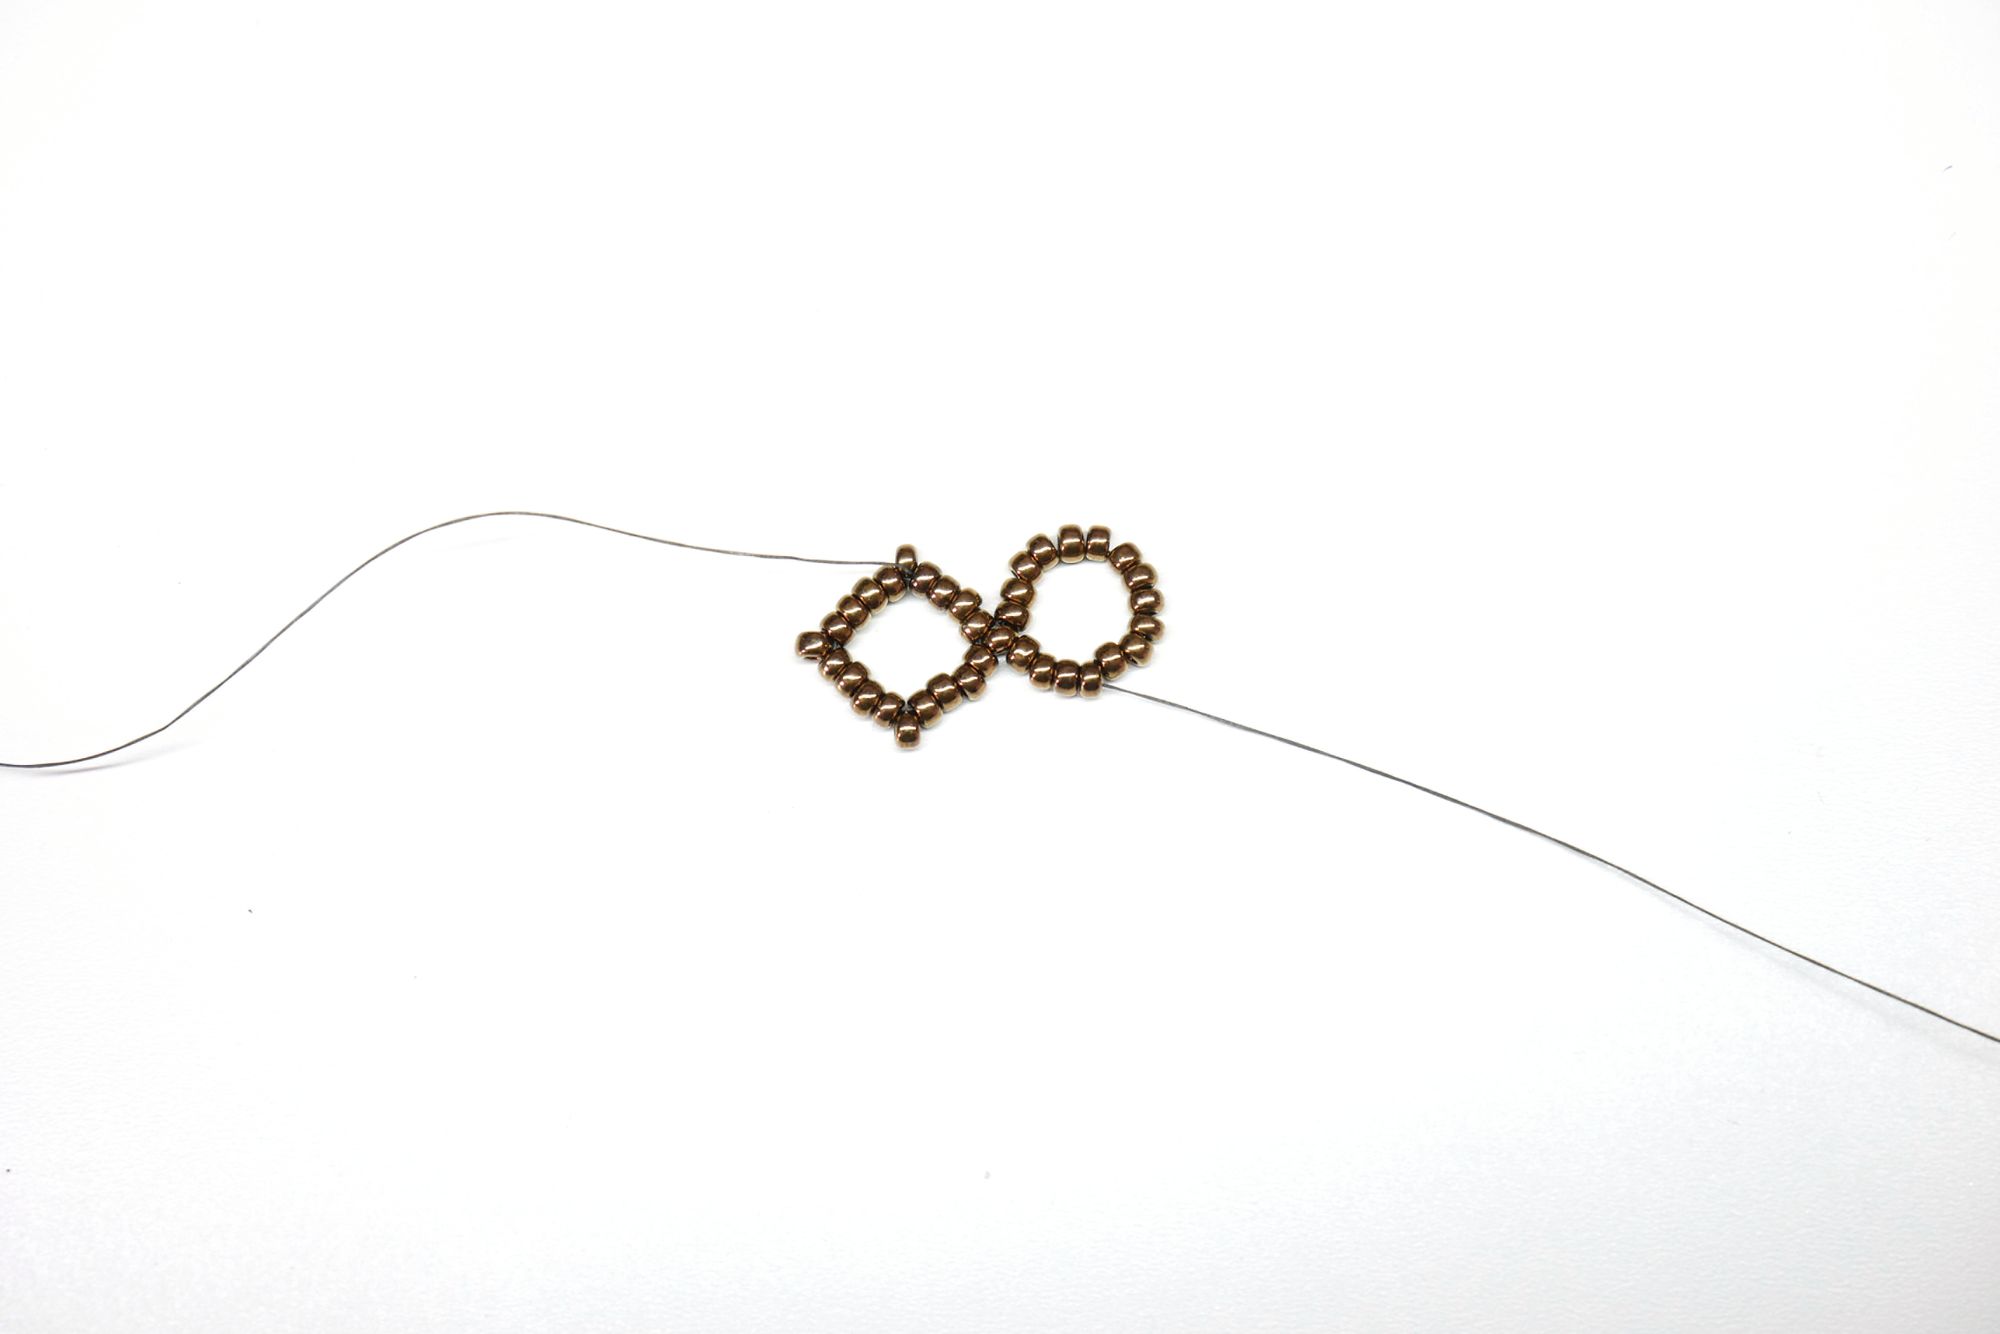
5. Add in the corner beads as before, but when you get to the 4th one (which will be the one you used to add in the new ring), miss it and weave through to the corner bead opposite.
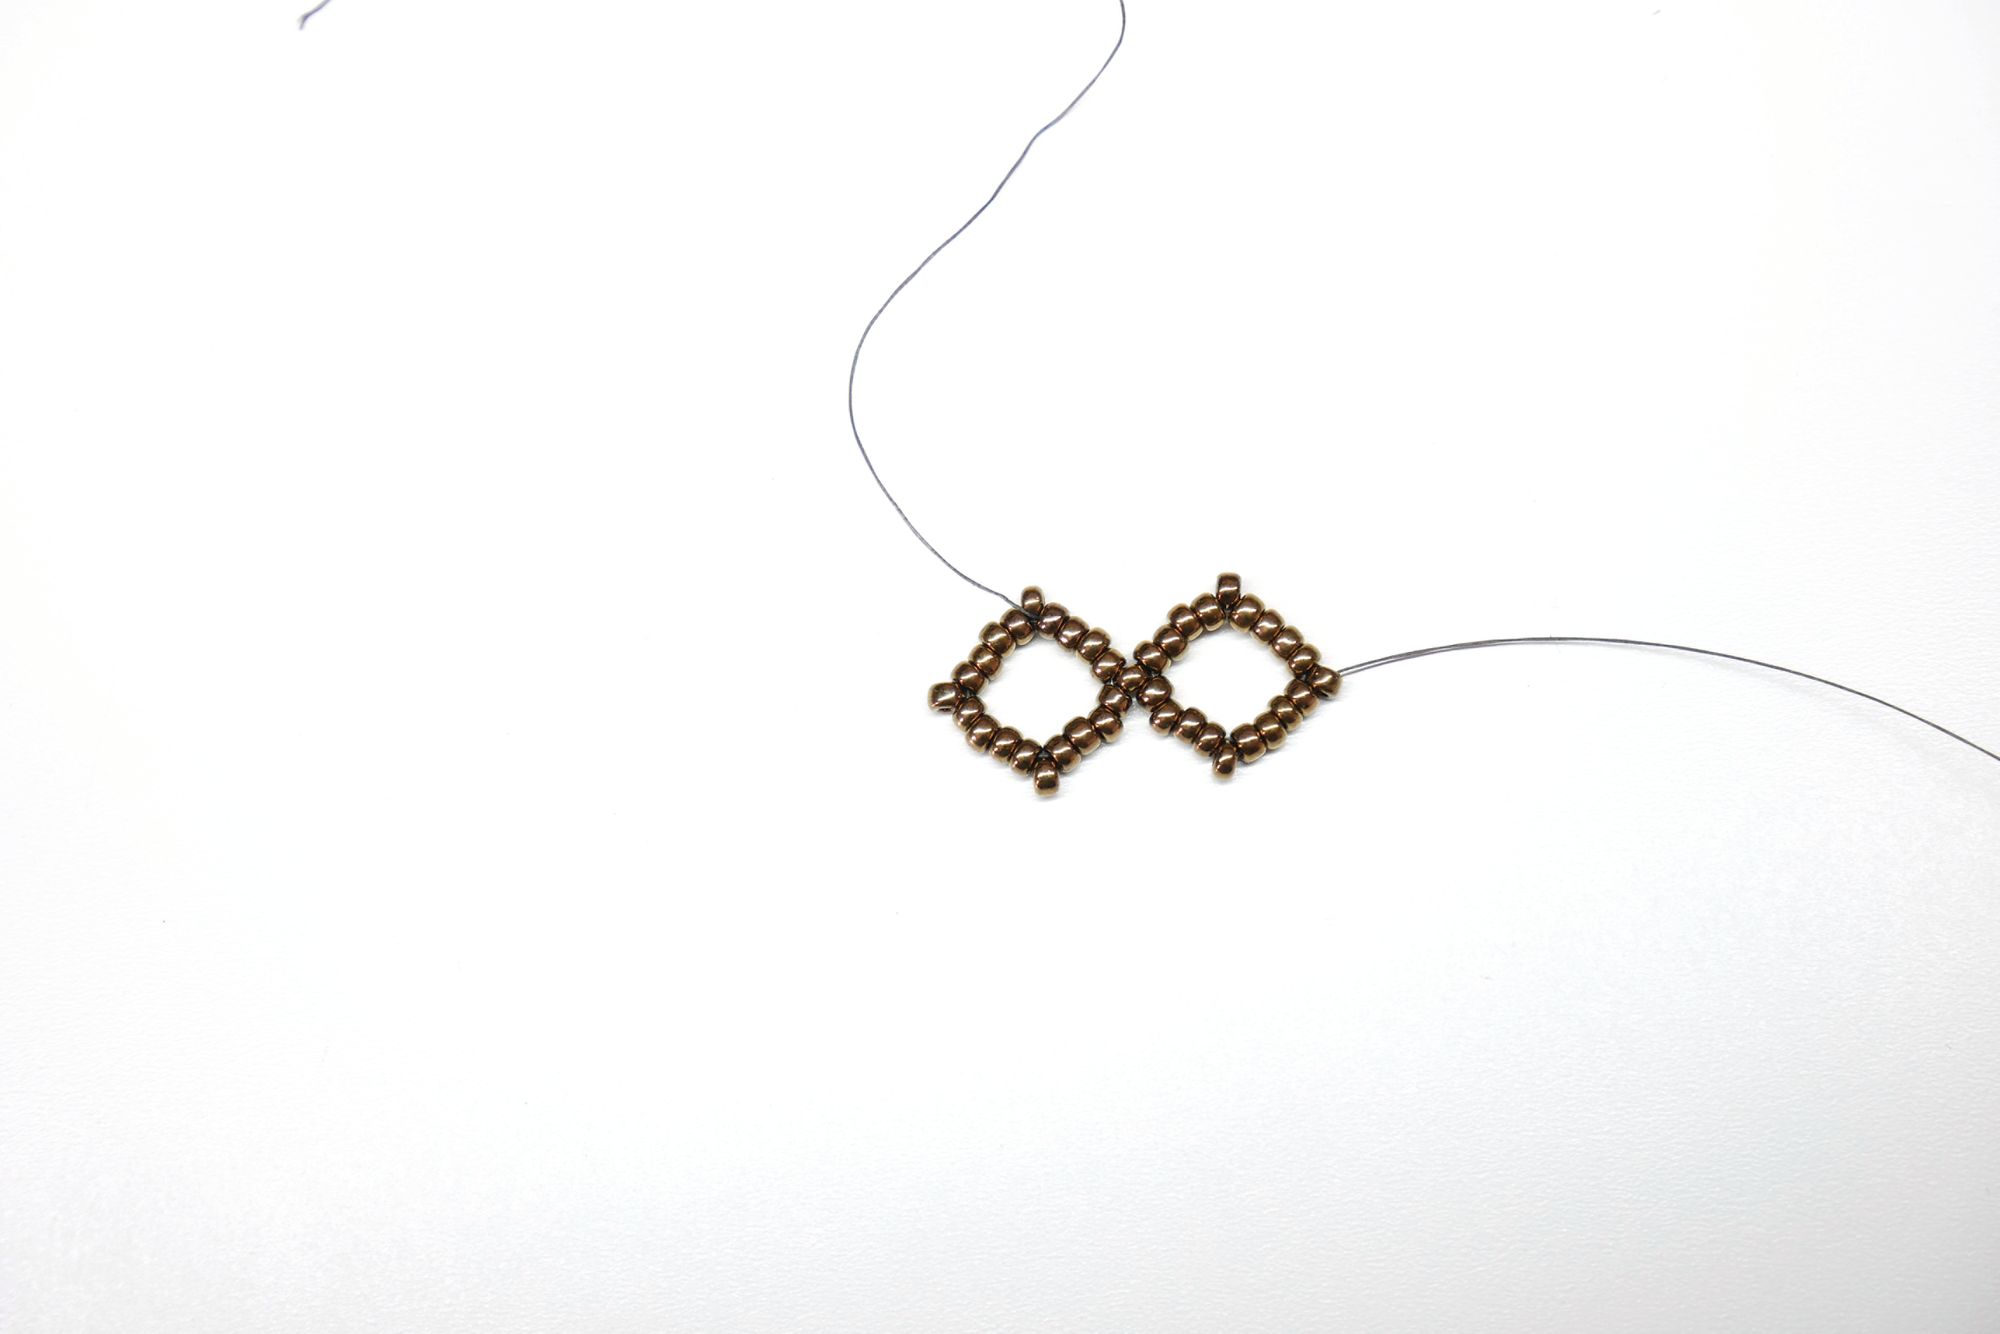
6. Continue steps 4 & 5 until you have the right length of bracelet for your wrist. The bracelet will tighten as we add the cabochons later on, but don’t worry as you’ll be able to add extra rings on the end. I have 14 rings for a 6.5” wrist. When you get to the last ring, come off the corner as you would if adding a new ring, but pick up 5(A) and go back through the corner bead from the opposite side.
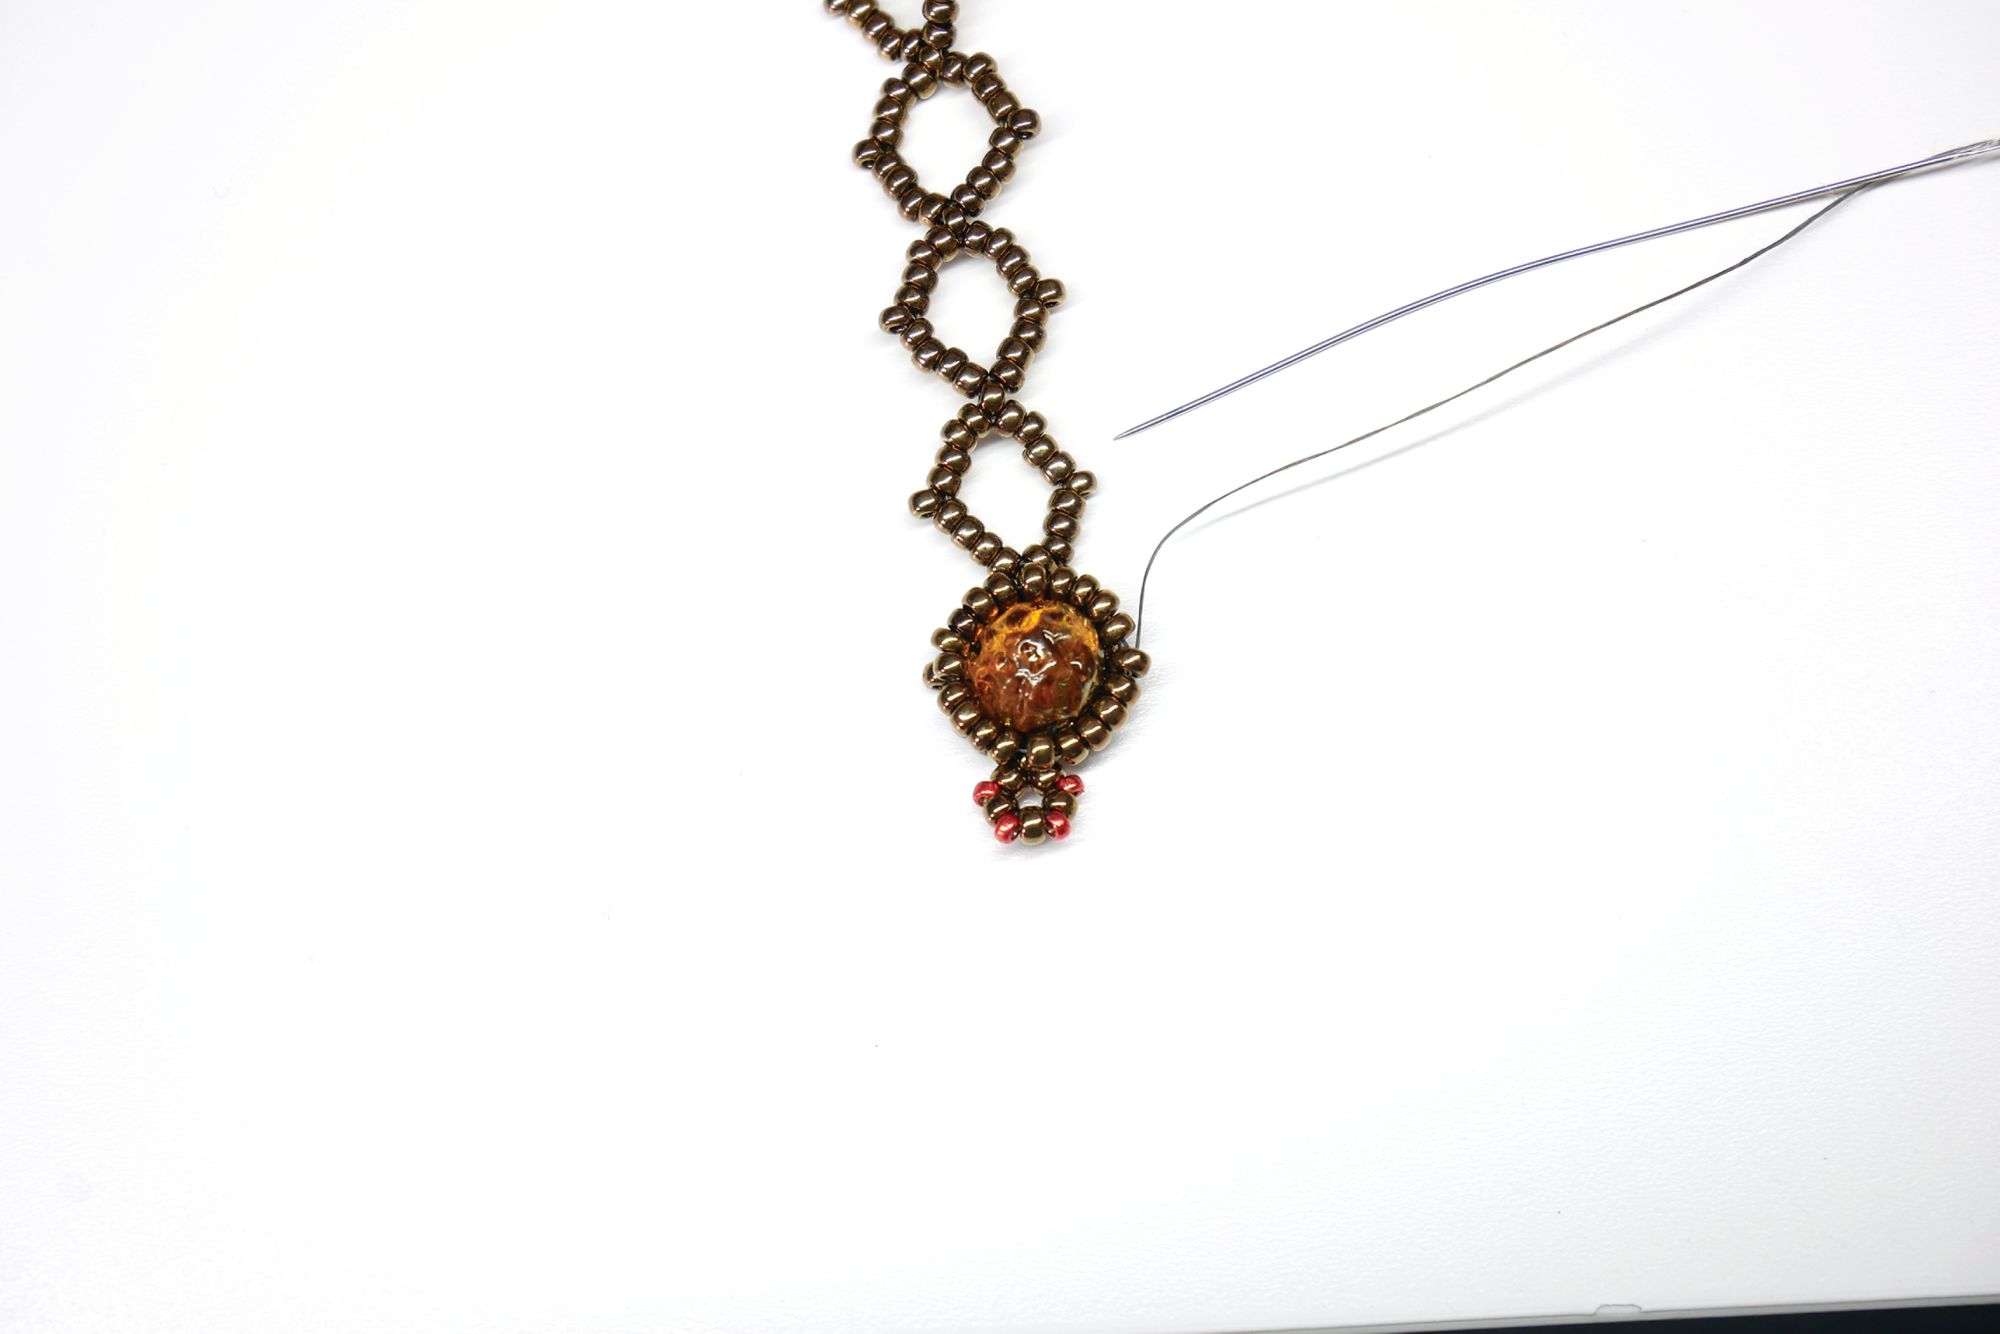
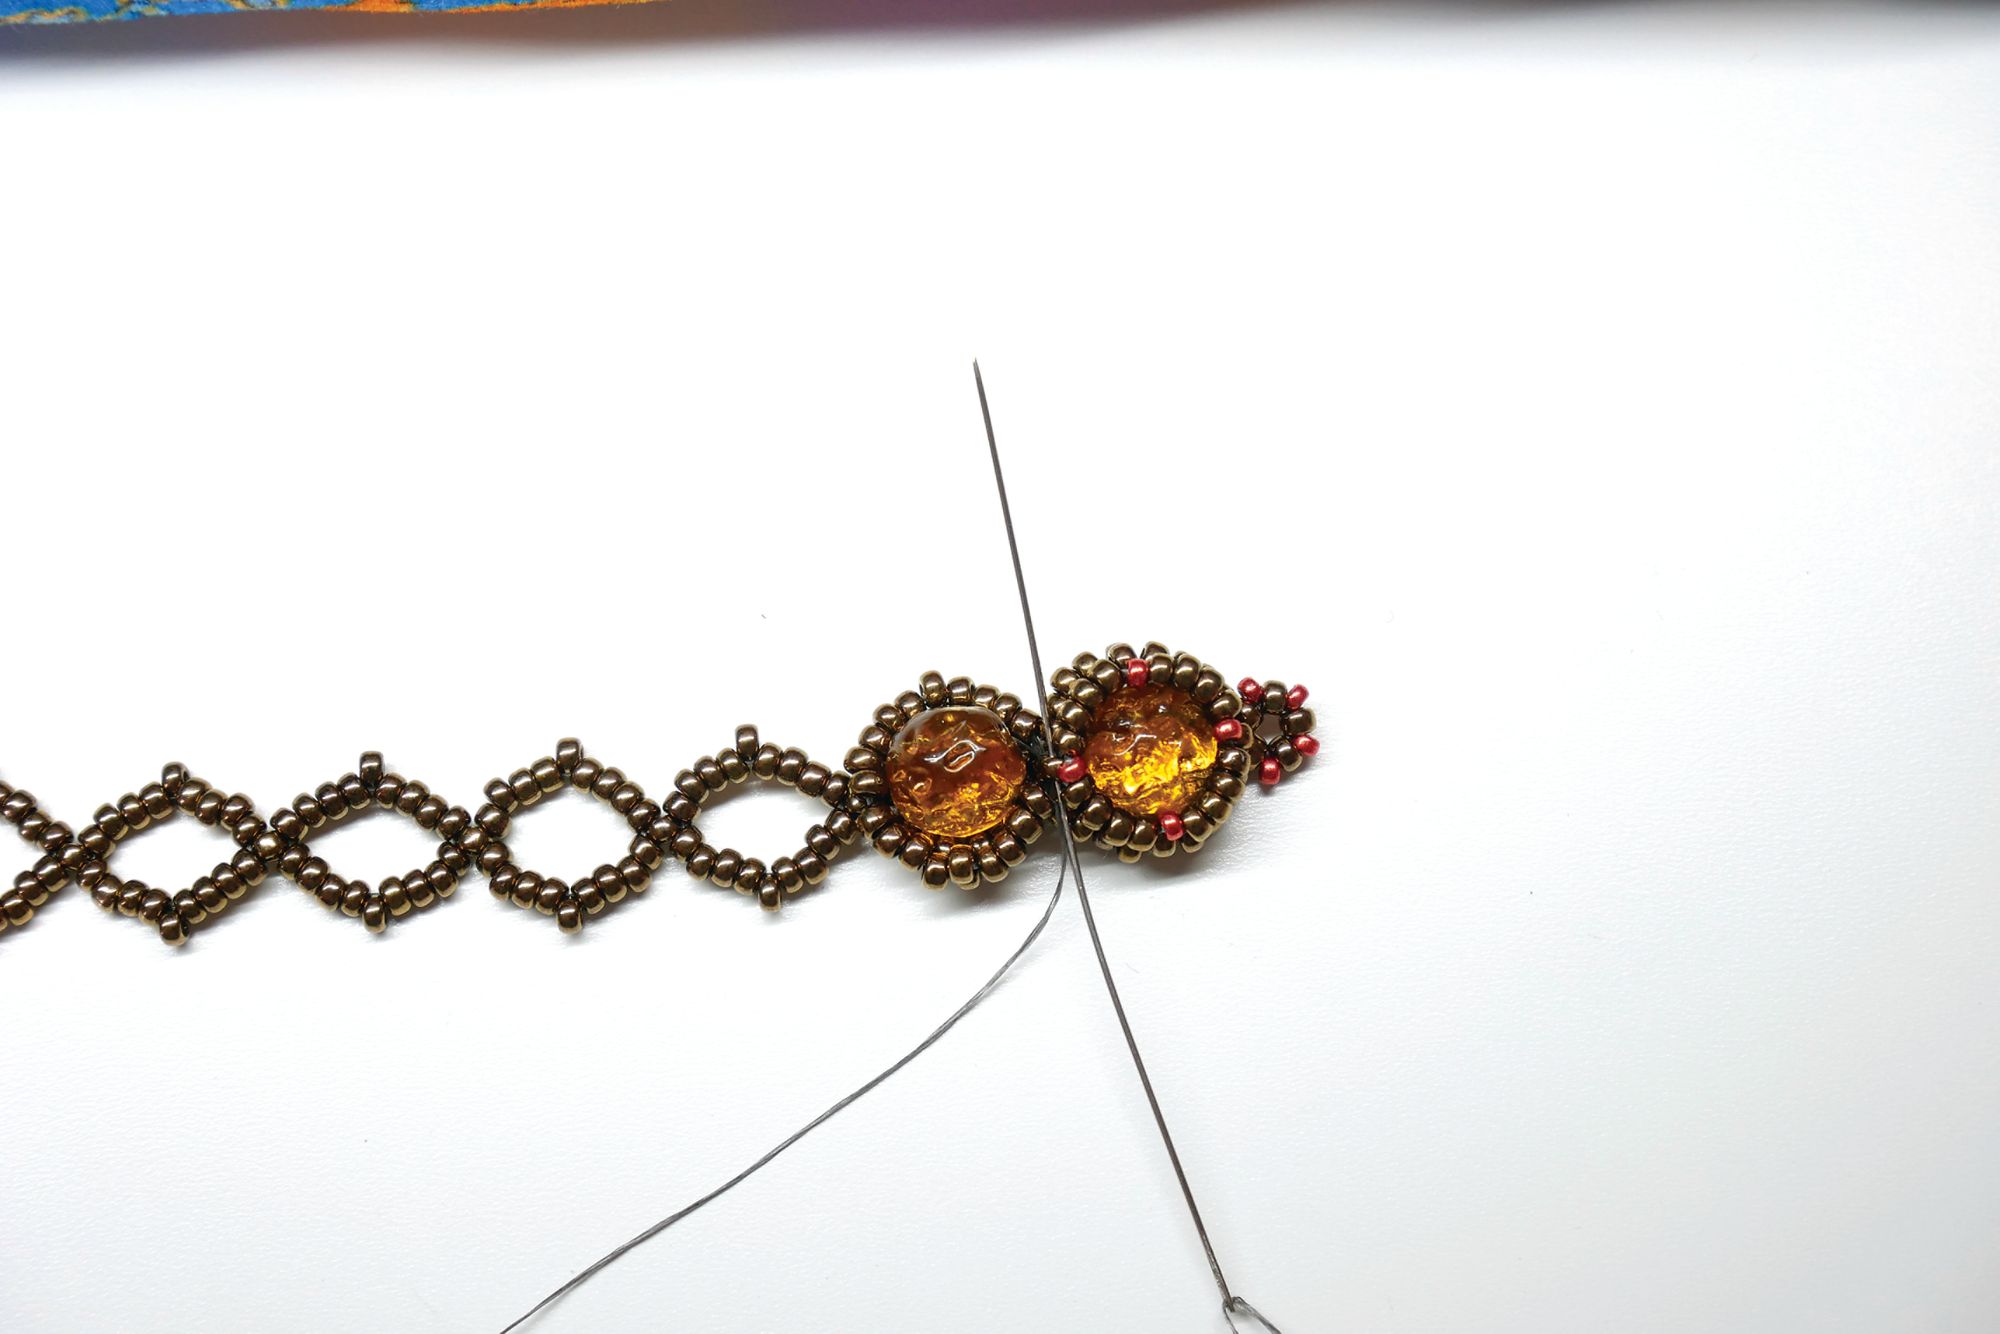
7. Weave forward into the first (A) of the loop, pick up 1(B) and go into the next (A) along. Repeat for a total of 4(B).
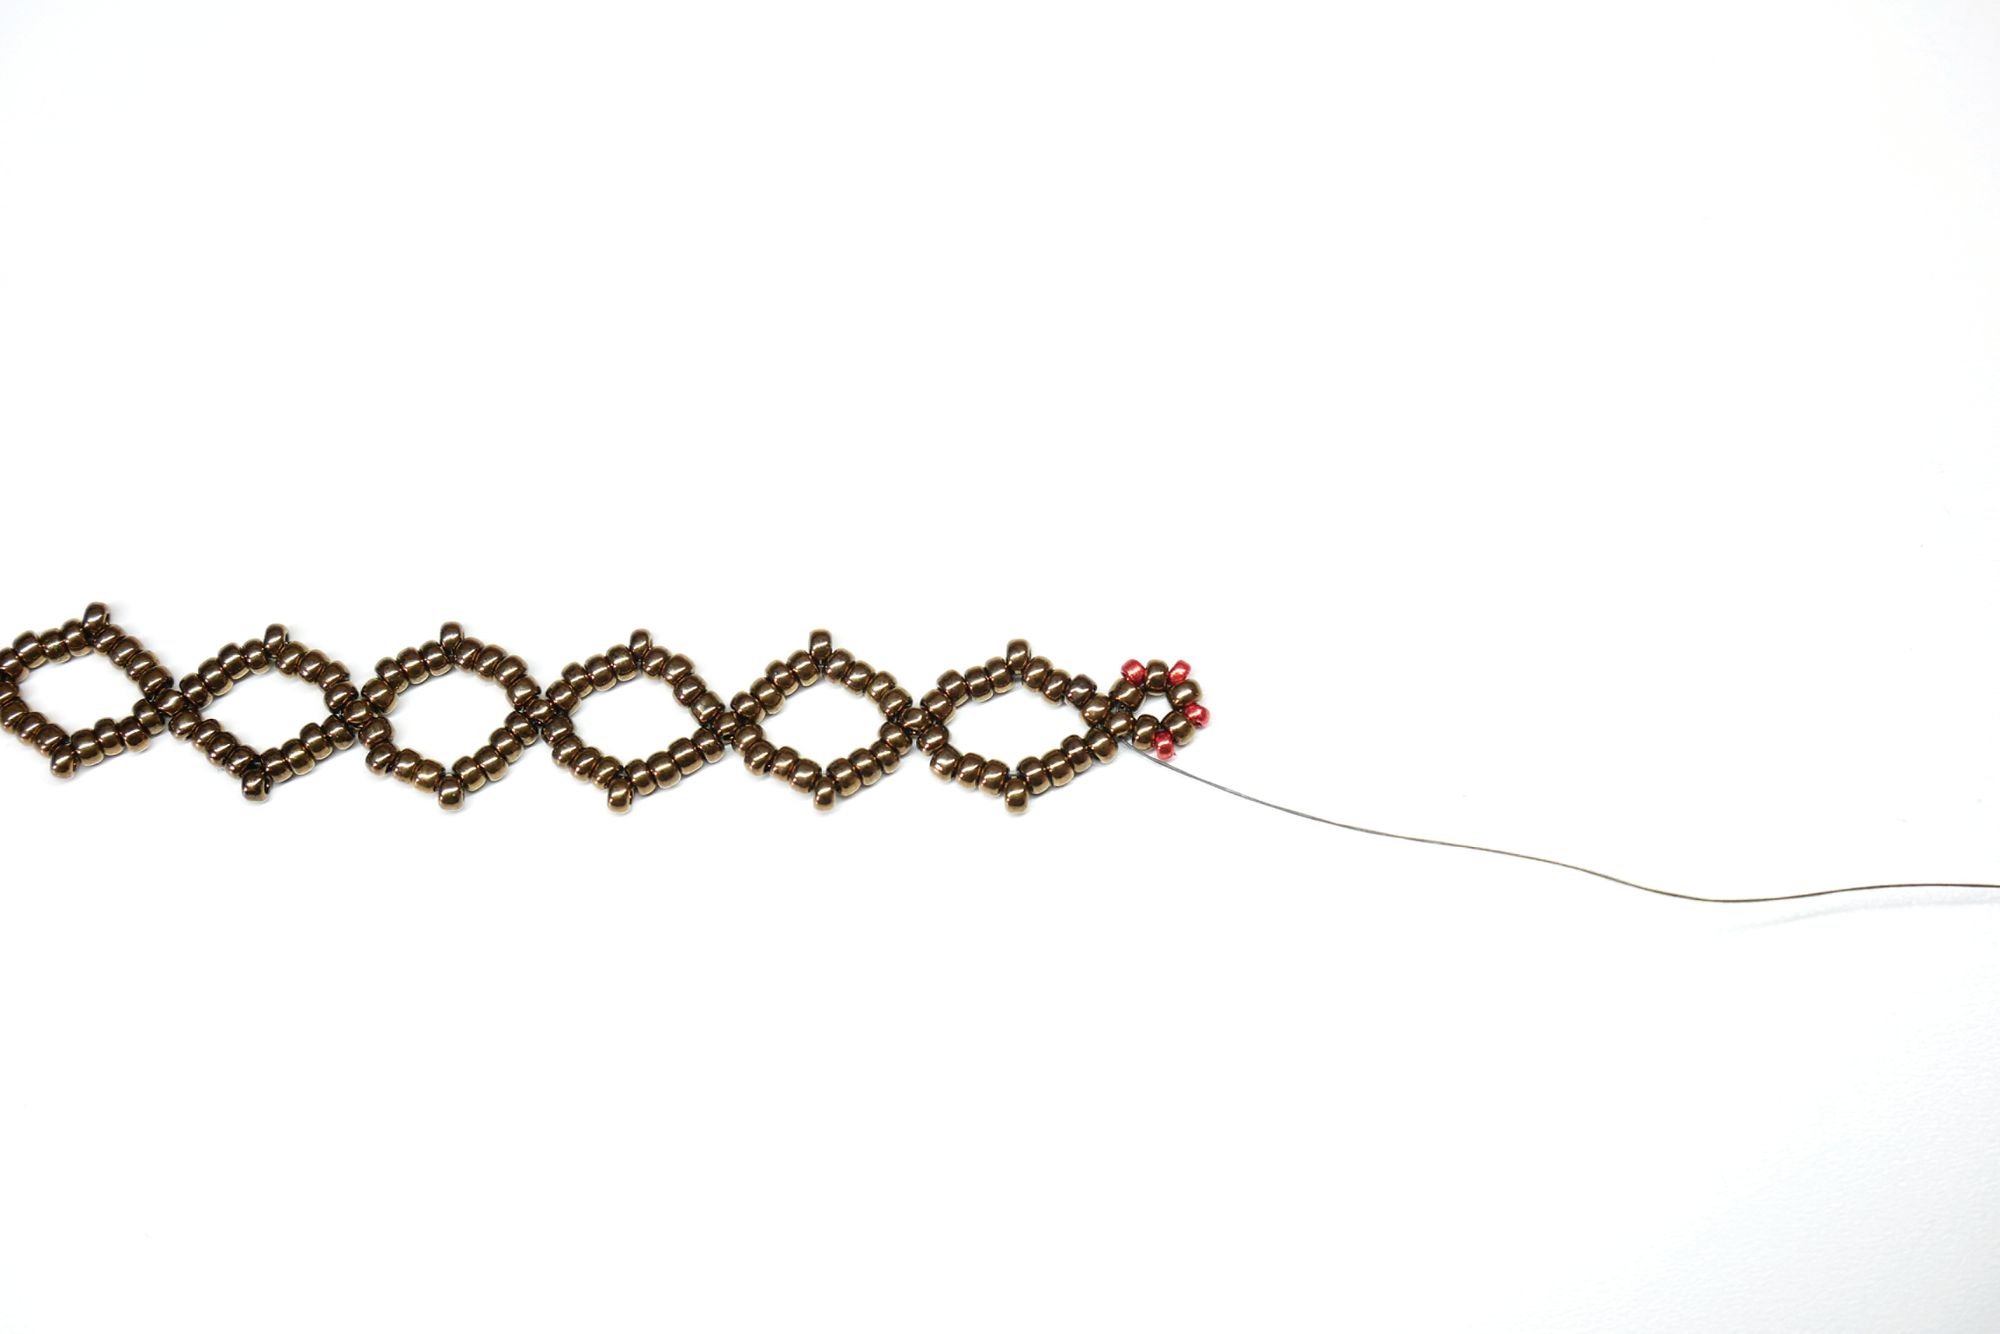
8. Come back to the corner bead and pick up 1(C) using the hole on the same side your thread is coming out of the corner bead, e.g if the thread is coming out of the right hand side, go through the right hole.Take your needle through the opposite corner bead, through the unused hole of the (C) and back into the original corner bead.
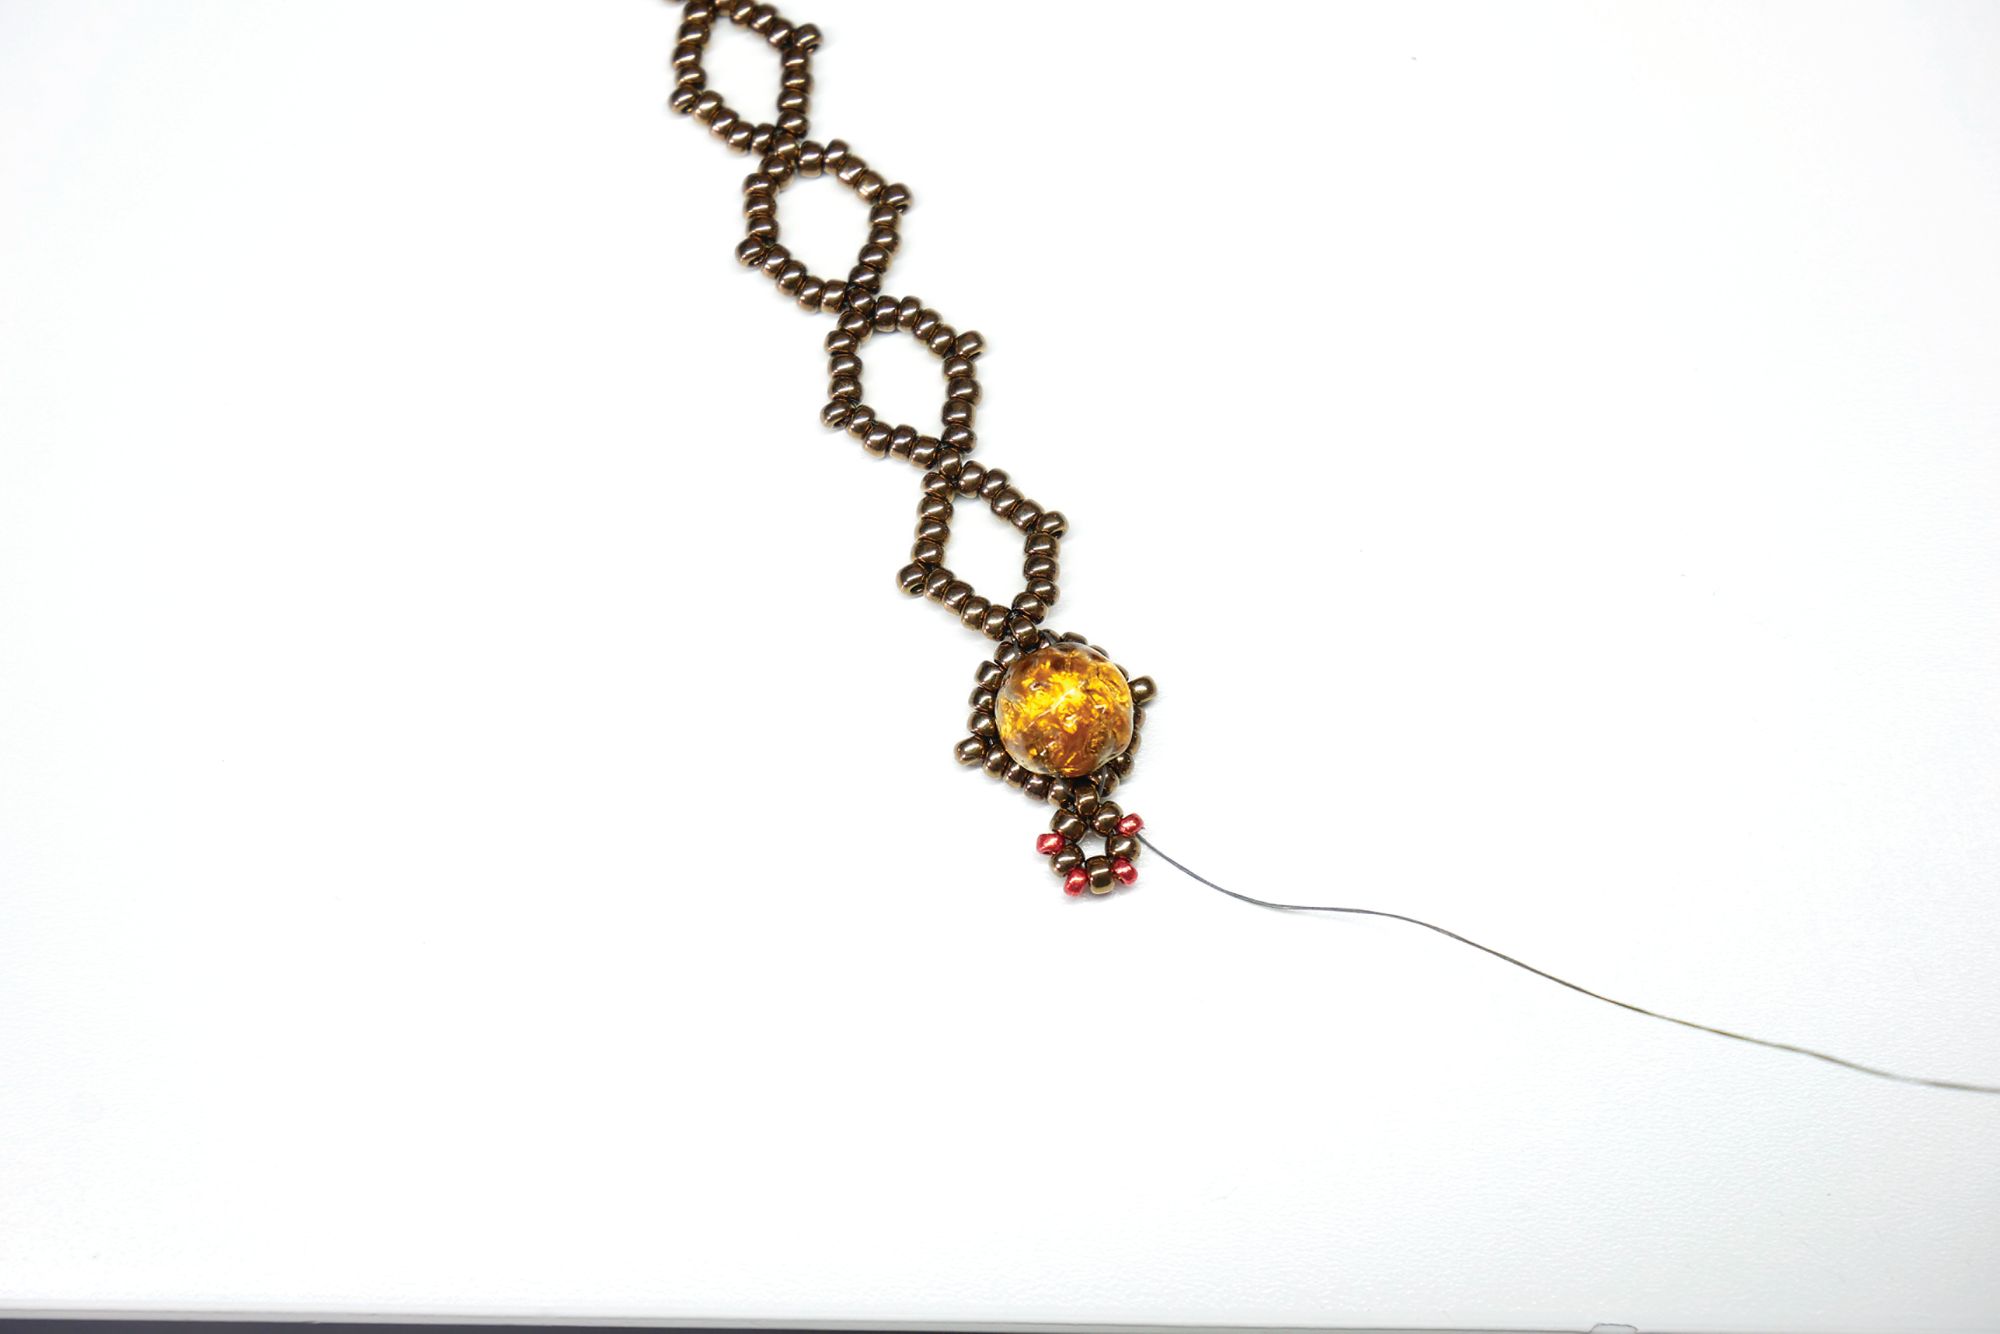
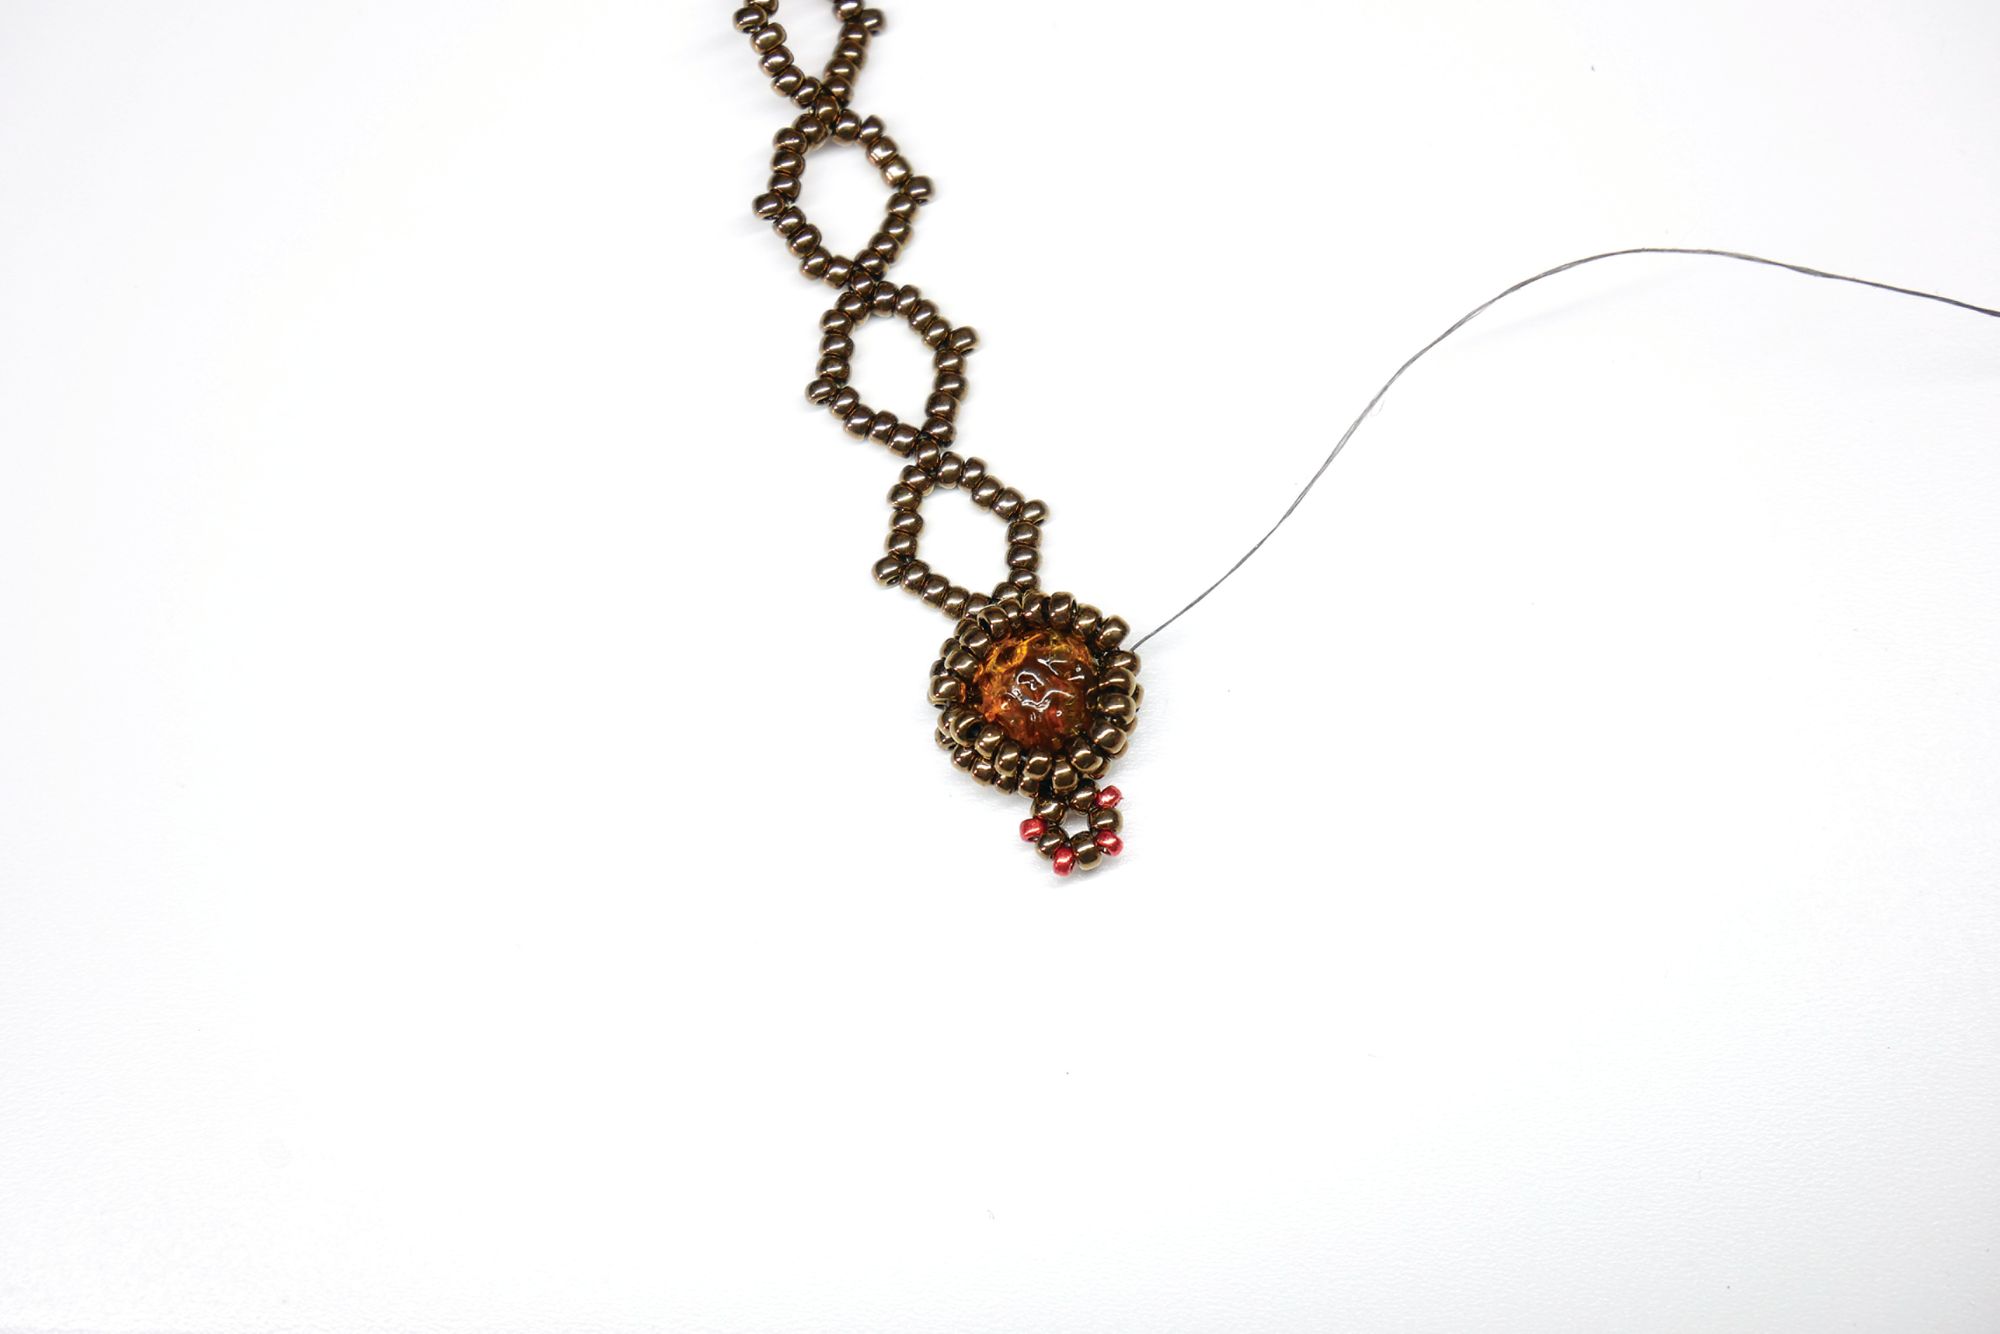
9. Pick up 4(A) and go into the next corner bead along. Re- peat three more times for a total of four sets of 4(A). Weave through the first set of 4(A).
10. Pick up 1(A) and weave through the next 4(A). Repeat three more times. Weave forward until coming out of a new (A) (these will be essentially new corner beads).
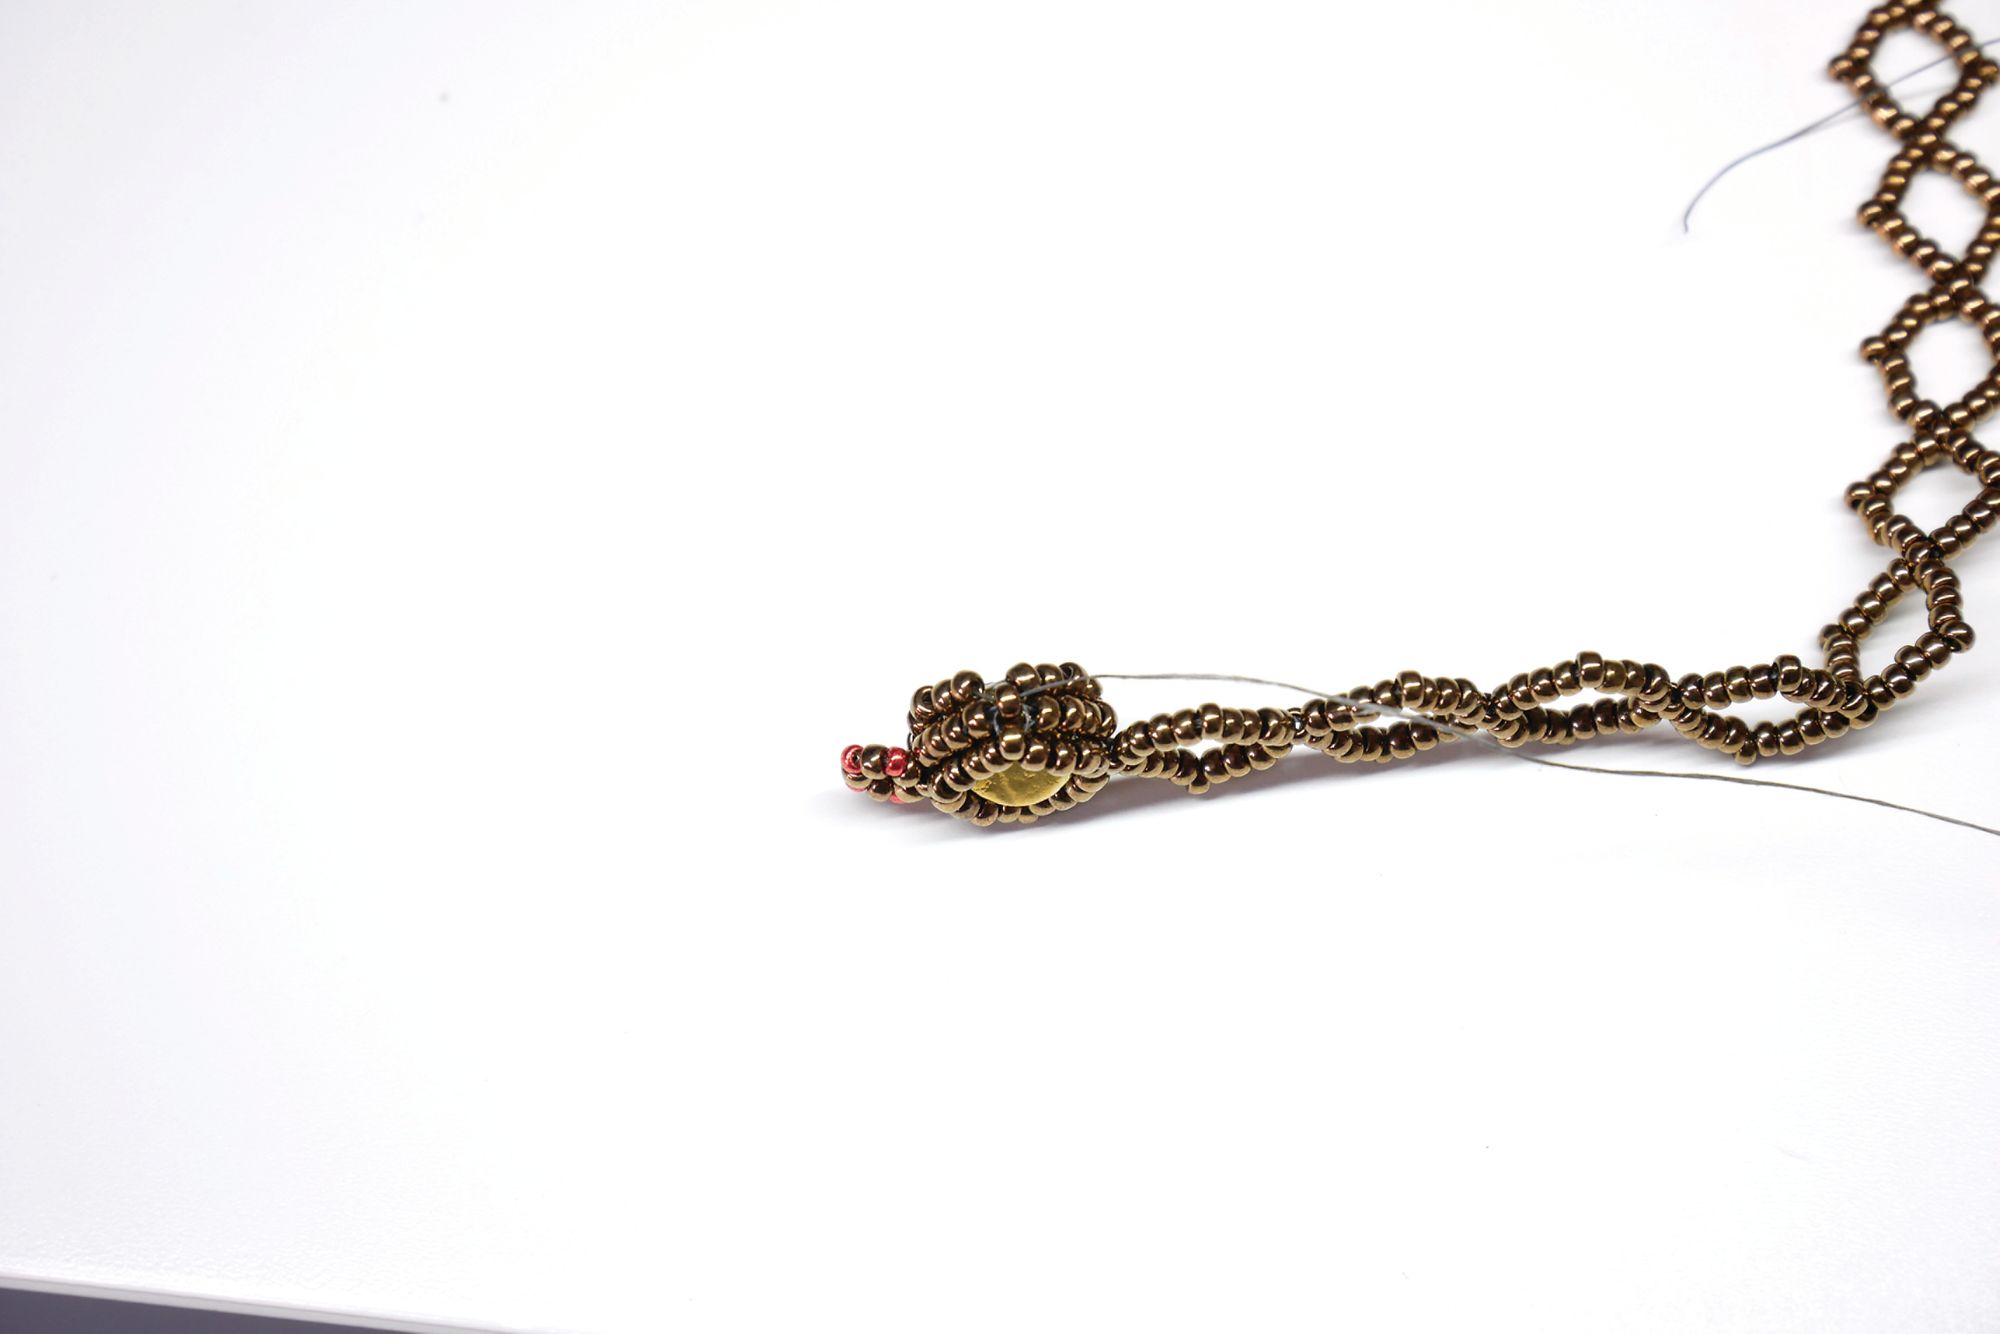
11. Pick up 4(A) and go into the next new corner bead. Repeat three more times. Weave forward until coming out of a new corner bead.
12. We’re now going to join the new corner beads to the original corner beads. To do this we’re just going to go out of the top one, into the bottom on the same side and back into the top one. Repeat on the three other corners.
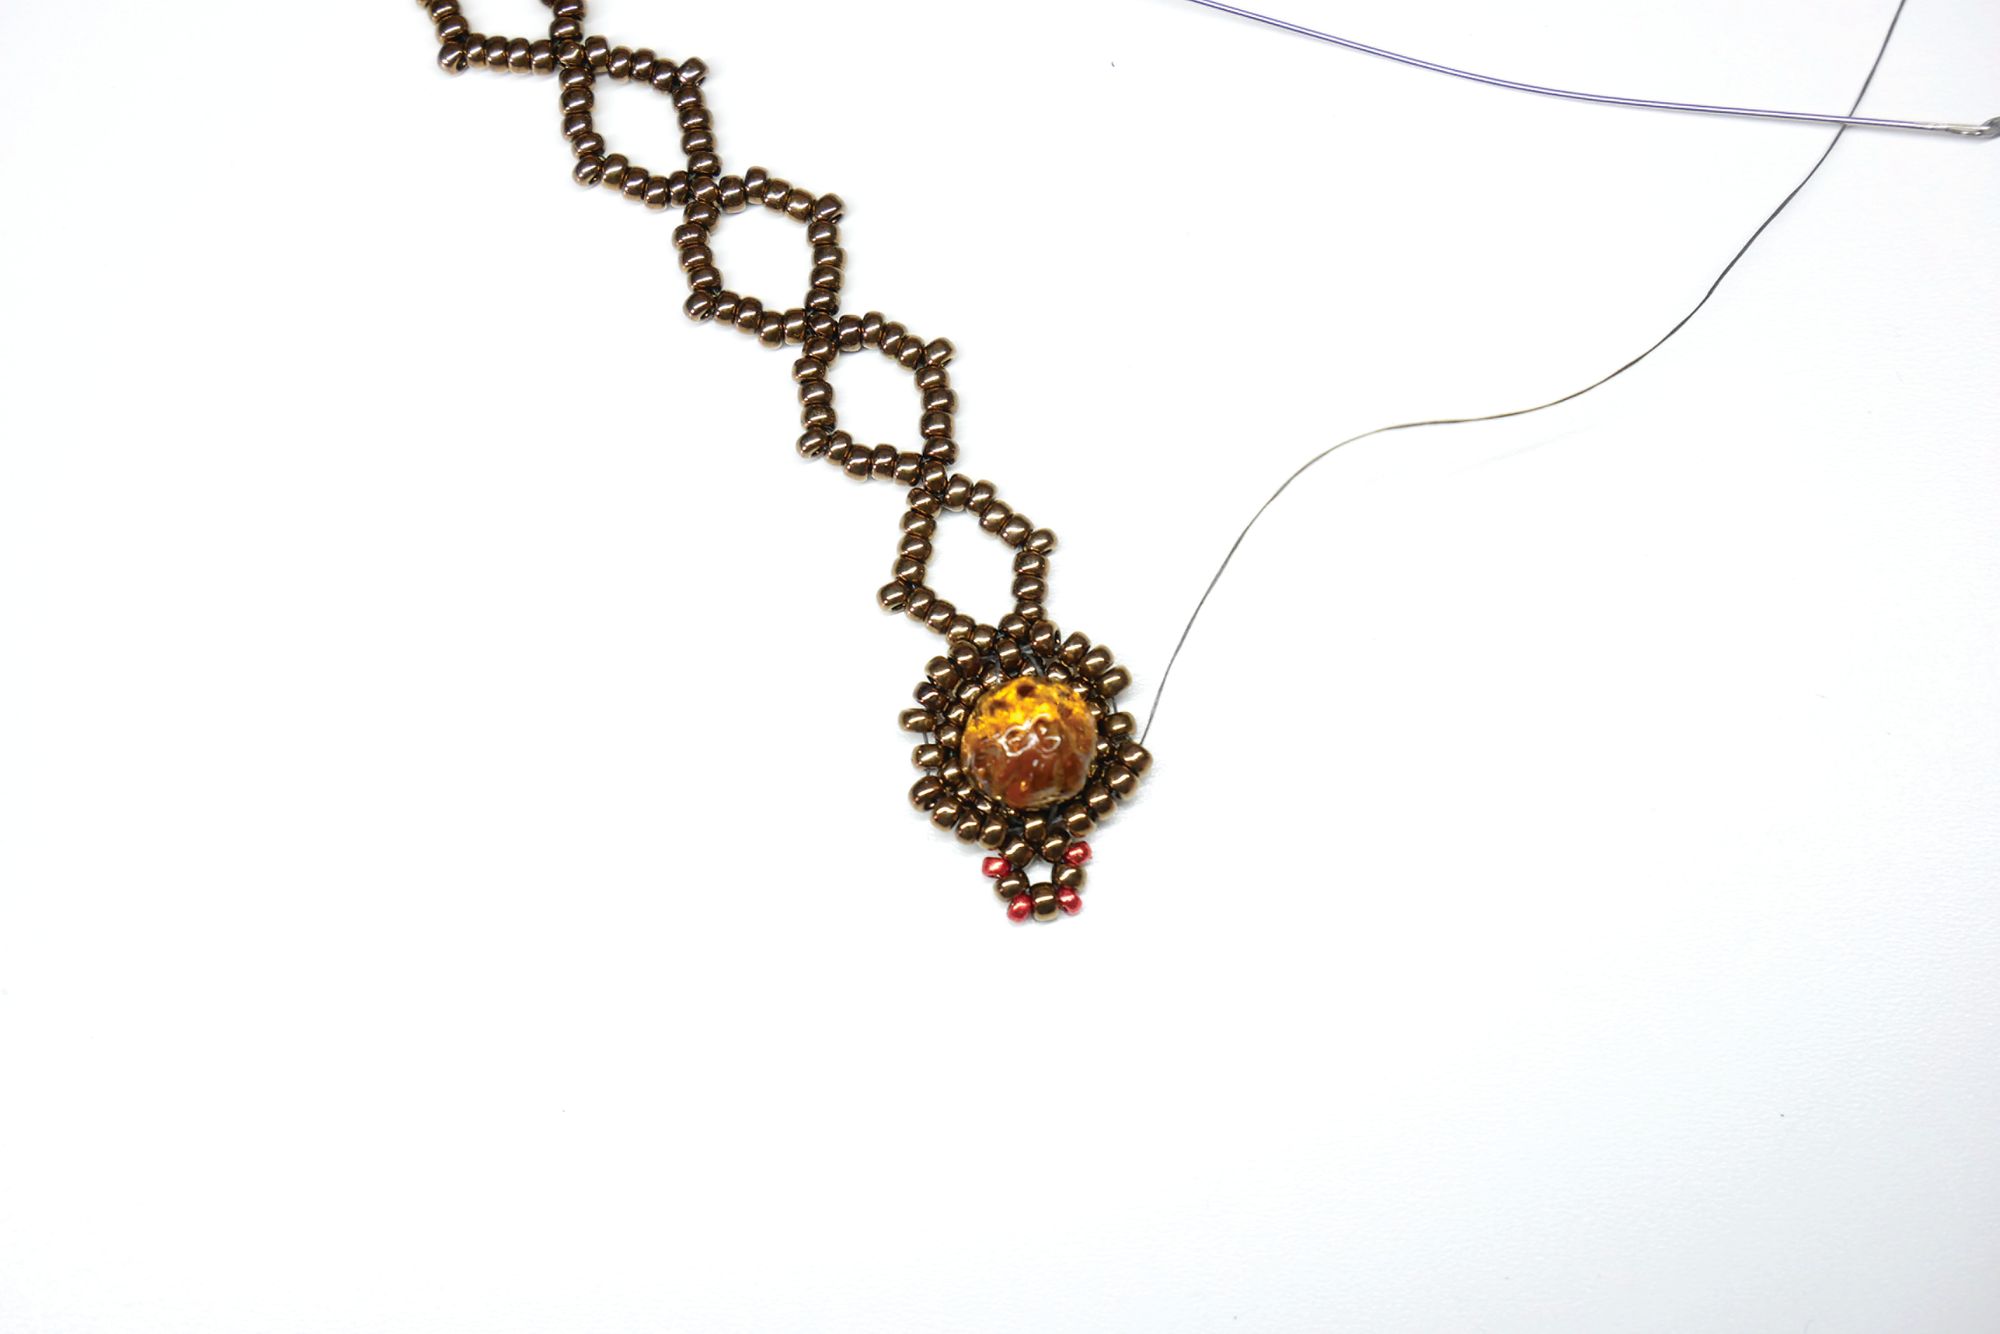
13. Come out of a set of 4(A) added in step 11, pick up 1(B) and go through the next 4(A). Repeat three more times.
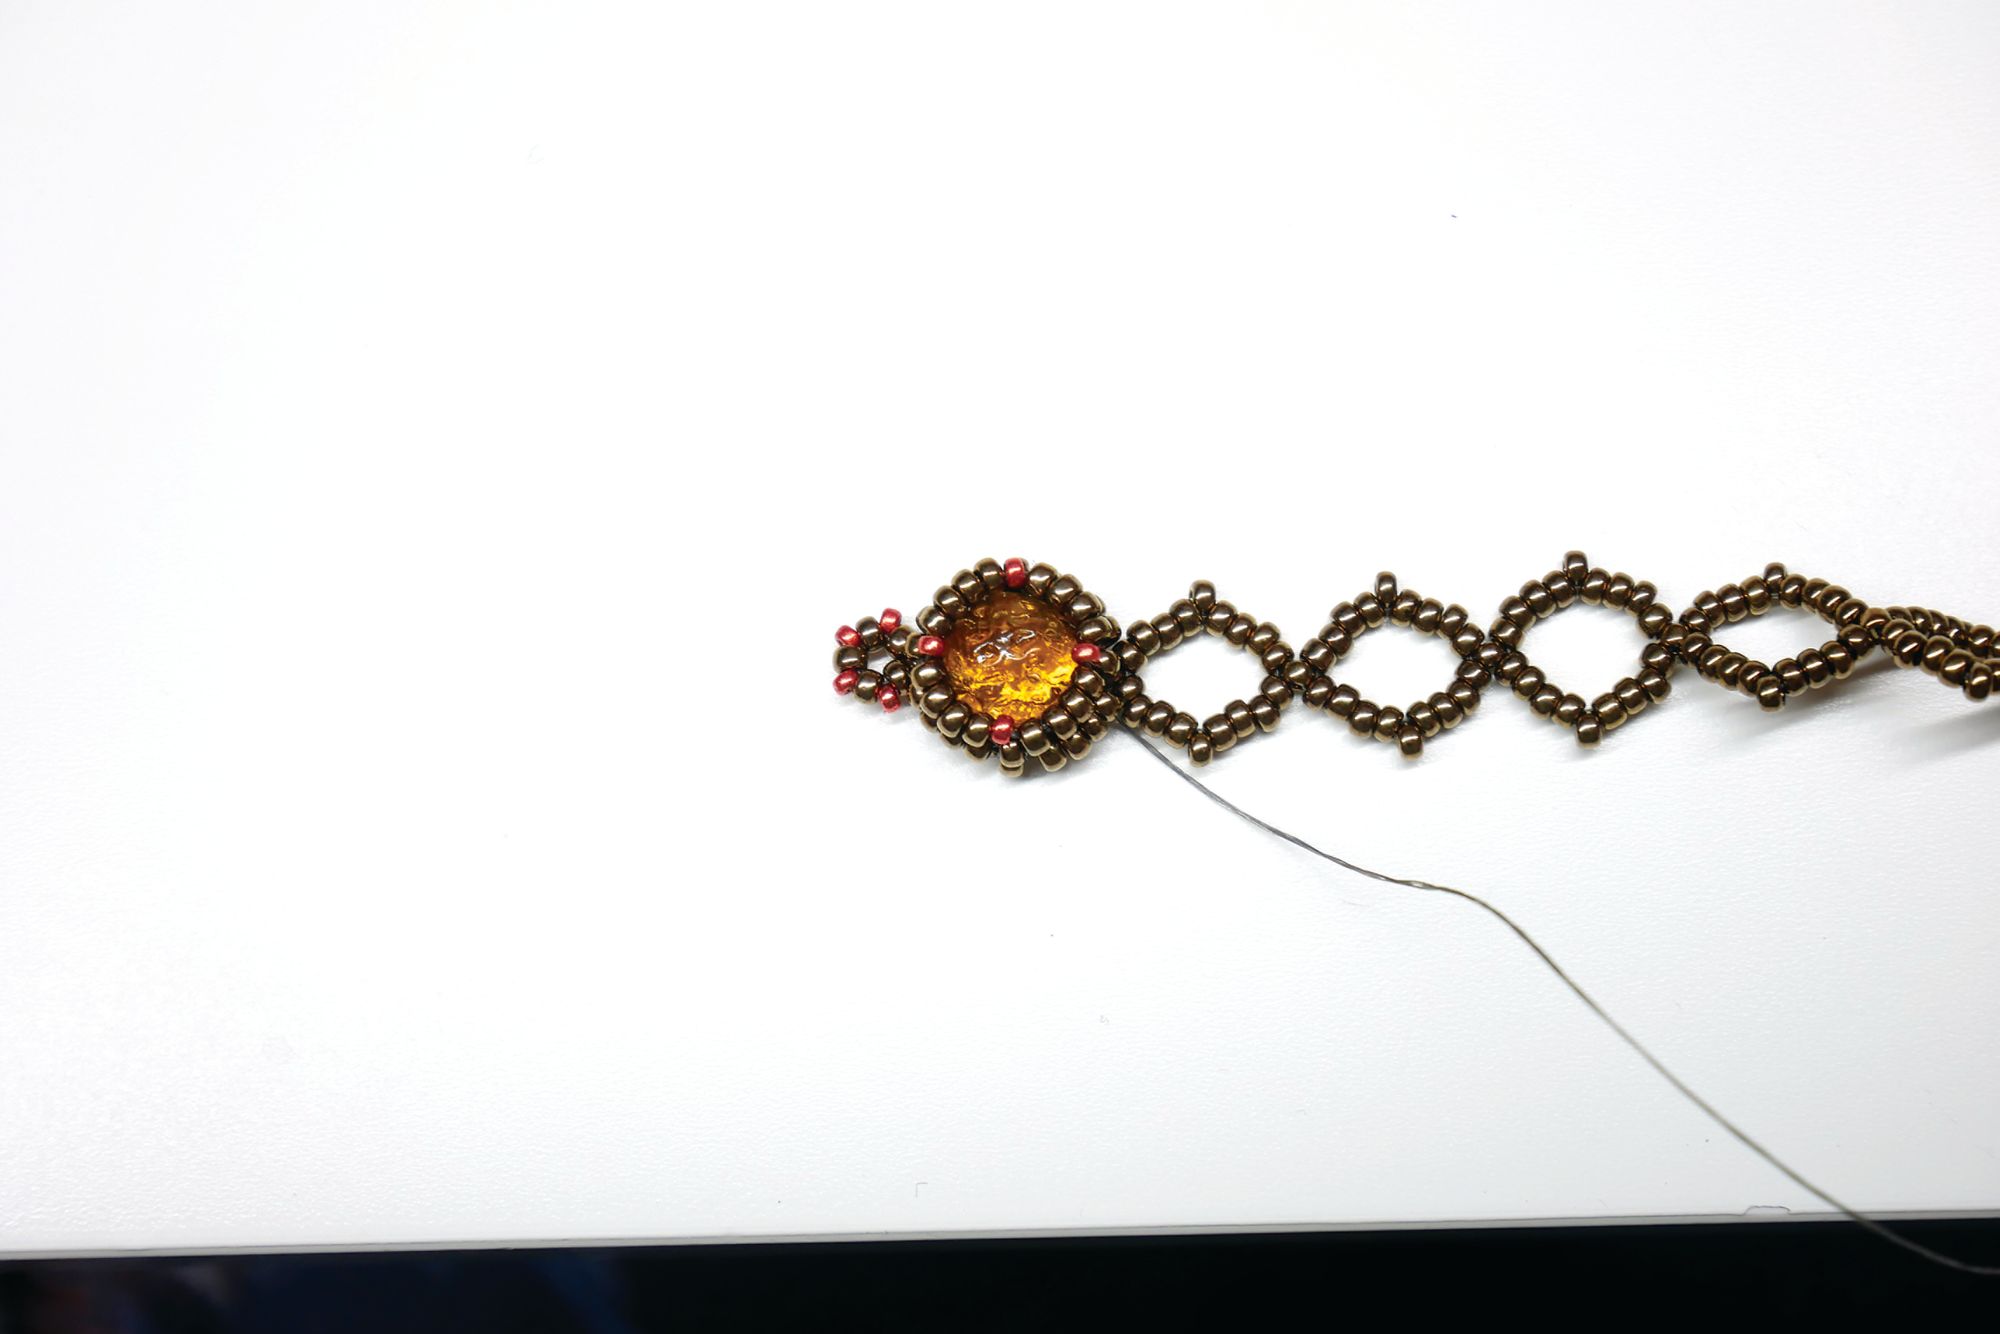
14. Weave down to the corner bead on your base row. This will be the bead that you went into when adding your first (C). Repeat steps 8-13 to build up your bezel, but when you get to adding the new corner beads in step 10, one of them will be the corner bead from the previous bezel, which will join the two bezels together.
15. Continue steps 8-14 all the way along until you get to the other end of your base. On the last ring, coming off the last corner bead add the ring for your clasp as in steps 6 & 7. Attach a jump ring and clasp to each end and weave in any threads.